Home Leg and Glute Workout: Squats, Hinges, Bridges and Ankle Work
Choose distinct leg and glute movements with bands or bodyweight. Compare squats, hinges, bridges, hip control and ankle exercises, with a printable cue and record sheet.
A home leg and glute workout can cover different jobs: squat, hinge, lift the hips, control the thigh sideways, bend or straighten a knee, and move at the ankle. A resistance band leg workout is more useful when you choose distinct tasks rather than collect several nearly identical squats or glute drills. Bodyweight is a valid option when the available band does not fit.
Choose a movement family, then use its instructions
- Squat options
- Hinge
- Floor bridge
- Outward and inward thigh work
- Knee curl or extension
- Plantarflexion and dorsiflexion
| Choose one main task | Choose a different hip task | Choose one accessory |
|---|---|---|
| Suitable squat | Hinge or floor bridge | Suitable hip-control, knee-curl or ankle task |
Keep the printable leg-and-ankle cue sheet beside your chosen instructions. It separates the hand-held plantarflexion band from the separately attached dorsiflexion arrangement.
Use this guide to select movements, understand what the band actually changes and build a repeatable practice. It also separates ankle work from hip exercises and includes a printable cue sheet. This is general fitness guidance, not a knee, hip or ankle rehabilitation program. Pain or a current treatment plan needs guidance suited to that situation.
Choose movement coverage before adding variations
| Movement job | Possible starting choice | Different task to keep separate |
|---|---|---|
| Bend hips and knees together | Bodyweight or suitable long-band squat | Thigh-loop inward pull is different from vertical loading |
| Hinge at the hips | Unloaded hinge or suitable band deadlift | Avoid changing the hinge into a deeper squat |
| Lift the hips from the floor | Bodyweight bridge; optional suitable thigh loop | A loop above the knees is not a weight across the pelvis |
| Move the thigh outward or inward | Supported hip abduction or adduction | Direction changes the task |
| Bend or straighten the knee | Supported curl or seated extension | A moving thigh adds a different hip action |
| Move at the ankle | Controlled calf/ankle practice | An ankle-loop hip exercise may not move the ankle at all |
Identify the band format before selecting the exercise. A short closed loop, long continuous loop, open flat strip and ankle-cuff system have different contact methods. A nonelastic numbered stretching strap is another tool. Our band format guide and setup guide explain those distinctions.
Inspect elastic and fittings, clear the complete movement path and use the actual model’s permitted grip, contact and stretch limits. Establish support for balance rather than relying on band tension to hold you upright. Unload before adjusting a slipping band or attachment. A bodyweight rehearsal is preferable to inventing a fixture so you can copy a picture.
Squats with resistance bands: distinguish the loading arrangements
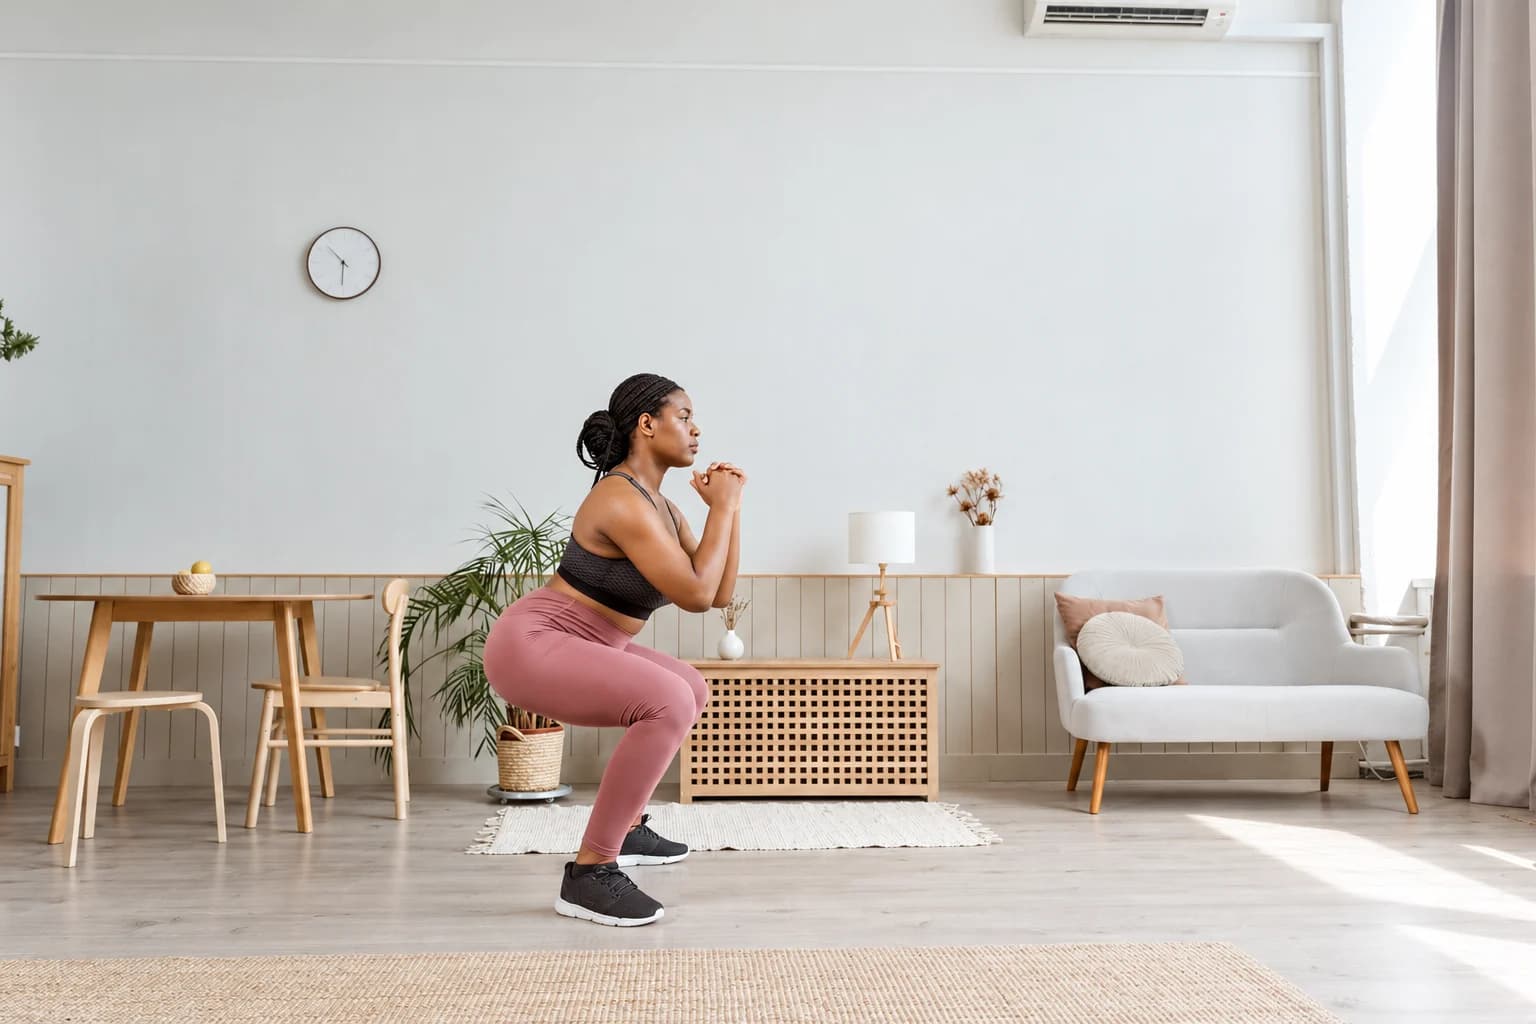
ACE’s bodyweight squat involves bending the hips and knees together, then returning to standing. Begin with a comfortable unloaded version: keep the feet grounded, let the knees follow a comfortable direction relative to the feet, and choose a depth you can pause in and reverse without bouncing. A chair can be a depth reference only when it is stable and appropriate for that use.
A mini loop above the knees pulls the thighs inward as you maintain their position. A suitable long band secured beneath the feet can resist the upward movement through a different path. They should not be described as the same resistance simply because both are called band squats. The ACE band handout, exercise 4, illustrates an underfoot band squat, not a thigh-loop arrangement.
- Rehearse the squat without resistance and establish a repeatable stance and range.
- For suitable equipment, arrange its permitted foot contact and grip while unloaded. With a thigh loop, keep the band flat in its intended position away from the knee joint.
- Lower through the chosen range and stand without a bounce or backward lean. Keep control of the band throughout the return.
- Stop and unload if a foot, grip or band shifts. Do not widen the stance and shorten the band together merely to make the finish feel harder.
A Spanish squat is a different setup
The Catalyst Athletics Spanish squat uses a band behind the knees connected to a fixed support. That changes support and loading compared with a band under the feet or a mini loop above the knees. Neither of those ordinary band-squat arrangements is a substitute for its setup.
Treat that as a separate exercise with its own attachment and positioning instructions, rather than adding a band behind the knees to this guide’s squat. A search for knee-strengthening exercises does not establish a diagnosis or make the Spanish squat an appropriate treatment for every knee problem.
Resistance band deadlift: keep the movement at the hips
For a hip hinge, soften the knees and send the hips backward as the torso inclines, then return to standing through the hips. Keep the arms long. You do not need to touch the floor; stop lowering where the trunk position and footing remain controlled. Begin empty-handed, using the creases of the hips as a movement reminder if useful.
A resistance band deadlift adds an elastic arrangement only when the long band permits the intended underfoot contact and grip. Set even working lengths while unloaded. Keep the hands near the legs as the hips move back and return, rather than curling the band toward the shoulders or leaning backward to finish.
The SET FOR SET leg guide distinguishes band deadlift and Romanian-style hinge examples. Those examples identify movement options; another brand’s stance, band or tempo is not your equipment specification. If the knees repeatedly bend into a deep squat to reach lower, reduce the demand and rehearse the hinge again.
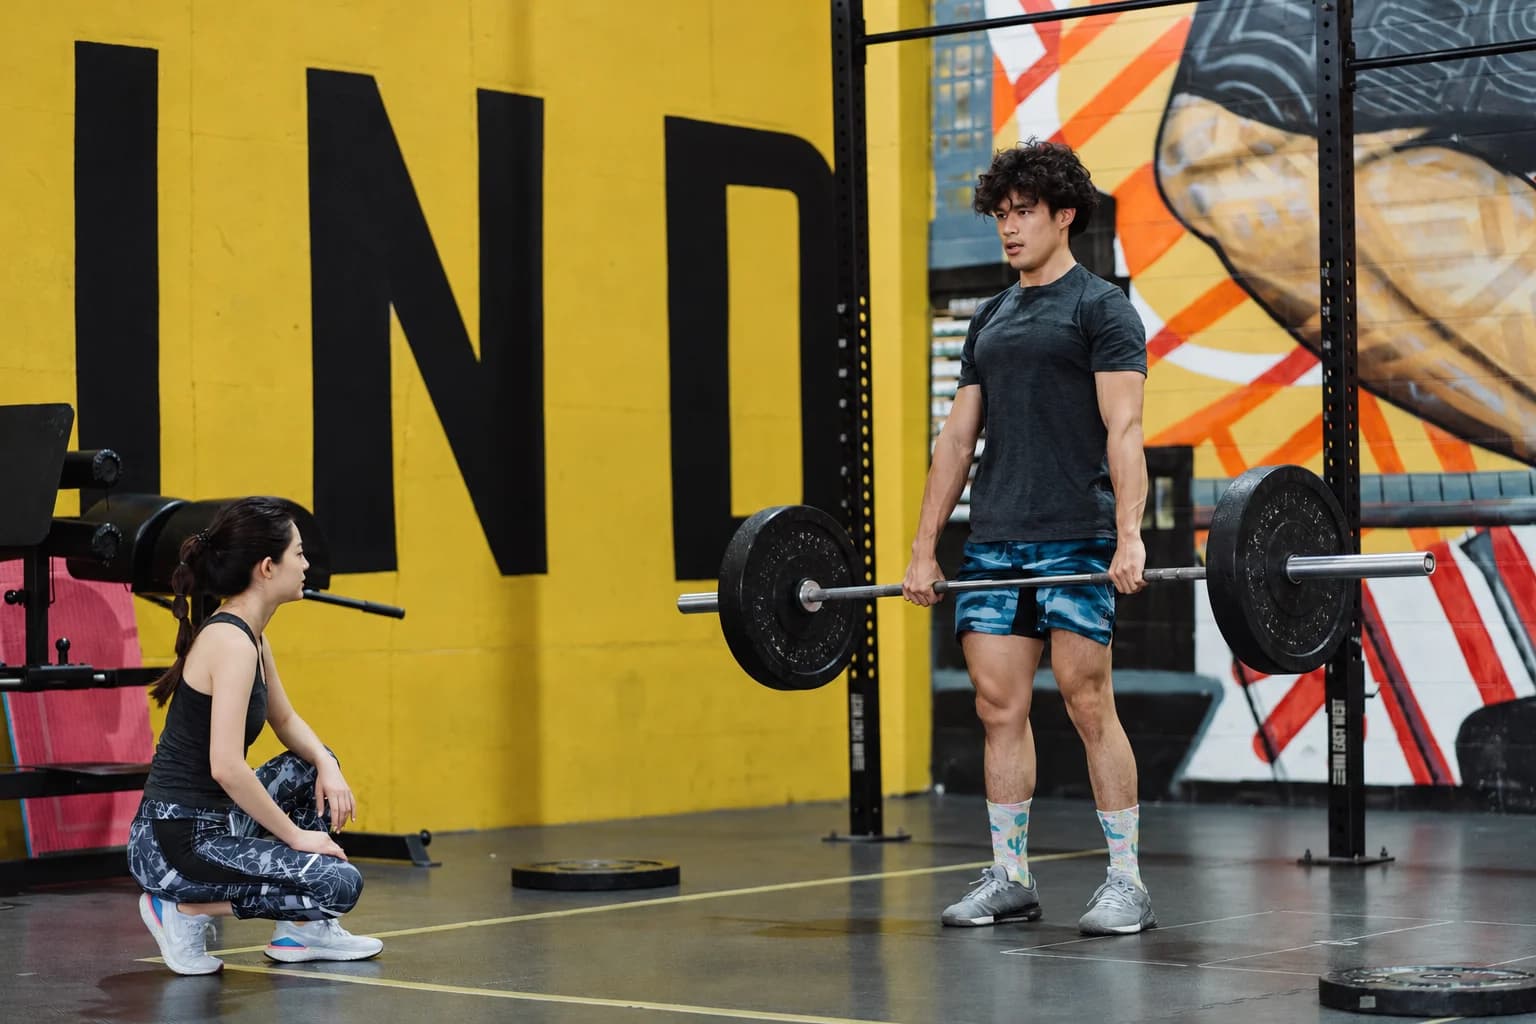
A barbell, dumbbell and band are different external loads. The photograph shows a standing barbell finish only; it cannot demonstrate band contact or a complete hinge sequence. Do not convert a band label or shipping mass into a free-weight equivalent, or assume a heavier-looking tool is the right next step.
Glute bridges: separate hip extension from the loop’s inward pull
In a floor bridge, the head and shoulders stay supported, the knees are bent and the feet remain planted as the hips rise. NASM’s floor bridge describes a controlled lift and descent without excessive lower-back arching. Stop at a comfortable shoulder–hip–knee alignment rather than chasing the highest possible pelvis.
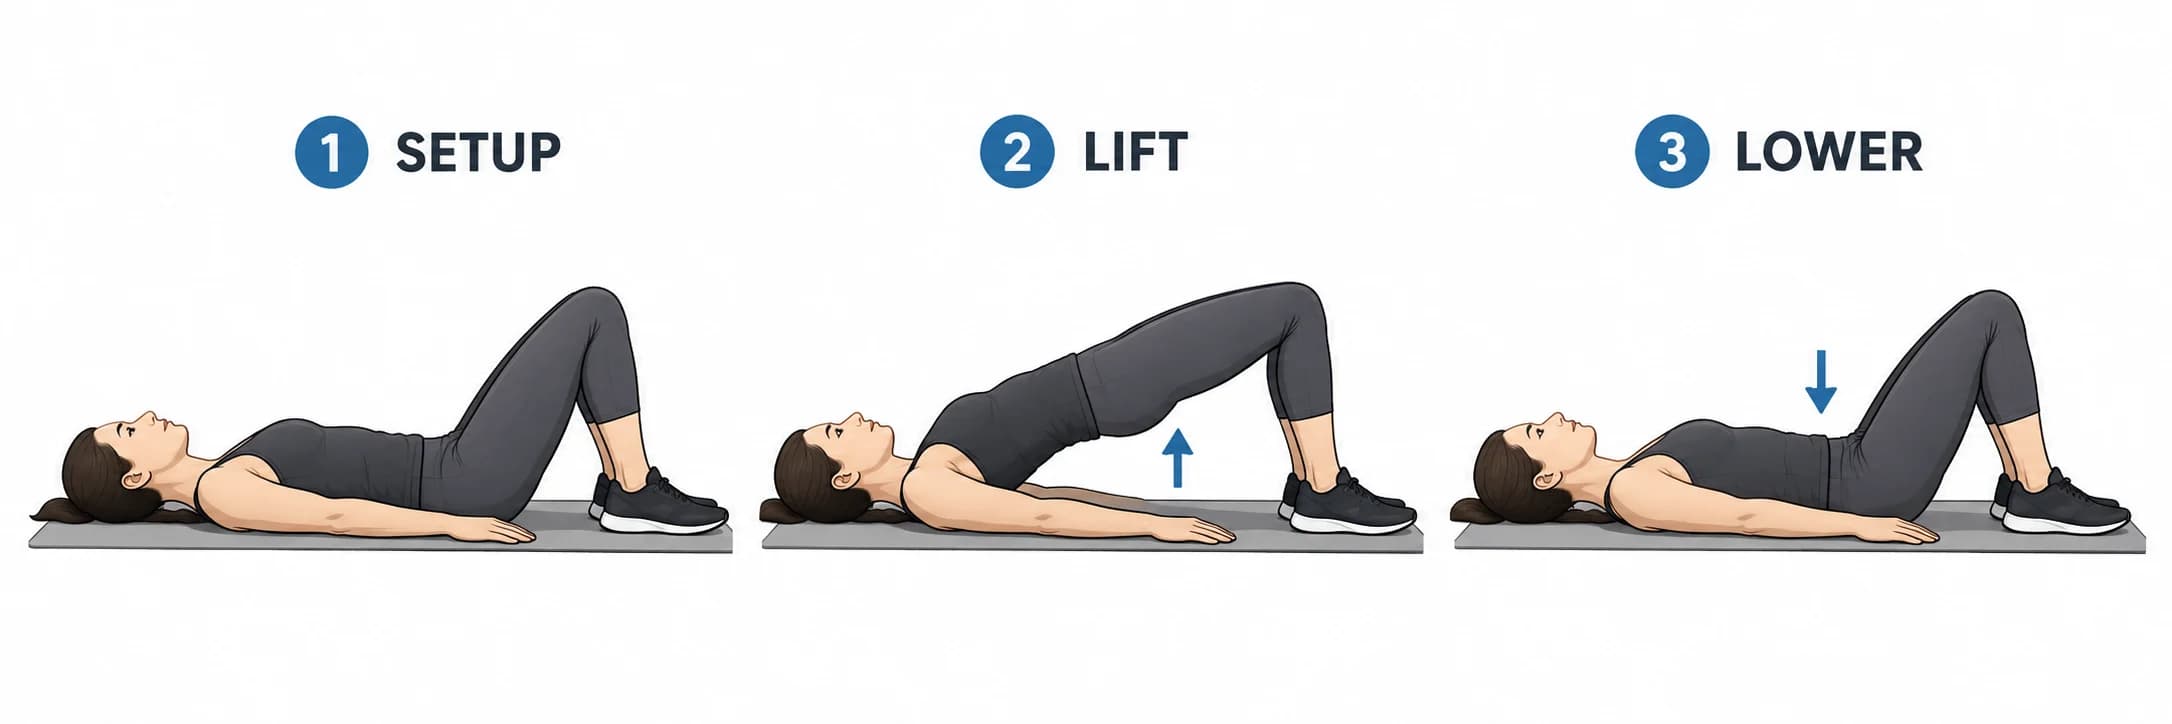
A suitable loop above the knees adds inward pull between the thighs while you maintain comfortable knee spacing. It does not apply the same downward load as a weight resting across the hips. First establish the unbanded bridge, then add a manageable loop only if it stays flat and the movement remains the same.
Keep the loop off the knee joint, avoid forcing the knees as wide as possible and lower before adjusting it. A bench-supported hip thrust is a separate support arrangement; the floor bridge illustration does not establish bench placement or permission to load a long band across the pelvis.
Hip abduction and adduction: outward and inward are different
Hip abduction moves the thigh away from the body’s middle; adduction brings it toward or across the middle. The ACE band handout, exercises 1 and 3, shows supported standing ankle-loop examples with a quiet hip and shoulder. Keep that format separate from a loop positioned higher on the thighs.
For an outward raise, use a stable support, free the moving foot and move the thigh through a small controllable range. Stop before the pelvis tips or the trunk leans to make the foot higher. Return slowly and reset. With an intended inward version, retain the same balance and pelvic control while following that version’s band route and direction.
A loop near the ankles acts farther from the hip than one above the knees. Changing position changes the task and demand; it is not merely a styling choice. Put a loop on while seated if stepping into it challenges balance, and stop to unload if it rolls, pinches or slips. Inner-thigh exercises do not require the widest possible crossing movement.
Hamstring curls and leg extensions move the knee in opposite directions
A knee curl bends the knee so the heel travels behind you. ACE’s same band handout, exercise 2, shows a supported ankle-loop version. Keep the supporting leg steady and the working thigh relatively quiet; swinging the whole thigh adds hip movement rather than completing the same curl.
A resistance band leg extension straightens the knee. Finding Balance Alberta’s booklet, printed pages 14–15, shows a seated arrangement with a tied band around both ankles and one foot kept planted. Its tied flat band is the demonstrated format, not approval to tie or substitute any loop you own.
- Use a stable nonwheeled chair and an appropriate floor, with the working thigh supported and enough space for the lower leg.
- Rehearse straightening and bending the knee without a band. Keep the torso upright rather than leaning back to lift the foot.
- For a suitable band arrangement, keep the supporting foot and chair stable while the other knee straightens through a comfortable range; return slowly.
- Remove resistance if the band, support foot or chair cannot stay secure. Do not anchor elastic to a chair leg or force a locked knee to finish.
Quadriceps exercises and knee-curl exercises are different choices. A guide to knee movement is not a prescription for pain, postoperative recovery or every condition affecting the joint. Choose the version and range suited to your situation rather than adding resistance because the knee feels restricted.
Donkey kick, fire hydrant and clamshell: three hip actions
For a donkey kick, the bent thigh moves backward from a hands-and-knees position. Keep the pelvis and back quiet, lifting only while the motion comes from the hip. A heel pointed toward the ceiling is not a maximum-height target. The ACE quadruped hip-extension description provides that bent-knee movement reference; its older activation comparison does not rank long-term growth.
A band donkey kick adds a separate loading choice: use only a documented thigh-loop version and equipment intended for that placement. Keep a suitable loop flat above both knees, retain the bent-knee action and stop if the supporting knee shifts or the back arches. Return both knees to the floor and unload before adjusting. A loose tube pinned beneath one palm is a different arrangement, not a substitute.
A fire hydrant instead moves the bent leg outward from hands and knees. Rehab Hero’s fire-hydrant instructions describe that movement without borrowing rotation from the pelvis or spine. Its unbanded example does not establish a new band route or clinical indication.
A clamshell is side-lying with bent knees, opening the top knee while retaining pelvic control. Cleveland Clinic’s hip-dip discussion describes that option. Do not roll the whole pelvis backward to make the knee appear higher. Choose a comfortable unbanded version first; an appropriate loop is an optional loading change, not a requirement to do all three drills.
Hip flexion is a forward thigh movement
Hip-flexor exercises move the thigh forward relative to the pelvis, unlike a backward kick or sideways raise. The original TheraBand user guide, pages 32–35, distinguishes low-attachment ankle-band hip movements: hip flexion faces away from the attachment and moves the leg forward; extension uses a different facing direction and backward movement.
Keep the trunk controlled instead of leaning backward to gain height. A comfortable unresisted standing thigh lift can be used to rehearse the direction. An attached ankle cuff or band needs its own approved support, grip and route; the manual’s brand-specific setup is not permission to improvise a cuff or use a short loop as a cable.
Ankle exercises are not simply bands worn near the ankles
An ankle-loop hip raise may move mainly at the hip. Ankle strengthening practice instead includes controlled movement at the ankle itself. The AAOS foot-and-ankle program, exercise 9, demonstrates two separate elastic arrangements. It is written in a supervised recovery context; the movement examples below do not adopt its rehabilitation dose or tell you how to treat an injury.
| Ankle movement | Actual arrangement | Movement reminder |
|---|---|---|
| Band plantarflexion | Seated, heel supported, band around the forefoot and ends held in the hands | Point the foot away in a controlled movement, then return slowly |
| Band dorsiflexion | A separate band attachment in front, with heel supported | Bring the foot toward you against the band, then return under control |
| Supported heel raise | Bodyweight on level ground with suitable balance support | Rise and lower smoothly; a step or added band is optional, not required |
Use a comfortable ankle range with the rest of the leg organized rather than jerking the entire knee or hip to move the foot. Inspect the band and confirm its actual contact and attachment instructions. The dorsiflexion arrangement needs a verified support; do not treat a furniture example as approval for your room. Stop for pain, slipping or a loss of control.
For calf practice, level-ground heel raises avoid making a step edge part of the first attempt. Keep the support available for balance and lower with the same care as the rise. A band near the ankles does not automatically provide meaningful resistance to that upward heel movement.
Build a compact session from distinct tasks
Warm up comfortably and rehearse the chosen movements without meaningful resistance. For an initial practice, select a main knee-bending task, a hinge or bridge, and one appropriate sideways, knee-curl or ankle task. You can distribute the other movements across your wider program rather than turn this whole guide into a circuit.
| Slot | Choose one suitable task | Adjustable practice example |
|---|---|---|
| Main lower-body movement | Bodyweight or suitable band squat | One light set of 8–12 controlled repetitions |
| Different hip task | Unloaded/band hinge or floor bridge | One light set of 8–12 controlled repetitions |
| Accessory task | Supported hip control, knee curl or appropriate ankle practice | A brief light set on each side; end before control changes |
Add another set only when you can reproduce the same setup and movement. Record band identity, position, stance, range and completed work. Change one meaningful variable later. Count running, sport, stairs and demanding leg work elsewhere in the week when deciding what fits; not every session needs more variations or harder resistance.
Glute activation, growth and hip-dip expectations
Glute activation is often used to describe a short practice or warm-up. Feeling a burn does not diagnose inactive muscles or prove the best growth exercise. Keep the task clear: hip extension, sideways control and a standing squat pattern contribute different work, while several near-identical band openings can repeat the same job.
Cleveland Clinic explains hip dips as a normal feature strongly influenced by anatomy. Exercise may train muscle, but no band set guarantees removal of that contour or a particular body shape. Select an appropriate challenge and repeatable progression instead of promises based on a resistance label or a short-term sensation.
Printable leg and ankle exercise cue sheet
Download the leg-and-ankle cue and record sheet for the main movement distinctions, the two different band ankle arrangements and room to record your setup. The ankle section contains actual plantarflexion and dorsiflexion reminders; it is not a leg list relabeled as an ankle workout or a personalized recovery plan.
Two different loop formats from the PBGGAME catalog
The padded hip-loop set illustrates a short closed-loop format. Its source pictures show above-knee use, and its listed packed mass is 780 g. The printed 20/40/60 lb markings are source labels, not a verified force curve or universal beginner-to-advanced scale. Match the actual loop’s placement and fit to the chosen movement.
The Orange five-long-loop option is a separate long-loop format: the selected sale unit contains five loops, despite the short Orange option name. Its listed packed mass is 1,030 g. A long loop, short padded loop and ankle-cuff system are different structures; neither featured set is presented as a complete setup for every exercise above.
Use the resistance-band collection to compare formats, then confirm exact model instructions. These are catalog examples, not products we claim to have tested in this session. For separate floor-control work, see the home core guide.