How to Use Resistance Bands: First Setup & Beginner Practice
Identify your bands, prepare the connections and try a basic movement. Understand door anchors, handle fit, stacking and knots without guessing compatibility.
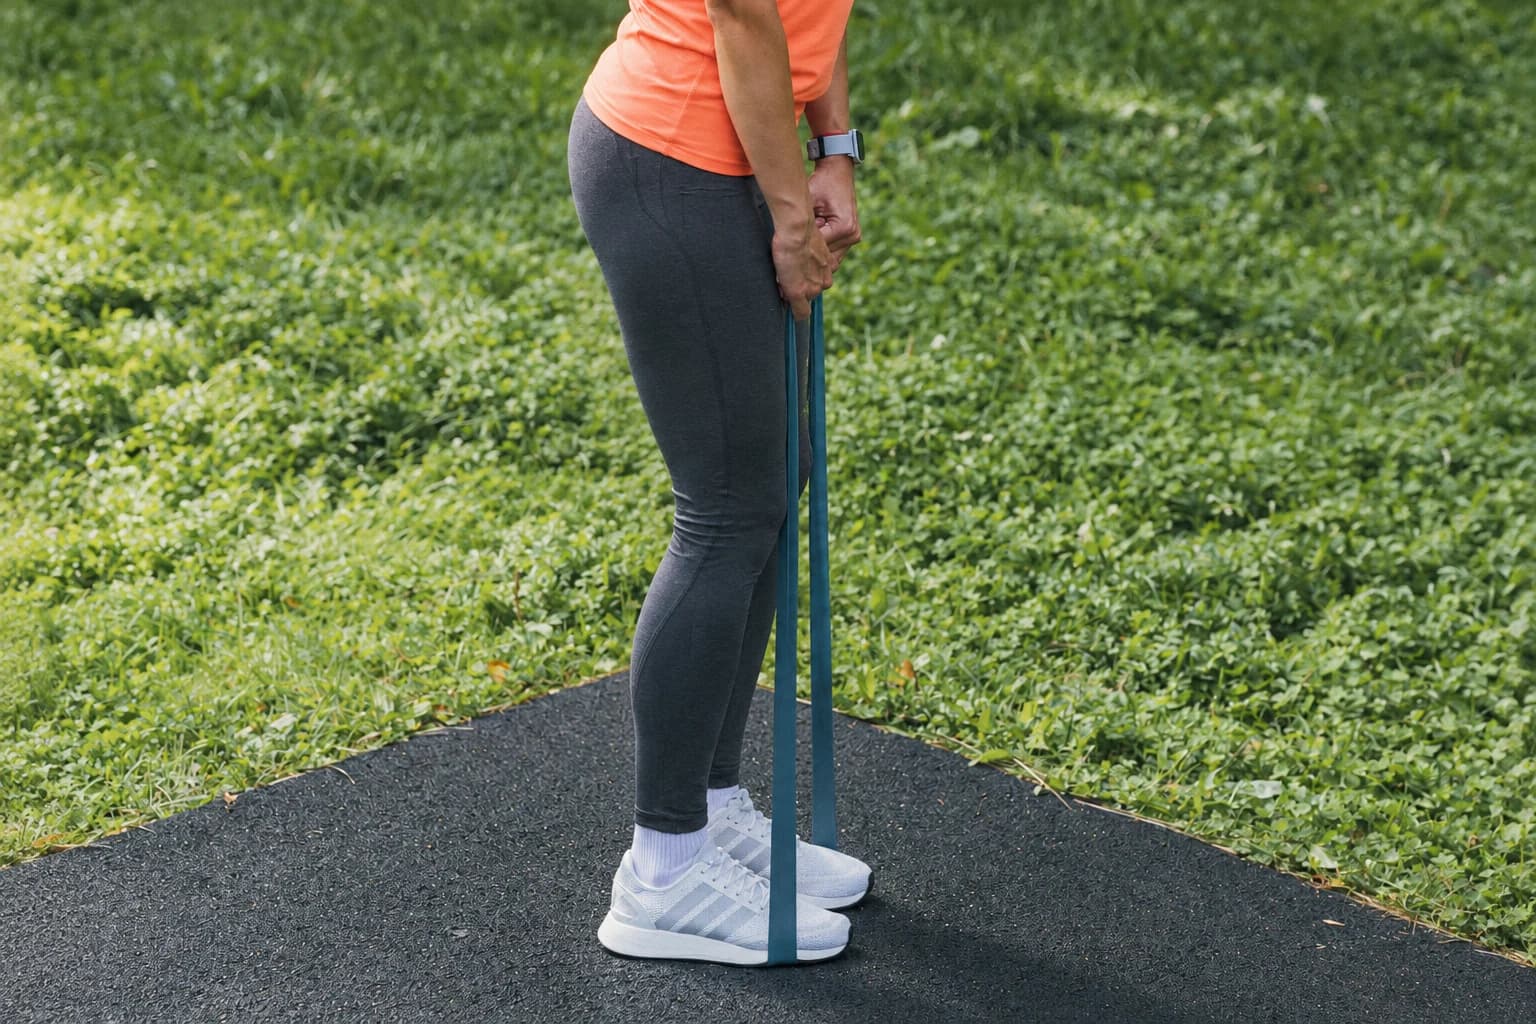
Learning how to use resistance bands starts with three things: identify the band you have, prepare a suitable setup and practise a movement that matches that format. Inspect the elastic and connections before applying tension. Use a manageable resistance, move with control and let the band return slowly rather than releasing it.
This guide takes you from an unopened kit to your first practice, including door anchors, handle fit, stacking and knots. It also shows a simple unanchored exercise example. A short hip loop, a long flat band and a clip-ended tube each need their own instructions; one photograph cannot authorize every connection.
What are resistance bands, and which format do you have?
Resistance bands are elastic exercise tools that oppose stretching. The useful first distinction is their shape: a flat strip with two free ends, a continuous long loop, a short hip loop or a tube with fixed or detachable grips. Some systems include anchors or wearable straps. Identify the exact model before connecting those parts.
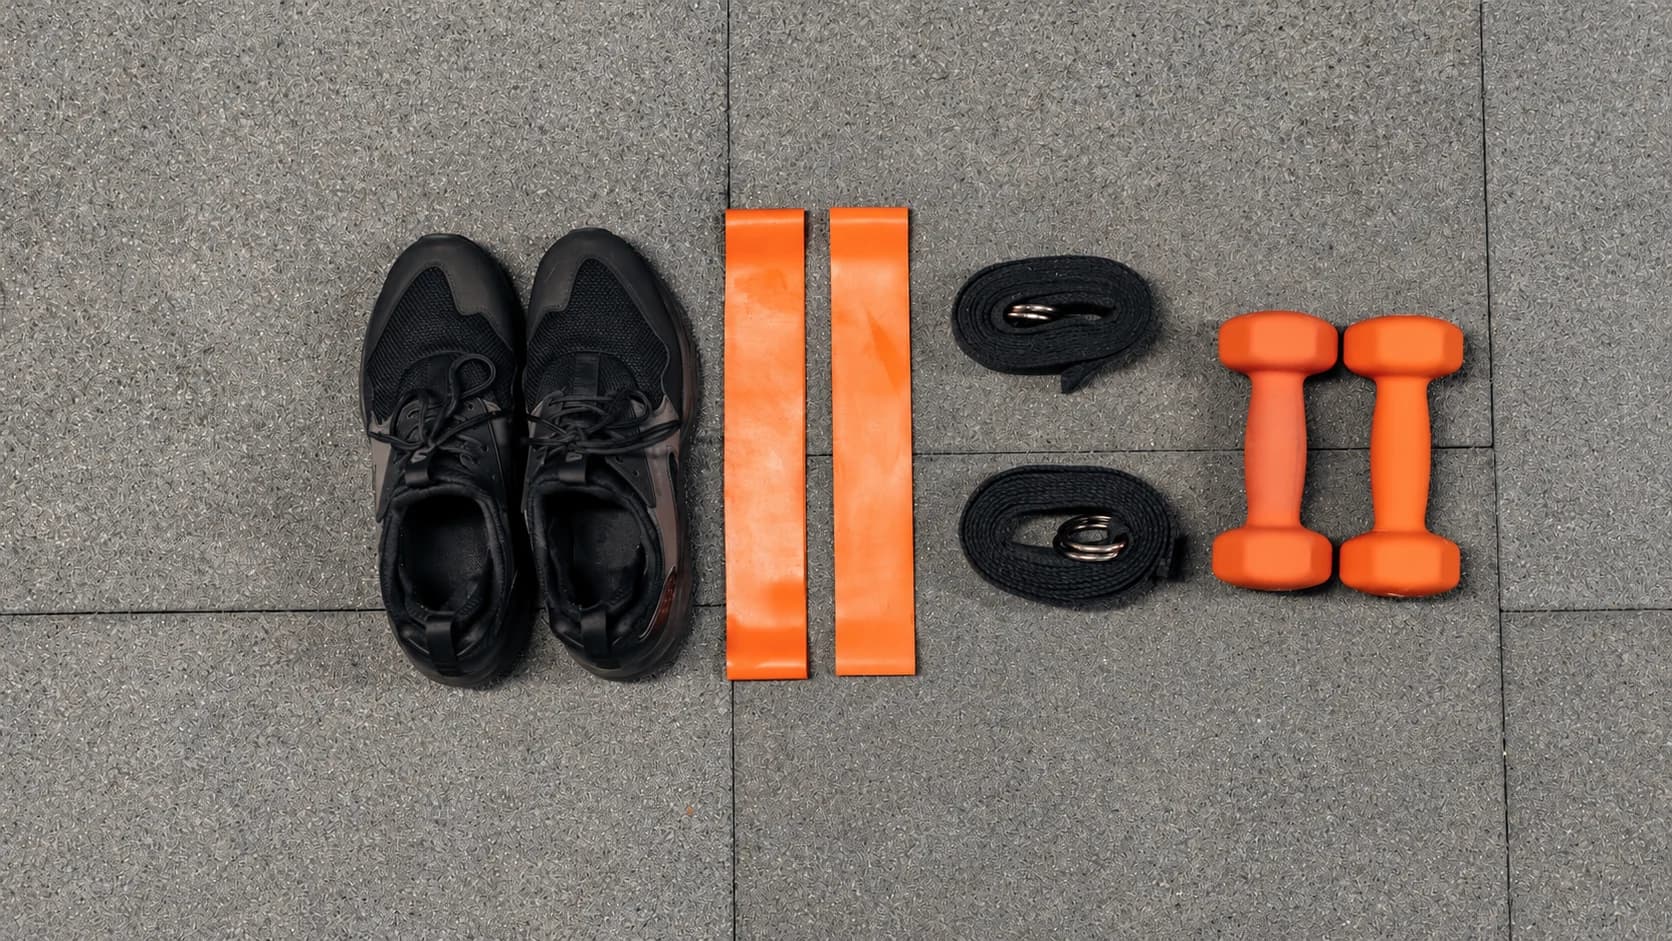
- Lay out the contents while everything is slack. Match the parts to the component list and keep each system’s accessories together.
- Read the setup and inspection instructions before the exercise instructions. Check material restrictions, permitted attachments, stretch limits and replacement criteria.
- Look over the elastic, edges, seams, webbing, clips and fixed ends in good light. Leave damaged or unidentified parts out of the session.
- Prepare a clear area for the complete movement path, including other people, doors, furniture and overhead fittings.
If you are still choosing equipment, our band buying guide compares formats, materials and resistance labels. This page is about using an identified system, rather than assembling a working kit from unrelated spare parts.
A first practice with resistance bands for beginners
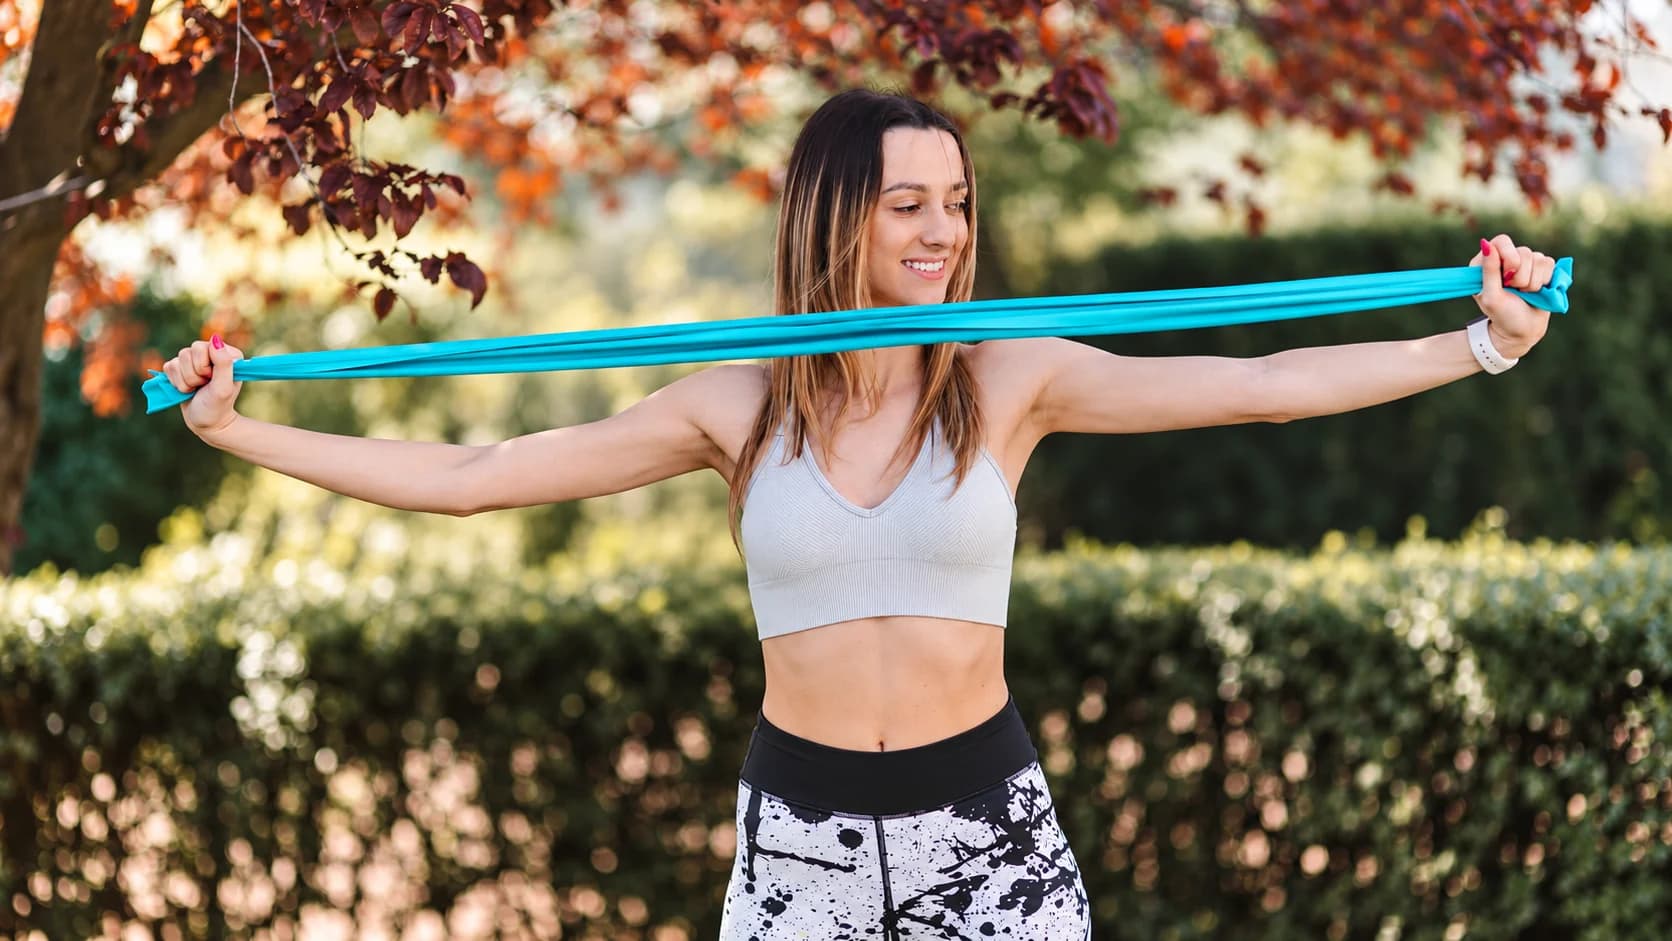
The British Heart Foundation’s guide demonstrates long-band movements with standing and seated options. Use its full demonstrations and your equipment’s instructions alongside these brief cues.
| Example | Cue | Setup |
|---|---|---|
| Biceps curl | Bend elbows with upper arms beside ribs; lower slowly | Suitable long band secured under feet, ends held |
| Pull-apart | Open arms gradually, then return | Long band held in front with an appropriate grip |
| Banded squat | Lower hips through a comfortable range | Long band under feet, ends held; see seated alternative |
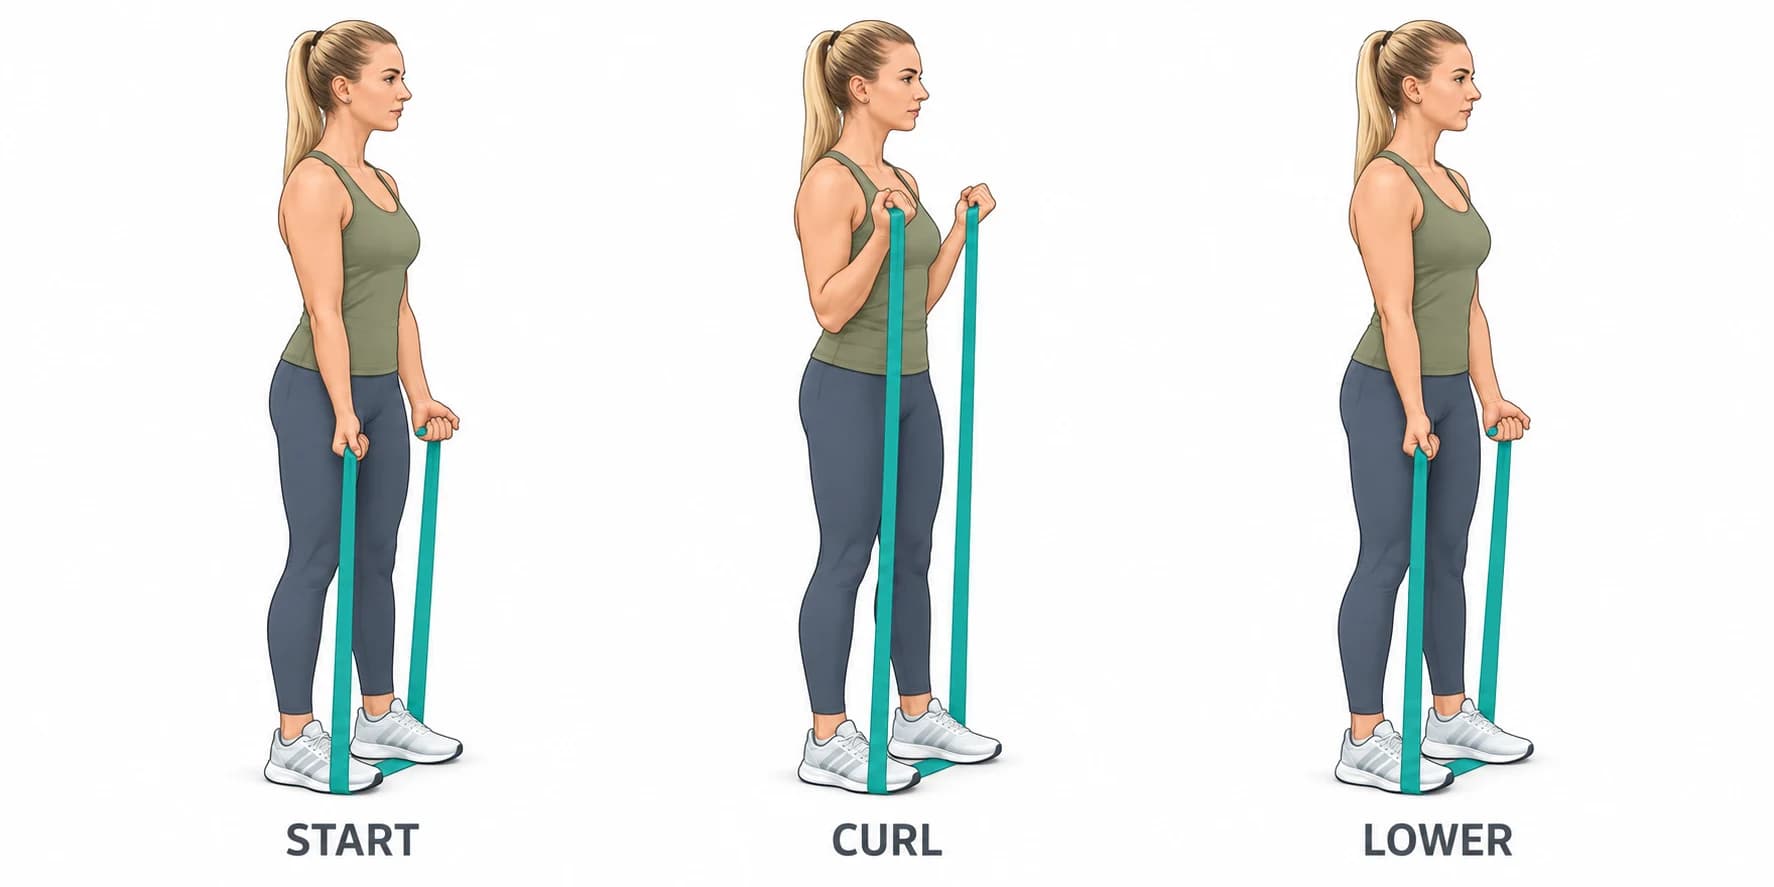
BHF suggests 8–12 curl repetitions; use manageable resistance. Stop for pain or unusual symptoms. With a heart condition or high blood pressure, consult your clinical team before starting.
Keep your first session simple enough to notice the setup and movement. Record the exercise, band model, level and arrangement that worked. Once you understand those, a broader program can cover your training goals. Avoid adding several new accessories and movements in the same first practice.
How to use leg resistance bands without guessing the fit
A short loop worn around the legs needs the circumference, width and placement required by the intended movement. Put it on from a stable position, with no twist and without trapping clothing or skin. Do not assume a long loop folded several times becomes an equivalent mini band.
Check the exercise demonstration as well as the product. The band’s position changes the setup; moving it from above the knees to the ankles is not merely a cosmetic adjustment. Use a movement that supports the exact placement, and stop to unload and reset a loop that rolls or pinches. A stronger band does not correct a poor fit.
Which doors are suitable for a resistance-band anchor?
The answer comes from the anchor’s instructions and the actual door assembly. Check the permitted construction, condition, opening direction, hinge and latch, frame, door gap and anchor position. A door that looks sturdy or closes normally has not automatically met a particular attachment’s requirements.
Read the whole installation method. Some systems use a padded stop on one side of a closed door and a working loop on the other. Their orientation and the way the band connects matter. A different model may use a sleeve or a metal connection; do not copy a route just because two straps look alike.
The Bodylastics manual, for example, specifies hinge-side placement and door controls for its own anchor. Those requirements show why the system identity matters. They do not establish the approved door construction, gap or installation limits for a PBGGAME attachment.
- Confirm that the door, frame, hinges and closure meet the exact instructions. Stop if a requirement is unknown.
- Control access from the other side so another person cannot open the door during the exercise. Use any locking arrangement required by the maker.
- Inspect the anchor and band unloaded, then install the retained part and working end in the documented positions.
- Follow the approved band route and the maker’s controlled pre-use check. Recheck after moving the anchor or changing the exercise.
Gaiam’s door-attachment guide specifically tells users of its attachment to close the door tightly and check strap security before each exercise. A pre-use check can reveal a problem; it cannot certify an unknown door or replace missing installation information.
Before resistance band exercises with a door anchor
Choose an exercise demonstration for the band and anchor system you actually own. Confirm the prescribed anchor height, connection route and body position before adding tension. A row and a press may need different orientations; changing direction can change how the attachment is loaded.
Keep the band away from abrasive edges and unintended moving contact. Check the full path from the support through the anchor, connector, elastic and grip. A strength claim for one component does not establish the suitability of every other part or the door behind it.
If you cannot verify a door arrangement, choose an appropriate exercise that does not require it. The unanchored long-band examples above show a different equipment direction. They still require a suitable band, permitted grip or foot contact and enough space; “no door anchor” does not mean “no setup checks.”
If a resistance band door anchor slips
If you notice your resistance band door anchor slipping, stop the movement and unload it before touching the connection. Identify what moved: the retained stop, webbing, band inside its sleeve, clip or the door itself. Those are different problems, and pulling harder cannot tell you which arrangement is approved.
| Observation | Check while unloaded | Decision |
|---|---|---|
| The door shifts or does not remain securely closed | Closure, access control and the maker’s door requirements | Stop until the door arrangement is verified |
| The retained part changes position | Correct orientation, seating and permitted gap | Reinstall only by the actual instructions |
| Elastic moves against hardware or an edge | Approved route, sleeve or connector and contact surfaces | Resolve the route or compatibility before loading |
| Fraying, cuts, damaged stitching or a connector that will not close | Product-specific retirement criteria | Set the affected component aside |
| A correctly followed setup still moves | The exact product documentation and support advice | Use another documented arrangement rather than repeated loading |
Do not add a household wedge, extra knot, glue, tape or an unapproved clip to keep a shifting anchor in place. If a documented reset does not resolve it, stop using that arrangement and contact the maker. Keep the equipment unloaded while asking for help or taking identification photographs.
Resistance band handle compatibility and hand fit
First confirm the mechanical connection; then judge grip comfort. Clip-to-ring systems, band-through-slot handles and fixed-handle tubes use different attachment designs. A ring that accepts a clip, or an opening large enough for a loop, has passed a space check rather than a compatibility assessment.
For the Bodylastics clip system, the manual identifies the metal rings used for its band clips. Follow the exact connection points for that system. Do not transfer the route to an unrelated fabric loop, open-slot handle or fixed-handle tube. A separated fixed handle is damaged equipment unless the maker supplies an approved replacement procedure.
Comfortable resistance band handles need usable grip space, room for the fingers and knuckles, a suitable diameter and surrounding webbing that does not press awkwardly into the hand. Check these unloaded. Overall product width is not the same as usable grip length, and a soft surface says nothing about the attachment rating.
- Identify both the band and handle model, plus the band-end or slot design.
- Confirm the documented band format, permitted connector and any size or combination limits.
- Check that the connection seats correctly without a partly open gate, trapped fabric or elastic pinched against an unintended edge.
- Check hand clearance and grip feel without altering straps, rings or the handle.
- If something is unclear, send support the model names, unloaded photographs and the precise connection you propose.
Can you stack resistance bands?
Yes, when the exact system explicitly supports the combination. The Bodylastics manual describes combining its compatible clip bands; that permission belongs to that system. It does not approve every loop, handle, anchor or crowded group of connectors.
Before stacking, verify the bands, end fittings, handles, anchor and support together. Check the allowed attachment count and arrangement, not just a printed resistance total. Return every band to a fully slack position before adding or removing a connection, and inspect both ends before use.
Keep a repeatable record such as the model, band identifiers, approved attachment and starting position. Adding label values does not measure the force throughout an exercise. A documented single-band option may be simpler when a permitted combination becomes slow to assemble or inspect.
How to tie a resistance band depends on its format
Tie an open flat band only when its maker permits the intended use and supplies the exact method. Performance Health’s THERABAND FAQ describes a double-knot method and checks for its free-ended band. That is a specific permission, not a knotting instruction for every elastic product.
Use the required starting length and loop size, inspect the ends and follow the full method while the band is slack. A knot consumes some usable length. Check the finished connection for the tightness, wear and positioning required by the maker before each use. If the method is missing or unsuitable for the needed loop, choose an appropriate supplied loop instead.
A knot is not a repair for a tear, a separated tube handle or a missing door-anchor stop. Do not use it to create an undocumented shorter band, extra handle or suspension point. Stop if the knot slips, a tail moves or an edge is damaged; unload the band before any adjustment.
| Featured component | Exact information still needed | Do not substitute |
|---|---|---|
| PBG-313816 door attachment / loop set | Complete installation, permitted door construction and orientation, pre-use check and retirement criteria | Bodylastics or Gaiam installation steps |
| PBG-878502 open-slot handles | Actual slot aperture, approved band formats and connection route | The 10 cm inner grip length as a slot or strength specification |
| Proposed combination | Explicit compatibility for the complete arrangement | The fact that a loop physically fits through an opening |
Request the exact model documents through PBGGAME contact, with unloaded identification photographs and the intended arrangement. These catalogue items are not a confirmed compatible bundle. If the required door or connection information is missing, do not use a loading test to invent the permission.
Two connection examples in the PBGGAME catalog
The TPE long-loop band set includes continuous flat loops and a padded door attachment. Identify the selected option and its own installation information before using that attachment. The exercise illustration above shows an open flat band, not a test of this loop set or permission to copy its grip. The linked example is the four-loop option.
The open-slot wood-and-metal handle pair is a separate pair of handles with a curved inner band seat. Its listing gives a 10 cm inner grip length; that is not a verified slot aperture or an approved band list. These two products illustrate different connection decisions and are not presented as a confirmed compatible bundle. The linked pair is the Medium option.
Choose an accessory when it solves a real, documented setup need. If you need to improvise a connection to make a purchase usable, resolve the equipment choice first. The resistance band collection offers different formats; the right one is the format your movement and setup actually support.
Keep the next session easy to repeat
After practice, clean, dry and store the equipment as directed. Separate any worn component immediately, and keep the instructions and component identities available for the next session. Our compact equipment and packing guide covers carrying the kit without trapping elastic against hardware or damp items.
Your useful first-session record is short: which exercise, which band and level, which approved connection, and what you need to prepare next time. That gives you a clear starting point for building a routine without turning every session into another equipment experiment.