Home Shoulder Exercises: Press, Raise and Control the Load
Choose home shoulder exercises by the movement: overhead pressing, lateral raising or a different pull. Compare band and hand-weight setups with clear control cues.
Choose home shoulder exercises by the action you want to practise: press upward, raise the upper arm outward, or use a different pulling path. Resistance band shoulder exercises can cover those tasks, but the band, working length and available space must fit the particular movement. One controllable exercise is a more useful starting point than a long list you cannot set up consistently.
Read the selected hand-weight pair before choosing a load
| What to identify | Selected item | What still needs checking |
|---|---|---|
| Sale unit | One pink refillable hand-weight pair, supplied empty | Exact filling and closure instructions |
| Packed mass | The listed 231 g is a packed-item measurement | Actual training mass after water filling |
| Fill wording | The source labels 2 lb per body and 4 lb per pair | The finished mass of your actual filled pair |
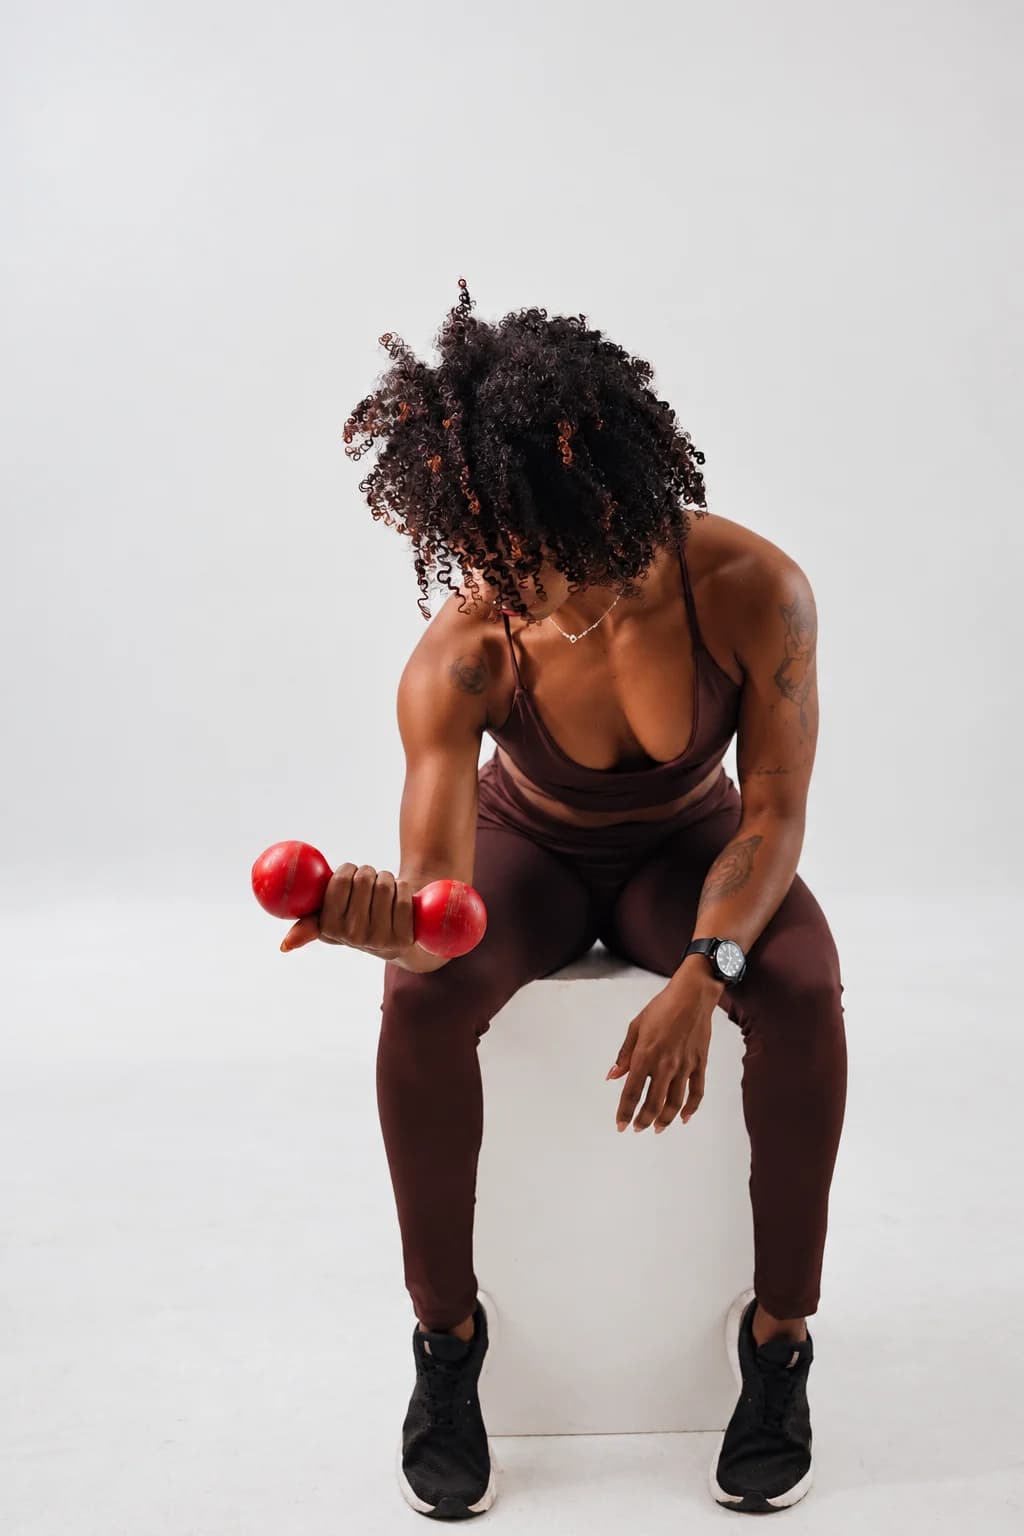
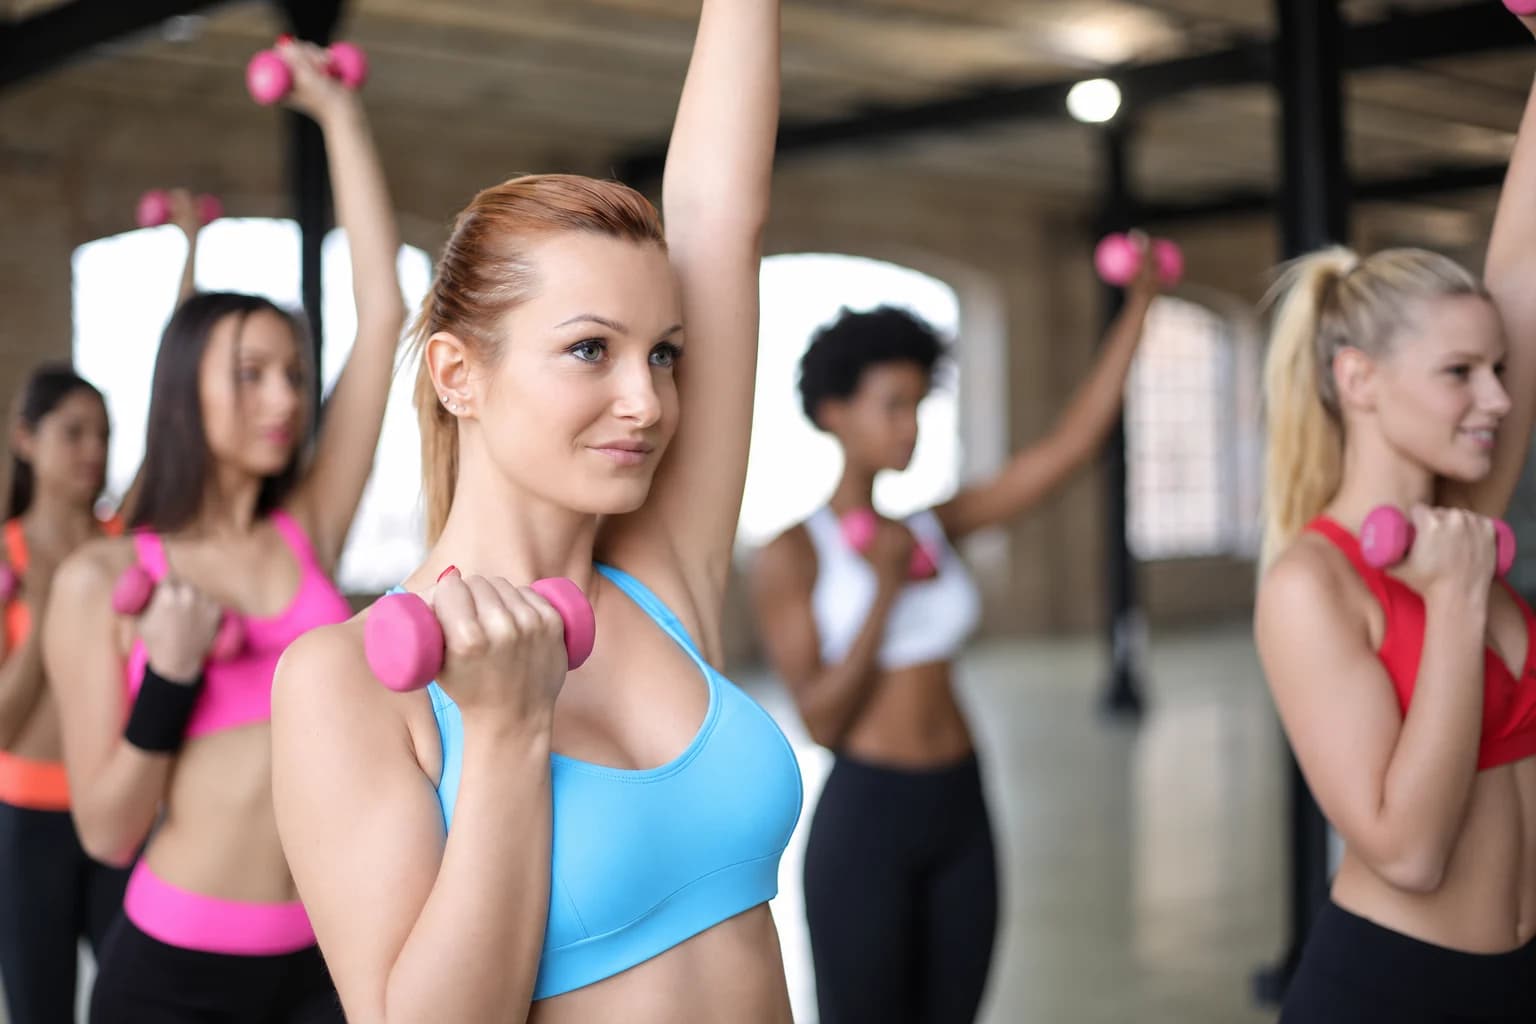
The selected pink refillable pair ships empty. Follow its own water-filling and closure instructions and establish the actual manageable load. A label for this or another option is not an independent weight measurement or a weight-loss promise.
This guide brings together the standing band overhead press and lateral raise, then compares the support and resistance of a dumbbell version. It is general fitness instruction, not a shoulder rehabilitation program. A painful unloaded reach is a reason to leave that movement out and get appropriate guidance, rather than add resistance to force it.
Press, raise or pull: choose the action first
| Task | What the arms do | A useful setup question |
|---|---|---|
| Overhead press | Elbows straighten as the hands move upward | Can you control the overhead finish and the return? |
| Lateral raise | Upper arms move outward with a small, fairly constant elbow bend | Can you retain the arm path without a swing or exaggerated shrug? |
| Rear-shoulder pull or opening | The path and elbow action depend on the chosen row, pull-apart or face pull | Does the equipment match that exact pulling arrangement? |
If you have no verified external anchor, that rules out some pulling arrangements; it does not rule out every directly held or permitted foot-secured band exercise. If overhead room or a comfortable reach is missing, choose a different controllable task. Check ceiling fans, lights, shelves and the full arm path before putting resistance in your hands.
Band overhead press: make room for the finish
A band overhead press starts around shoulder level and ends with the hands overhead as the elbows straighten. Middlebury College Sports Medicine’s shoulder handout shows a band beneath the feet, bent elbows at the start and a slow return after pressing upward. That brief movement example does not establish another product’s permitted foot contact, stretch limit or rehabilitation program.
- Rehearse the comfortable overhead reach empty-handed. Keep the trunk steady instead of using a large backward lean to create extra height.
- Inspect a suitable long band or handled system and establish the foot contact and grip its own instructions permit. Keep hard clips and handles out from beneath the shoes.
- Bring the hands to shoulder level using a manageable entry method. Keep wrists aligned with the forearms and the feet stable.
- Press upward without bouncing the knees or arching the back to finish. Return under control to the same shoulder-level start, then remove tension before stepping out.
Check the last part of the first light repetition. If the wrists fold, one hand races ahead or the torso bends backward, the finish is too demanding or the arrangement needs attention. An easy start does not make an uncontrollable overhead finish acceptable. Unload before adjusting the band’s centering, grip or foot position.
The THERABAND manufacturer FAQ explains how force changes with elongation for its own bands. That is why usable length matters through the whole press. Its color chart is not a force scale for your PBGGAME equipment, and a printed band rating is not a dumbbell-equivalent weight.
Entering and leaving the start position are part of the task. Do not swing heavily stretched handles past the face to get ready, drop a grip under tension or lift a foot while elastic is still loaded. If the setup itself is a struggle, choose a more manageable arrangement before practising repetitions.
Resistance band lateral raise: keep the lift distinct from a press
A resistance band lateral raise moves the upper arm outward while a slight elbow bend stays fairly constant. It differs from a front raise, which moves mostly forward, and from a press, which deliberately straightens the elbows. A band that suits your press may be too demanding for this longer-lever task.
The ACE whole-body band handout, exercise 5, illustrates a same-side foot-held lateral raise with a small elbow bend and a controlled return from shoulder height. Use it to recognize the movement; select the actual band and contact method by their own instructions. It is not a short hip-loop exercise.
- Rehearse the arm arc without resistance, beginning near the side with a small elbow bend. Keep the wrist aligned instead of folding it to gain height.
- Set a suitable light band and approved grip, with a steady torso and a comfortable knee bend. For two arms, check comparable working lengths.
- Raise outward only through a comfortable, controllable arc, generally no higher than shoulder level for this starting version. Let the hand follow the upper arm without swinging ahead.
- Lower gradually along the same path. End the set if a fast swing, body lean or abrupt shrug becomes the way you complete the lift.
Foot spacing and grip length change the working span, so they are loading variables as well as setup details. Do not keep widening the stance to eliminate slack if that makes the top unmanageable. Choose a more suitable band or permitted working length, and keep the range consistent enough to compare the next attempt.
You do not need to turn the little finger upward, force an uncomfortable hand angle or pin the shoulder down to copy a dramatic end position. Judge the actual movement: can the arm rise and return while the trunk stays steady? A smaller comfortable arc is preferable to a higher finish obtained by changing the exercise.
What changes with a supported dumbbell press?
A dumbbell gives you a stated mass acted on by gravity. A band supplies elastic resistance that changes with its extension and arrangement. Those differences remain even when the arm action has the same name. Do not turn a band label or a kit’s shipping weight into a claim that it equals a particular dumbbell.
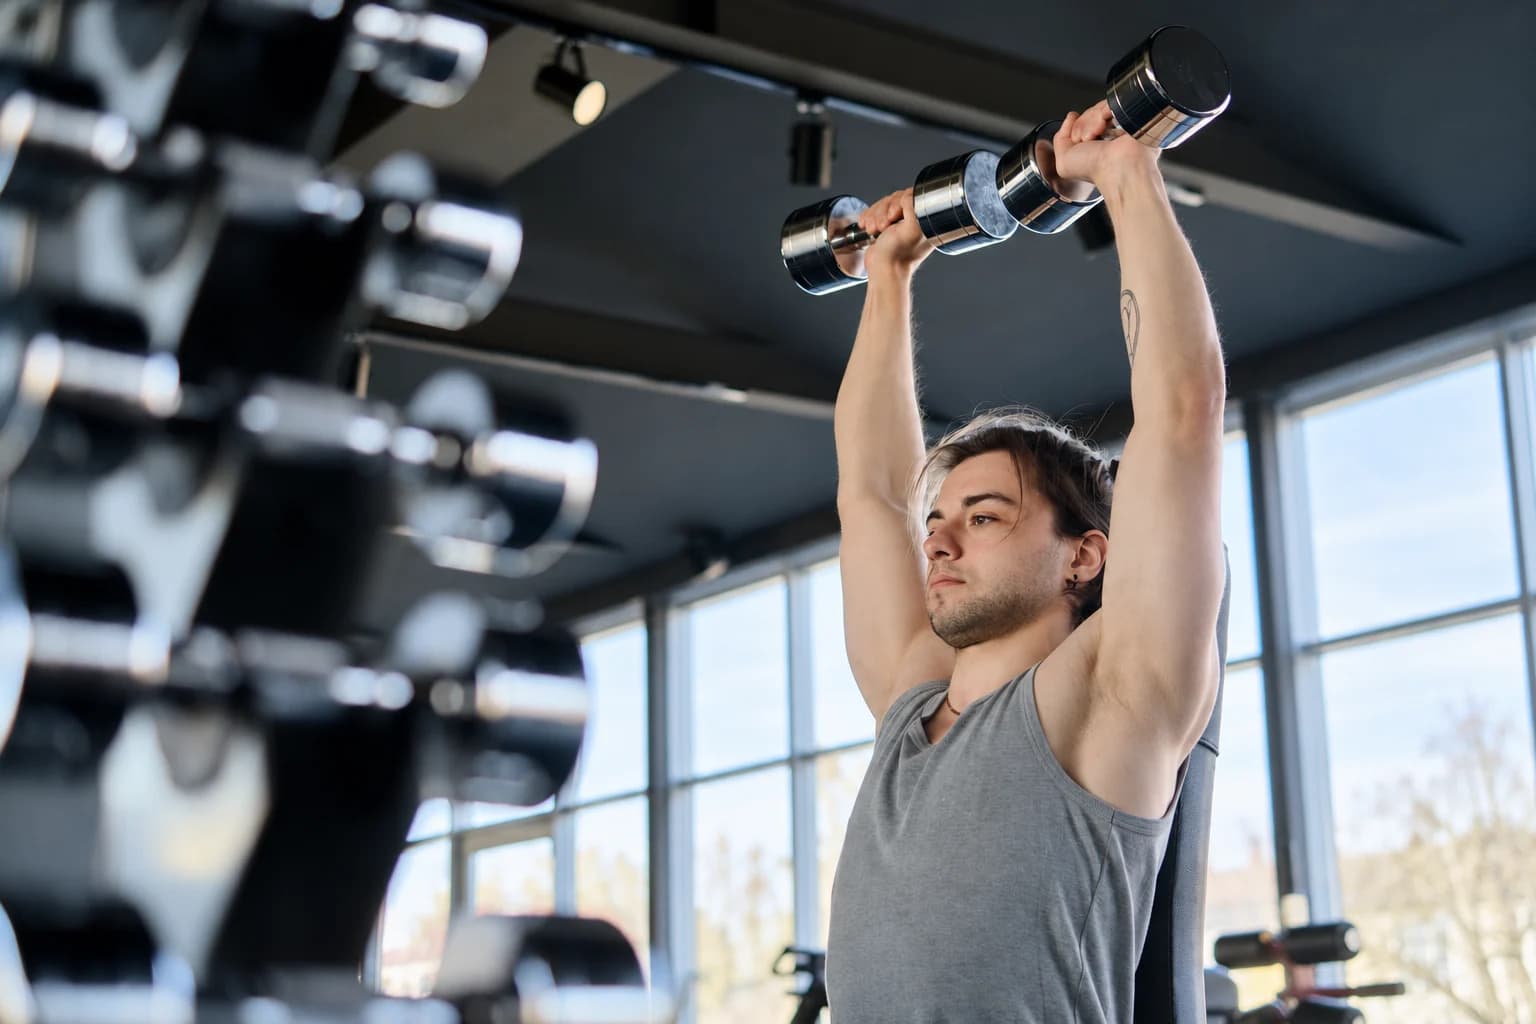
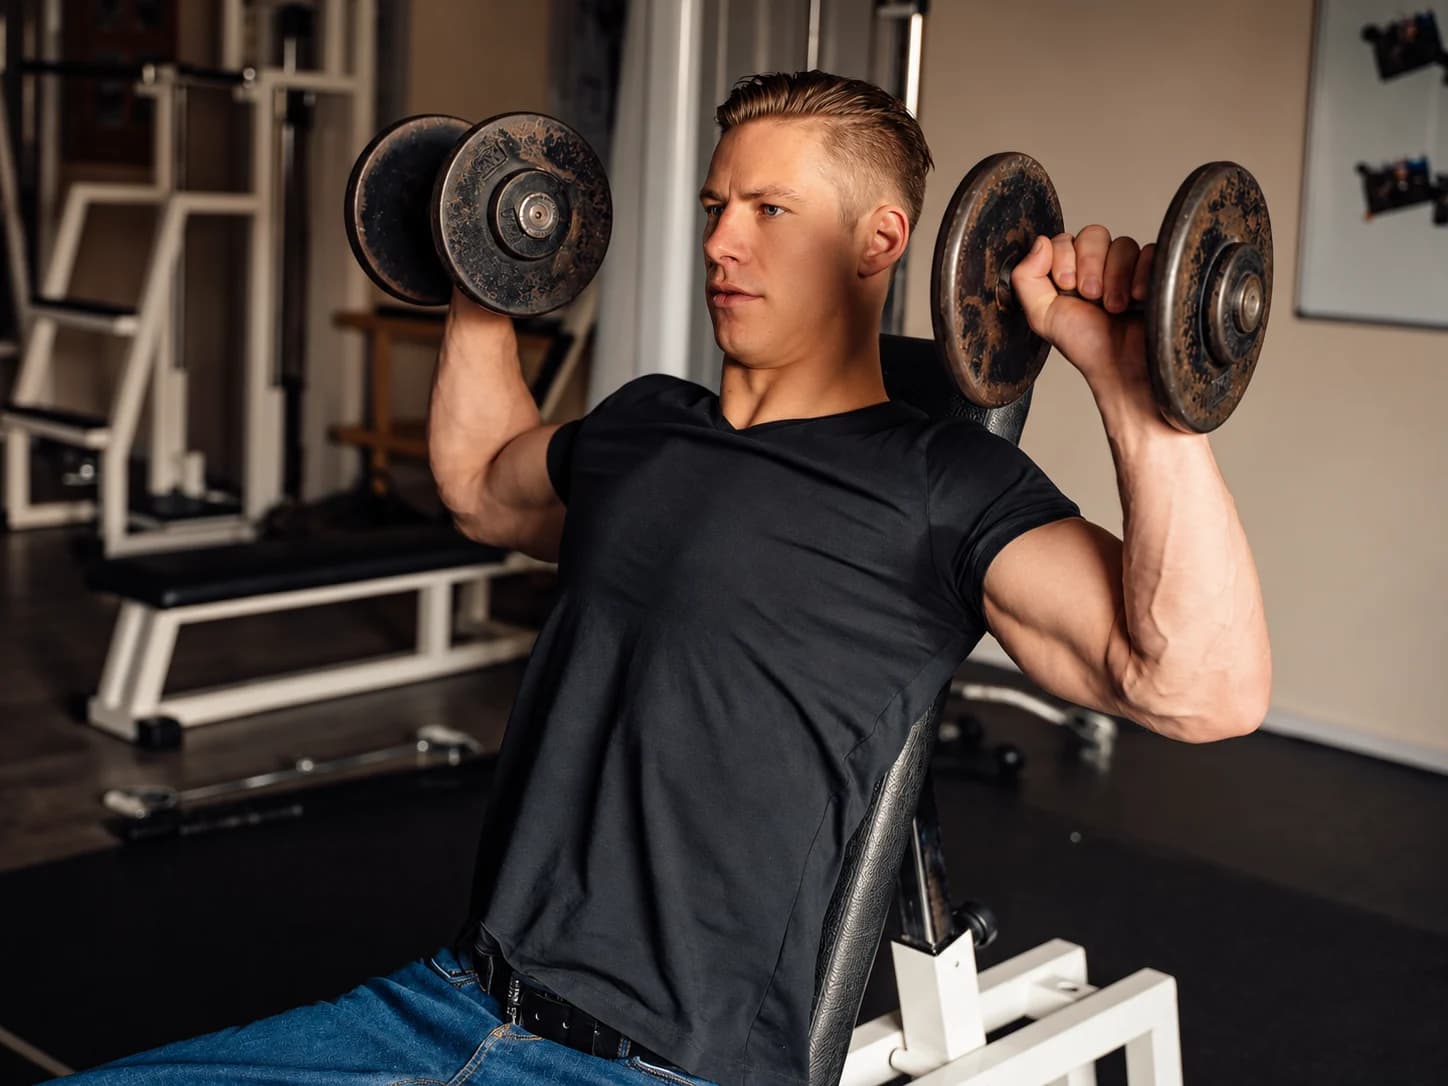
The American Council on Exercise’s seated overhead press uses a bench backrest, feet on the floor and the weights near shoulder level. Maintain the intended head, shoulder and buttock contact, align the wrists, press without arching and lower slowly. Use support designed for the exercise and a weight you can position and set down as well as lift.
That supported version is different from standing on a band. A seated photograph does not establish how the feet should contact elastic, and a standing tutorial does not set the backrest angle for another bench. Establish the instructions for the actual version rather than borrowing a start from one and a finish from the other.
Free weights also allow lateral raises. In ACE’s dumbbell lateral raise, a slight elbow bend, steady torso, controlled outward lift to shoulder height and slow lowering define the task. Select the mass for that raise; it need not match your press weight. A light manufactured hand weight can still have a different grip and construction from the dumbbells in a demonstration.
Leave room for a different pulling task
A pull-apart, face pull and row are different choices for the arms and upper back. A directly held pull-apart opens the hands without a fixed anchor; a face pull needs a suitable higher attachment and bends the elbows; a row uses another pulling line. Our home back-exercise guide explains those setups and the separate bodyweight options.
Choose a pulling movement for a clear place in your program rather than adding all of them after pressing and raising. They are not a guaranteed posture correction or treatment for a painful shoulder. The home chest-exercise guide also helps you account for the pressing work already in your wider routine.
Make one useful adjustment at a time
| What you notice | What to revisit | A more repeatable next attempt |
|---|---|---|
| Back bends near the press finish | End-range demand and comfortable overhead reach | Use a more manageable resistance and retain the same body position |
| One press hand rises first | Working lengths, grip and band centering | Reset unloaded before comparing sides |
| Lateral raise needs body swing | Load and selected arm arc | Rehearse lightly through the same comfortable range |
| Elbow bends more as a raise gets harder | The arm shape changes under load | Reduce demand and retain the same modest elbow bend |
| The band pulls the hands down quickly | Return control | End the set and choose an arrangement you can lower smoothly |
Begin with light rehearsal and select work and recovery that fit your current ability and wider program. Keep a note of the movement, actual weight or band identity, grip, stance, comfortable range and completed work. A color alone is not enough to reproduce an elastic setup.
When the same movement is repeatable, change one meaningful variable: more controlled repetitions, an appropriate small resistance change or a different supported variation. Changing stance, grip length and band strength together makes the comparison unclear. Stop for pain, tingling, dizziness or an unexpected loss of control instead of making a harder attempt to solve it.
Two different formats to compare in the catalog
The personal Pilates kit includes a separate long tube with two foam handles as well as a flat band. Keep that long handled component distinct from the short six-tube pedal puller also included in the kit. Its listed 1,107 g is packed mass, not resistance. Confirm the actual component’s exercise and stretch instructions before choosing it for an overhead or raising path.
The pink refillable hand-weight pair is a different manufactured fitness format with integrated grips. It ships empty; the listed 231 g packed mass is not the filled training load. The source’s 2 lb-per-body water-fill wording and 4 lb-per-pair label are fill claims, not an independently verified finished weight. Follow its filling and closure instructions and establish the actual manageable load rather than treating the empty package or label as a scale measurement.
These examples offer different resistance formats, not a claim that we tested either in the illustrated exercises. Compare the resistance-band collection and the band format guide before choosing equipment to fit your intended task.