Home Chest Exercises: Presses, Flyes and Push-Ups with Bands or Weights
Choose a chest press, fly or push-up by your available support and resistance. Compare band setups, bodyweight options and dumbbells with clear movement cues.
Resistance band chest exercises become easier to choose when you separate three tasks: pressing the hands forward, bringing the arms together in a fly, and pushing the body away from a support. You do not need all three in every session. Start with the movement, resistance and setup you can control, then compare bands, bodyweight or suitable dumbbells for that job.
This guide combines the movement choices with the practical details: a standing band chest press, a controlled fly and resistance-band push-ups. It also explains where free weights or an easier bodyweight variation offer a different option. The equipment must fit the movement; a heavier-looking band or a more complicated accessory is not automatically an improvement.
Find an available starting point before the exercise details
| Your current situation | Go directly to the relevant option | What to record |
|---|---|---|
| No verified rear anchor | Appropriate self-held floor press if your band allows it, or unbanded push-up choices | Exact movement, band/contact or support, and controllable range |
| A documented standing band press setup is available | Standing press | Band, anchor, working length and stance |
| Fly becomes a press or requires a lean | Fly boundary and simpler press comparison | Opening boundary and elbow shape |
| Unbanded push-up position changes | Suitable easier bodyweight variation | Support / modification and movement quality |
| Fixed light dumbbells no longer suit the goal | Dumbbell setup discussion | Actual per-hand weight, support and completed work |
A verified anchor is a separate equipment condition. Without one, read the suitable unanchored or bodyweight route first; a fly or added band remains optional, with each version’s entry and exit retained below.
Choose the movement before the tool
| Movement | What changes | What you need to establish |
|---|---|---|
| Press | The elbows bend and straighten as the hands move away from the chest | Suitable resistance, a controllable start and return, and the specified support or anchor |
| Fly | The arms sweep while a small elbow bend stays fairly constant | Light enough resistance to preserve the arc and a comfortable opening boundary |
| Push-up | The hands stay supported while the body moves | A stable surface and a version that lets the trunk and hips move with the chest |
A chest workout with resistance bands can use an anchor behind you, a band held around the back or a suitable loop across the upper back during a push-up. Those arrangements have different contact paths. Do not combine the grip from one version, anchor from another and stance from a third because the final photograph looks similar.
Before choosing resistance, match the exact band format, length and permitted connections to the demonstration you follow. Our band buying guide covers that choice, and the first-setup guide explains anchors and connections. Neither a color nor a printed pound total establishes the setup.
Standing resistance band chest press
The American Council on Exercise’s chest-training comparison describes a standing band press with the band anchored behind at chest height. Exercise geometry and installation permission are separate checks: the actual anchor, support, band route and connectors still need their own approved instructions.
- Inspect and assemble the permitted system while it is slack. Clear the space in front and behind, and check that both working sides have the intended length.
- Face away from the verified rear anchor in a comfortable, stable stance. Bring the hands beside the chest, keeping wrists in line with the forearms and shoulders relaxed.
- Begin with a short, easy practice press. Extend the arms forward without using a repeated lunge or backward arch to finish.
- Return smoothly to the starting position. Control the band through the return rather than letting it pull the hands or body backward.
Choose a path that does not scrape elastic or hardware against the arms. Stop before a forced elbow lock or an uncomfortable shoulder position. If one hand leads, reset the working lengths and body position instead of twisting to catch up. If you cannot repeat the press and return without shifting your stance, reduce the demand before adding repetitions.
Do not walk farther from the anchor indefinitely to remove slack. Starting distance changes the band’s stretch at the finish too; stay within the exact product’s limits. After the last return, keep control while moving into the prescribed unloaded position. Set grips down or adjust connections only after tension is removed.
A self-held floor press is a separate setup
The Mayo Clinic Store band-exercise guide describes a floor press with the band behind the upper back and its ends held in the hands. That version uses floor support and no rear fixture. It should not be described as the same arrangement as a standing anchored press.
Use instructions that match the band you own. A short fabric hip loop, clip-ended tube and long flat band do not create the same grip or contact points. Hardware under the palms or pressing into the back is not a substitute for the demonstrated band route. If the necessary arrangement is not supported for your equipment, choose a different documented version.
Floor support also changes the available arm travel compared with a bench. Do not force extra depth by lifting the torso or trying to reproduce a bench position on an unsuitable household surface. Establish a comfortable start, a smooth press and a controlled return before making the resistance more demanding.
Resistance band chest fly: preserve the arm shape
A resistance band chest fly keeps a soft, fairly constant elbow bend as the arms move toward the front. If the elbows bend deeply and then straighten to get the hands together, the movement has become more like a press. Begin lighter than the resistance you use for a press, and first rehearse the arc without meaningful tension.
Choose an opening position you can control without the shoulders being dragged backward. A fly is not a contest for the deepest stretch. Use the exact demonstrated arrangement: a rear-anchored two-arm fly, a sideways single-arm fly and a back-wrapped loop version have different directions of pull and different body positions.
- Set the approved connection and a comfortable opening boundary before beginning a working set.
- Move the arms through the intended arc while preserving the small elbow bend and keeping the trunk steady.
- Finish smoothly as the hands approach the intended endpoint; do not slam grips together or force a crossover.
- Return slowly to the same opening boundary. Reduce resistance if you need momentum, a forward lean or an exaggerated backward stretch.
Mayo Clinic Store demonstrates a single-arm band fly with a chest-height anchor, slight elbow bend and controlled return. That is one clearly defined version, not permission to borrow its stance for every bilateral or self-held fly. If a fly arc is uncomfortable or its equipment arrangement is unclear, a controllable press is a reasonable movement to compare instead.
What changes when you use dumbbells?
With dumbbells, gravity supplies the external load; with bands, elastic stretch and the chosen connection shape the resistance. A kilogram marking on a dumbbell is not an equivalent to a band’s pound label. Compare the actual movement and setup rather than trying to create a one-number conversion between the tools.
ACE’s lying chest-fly guide describes a two-dumbbell version on a flat bench, using inward-facing palms, neutral wrists and a slight elbow bend. Keep that bench exercise distinct from the standing band fly. Its support and lowering boundary do not establish the appropriate depth for a band pulling from behind.
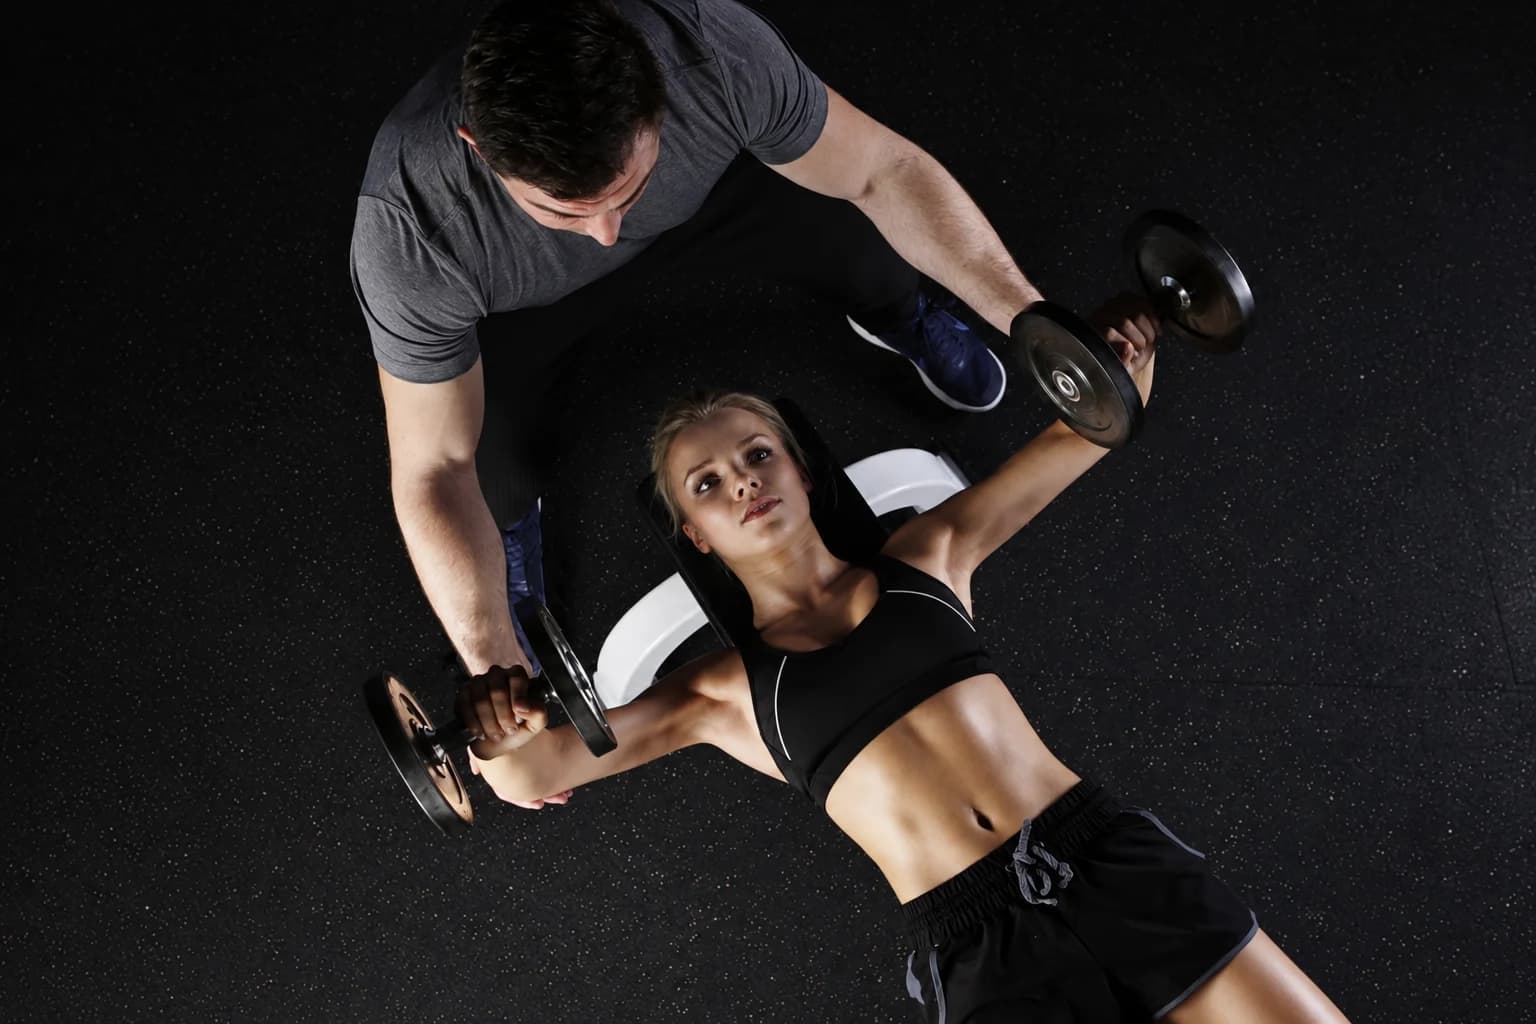
Use a bench or other support only for the purpose and load it is designed to handle. A sofa edge, loose stool or unstable chair is not an equivalent simply because it gives the arms room to move. A floor-based weight exercise needs instructions for that floor version, rather than an attempt to recreate bench depth.
Select a load that lets you handle the start and finish as well as the repetitions. If your weights are too light for the training task, use an appropriate different load or movement rather than speeding up or inventing a more extreme range. If they are too demanding for control, a lighter option or a suitable bodyweight variation may make more sense.
Start with the push-up variation you can control
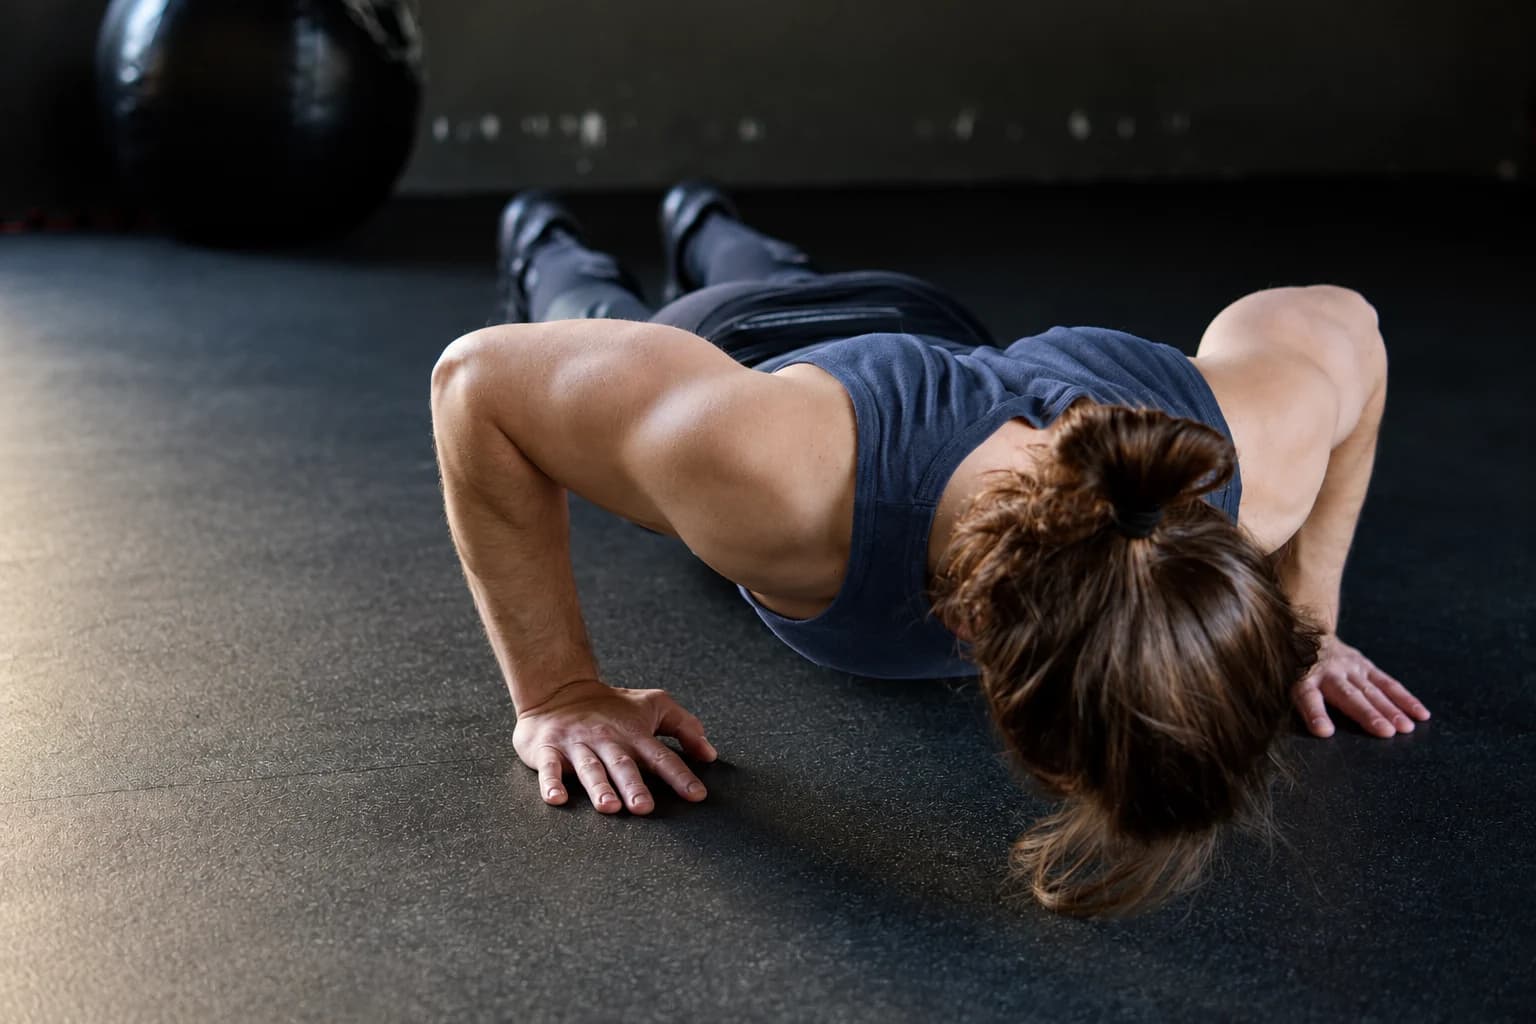
Ordinary push-ups provide a chest-training option without a rear anchor. Keep the hands supported, the neck comfortable and the trunk and hips moving with the chest. Choose a range and variation that you can repeat without sagging, twisting or bouncing through the bottom.
ACE describes incline push-ups as a way to change the demand: a higher hand support makes the task less demanding, while lowering the incline makes it harder. Use a stable support designed for that use. A modification is a training option, not a promised treatment for an injured wrist or shoulder.
If using purpose-made push-up handles, confirm their intended use, stability, surface contact and rating. Raising the hands does not require you to lower farther than a comfortable, controllable range. Small dumbbells, especially ones that can roll, should not become improvised handles just because they are already on the floor.
Adding resistance-band push-ups
Resistance-band push-ups add elastic resistance to a push-up you already control. They differ from a band suspended above the body to provide assistance. The SET FOR SET continuous-loop demonstration shows a flat loop over the upper back with the hands supported; it does not show a short hip loop or metal fittings under the palms.
- Check that the exact band’s construction, contact method and permitted stretch suit the full movement. Start in a supported position with little or no tension.
- Arrange the suitable loop across the upper back, away from the neck, using the documented hand contact. Keep it flat rather than twisted or wound around fingers or wrists.
- Establish secure, supported hands before moving into the push-up position. Do not add clips, bars or unrelated handles beneath the palms.
- Lower and press with the body moving as a unit. If the band slips, lower the knees and unload before changing the grip or placement.
Plan the exit before the first repetition: return to a supported position and remove tension before releasing the band. Do not lift one loaded hand to chase a slipping loop. If you cannot enter, move and exit while keeping the band secure, choose an unbanded version instead.
A difficult final press, hips rising before the chest or a band moving toward the neck are reasons to end that set and revisit the setup. More repetitions do not fix an unstable grip. Use a less demanding option or a different movement, and do not place loose weights on the back as an improvised progression.
Build a session around one clear starting point
For a first comparison, warm up and rehearse one chosen pressing movement with an easy setup. A fly is optional, and an added band is optional when a bodyweight variation already provides the task you need. Keep enough control to manage the return and finish, rather than treating every practice as a maximum-effort test.
The ACSM’s 2026 public resistance-training guidance supports regular training across all major muscle groups at least twice weekly for healthy adults, using approaches adapted to the individual. That is a whole-program recommendation, not instructions to perform every chest variation twice a week. Bands, bodyweight and home routines can all have a role.
Choose sets, repetitions and recovery within your broader program and current ability. Progress one meaningful variable at a time: more consistent movement, an appropriate increase in repetitions, a different supported incline or a suitable resistance change. Stay within the equipment’s limits. End an exercise that causes pain, dizziness or an unexpected loss of control.
Two different tools from the PBGGAME catalog
The steel push-up handle pair is a dedicated hand-support option, separate from a band handle or dumbbell. Check its instructions, stable placement and intended loading before use; its raised grips do not establish how deep you should lower. It is not presented as a tested combination with a resistance band.
The 1 kg neoprene dumbbell pair supplies two fixed weights, listed as 1 kg each and 2 kg for the pair. The individual load may or may not suit your current movement and goal. No bench is included, and these weights are not recommended as improvised push-up supports. The linked pair is the light-green configuration.
For the elastic option, compare documented formats in the resistance band collection. Select the exact format the exercise needs; a kit with extra bars or connectors should not be assumed suitable for a bare-loop push-up. These product references illustrate different tools, not equipment we claim to have tested in this workout.