Home Back Exercises: Rows, Pulldowns and Shoulder-Blade Control
Compare rows, pulldowns, pull-aparts and face pulls with band, dumbbell and bodyweight options. Choose a workable setup and download the printable cue guide.
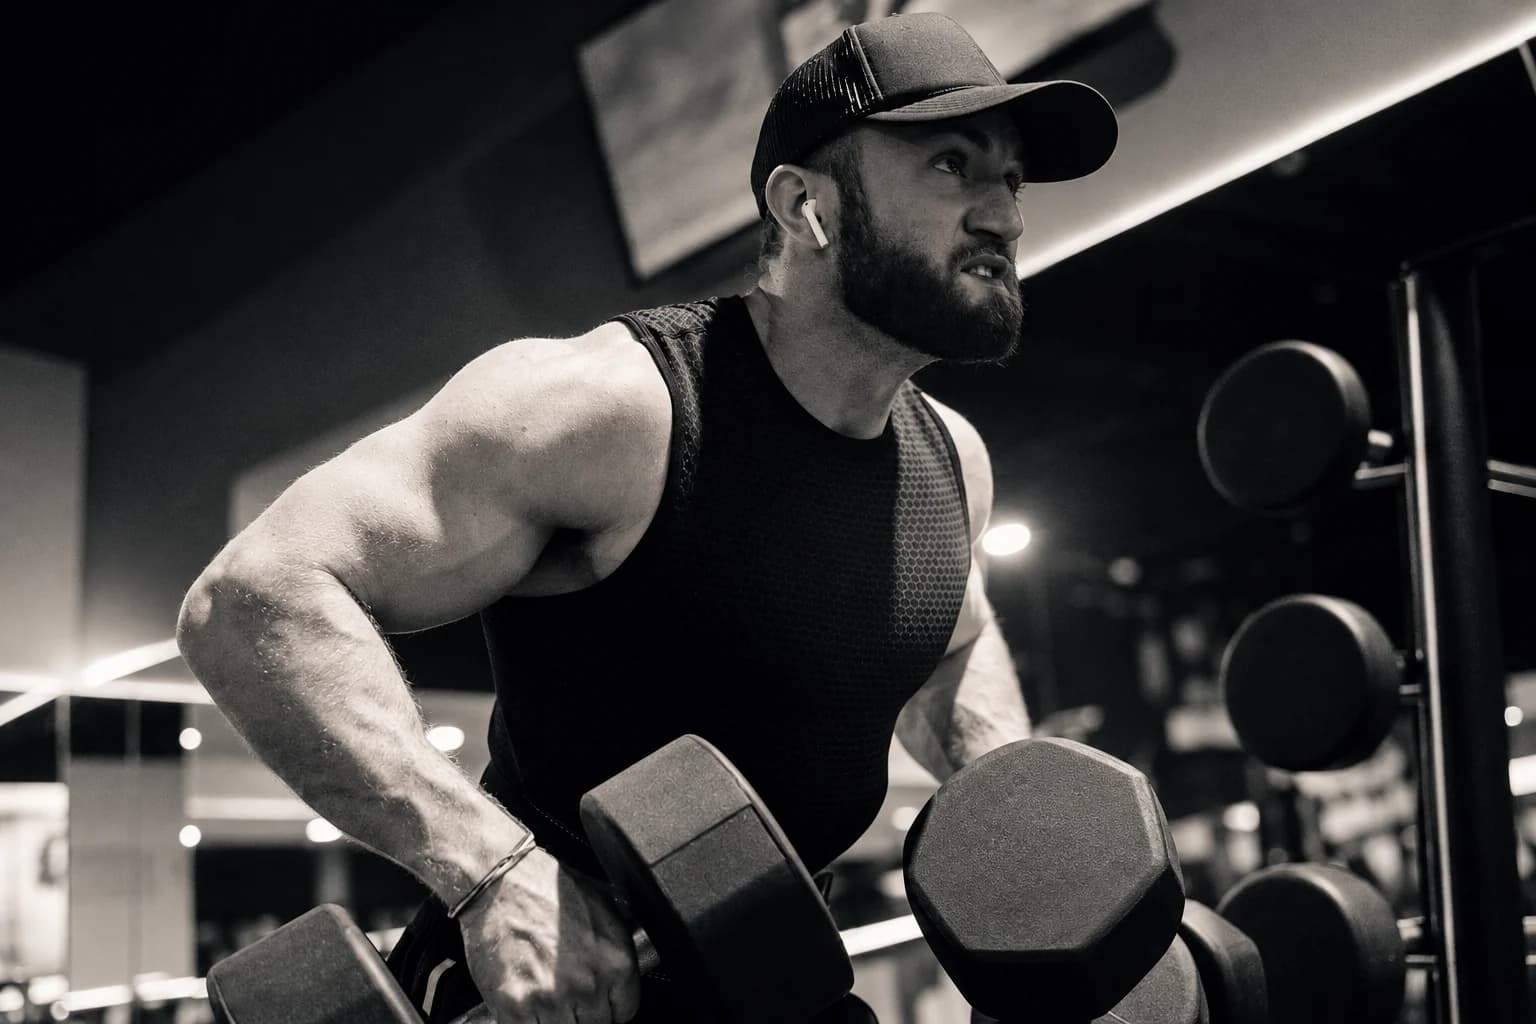
Home back exercises can be organized around a few distinct choices: a row, a downward pull if you have a suitable high anchor, and lighter work for a different arm path. Resistance band back exercises are one option; dumbbell rows and suspension rows use different resistance and support. Choose the task your space and equipment actually allow.
You do not need every movement below in one workout. This guide explains six band variations, then compares a supported dumbbell row, a bodyweight row and a separate trunk-control exercise. Start with one repeatable pulling setup and add variety for a clear reason, rather than collecting exercises that all do the same job.
Start with the support you actually have
| Available arrangement | Go to the matching movement | Keep separate |
|---|---|---|
| No external anchor; directly held long band | Pull-aparts | A short mini loop is a different format |
| Band permits secure foot contact; comfortable hinge | Foot-held bent-over row | Hinge control is part of this task |
| Approved attachment in front | Standing row | The fixture still needs its own approval |
| Approved high attachment | Lat pulldown, straight-arm pulldown or face pull | Choose the intended arm path, rather than all three |
| Suitable dumbbell and purpose-made support | Supported dumbbell row | A bench is not included with the weight |
| Complete rated suspension system | Suspension row | The three-section bar kit is not that system |
| No pulling equipment; separate trunk-control goal | Unweighted bird-dog discussion | A bodyweight trunk task does not replace a row |
Keep the printable back-exercise cue guide beside your record. It distinguishes the six band variations from dumbbell, suspension and unweighted options; select one usable path before adding variety.
Choose a pulling pattern and an available setup
| Movement | Resistance or support | Main setup distinction |
|---|---|---|
| Standing band row | Elastic, external attachment in front | Roughly horizontal pull; upright trunk |
| Bent-over band row | Elastic secured beneath the feet where permitted | Hold a hip hinge while the arms row |
| Lat pulldown | Elastic with an approved overhead attachment | Elbows bend as the hands descend |
| Straight-arm pulldown | Elastic with an approved high attachment | Arm arc with little change in elbow bend |
| Pull-apart | Directly held suitable long band | Hands move apart without a fixed anchor |
| Face pull | Light elastic with a suitable high attachment | Higher hand path toward either side of the face |
| Supported dumbbell row | One dumbbell plus a purpose-made support | Gravity provides the load |
| Suspension row | Complete rated suspension system | The body moves; straps are not stretched like elastic |
For a back workout with resistance bands, the band format matters as much as its resistance label. A short hip loop cannot automatically replace a long directly held band, and a detachable exercise bar is not a suspension trainer. The band buying guide compares formats; the first-setup guide covers matching anchors and connections.
Check the actual equipment instructions before choosing an attachment or foot contact. Clear the working space, inspect the elastic and fittings, and rehearse the full path lightly. Both the starting length and final stretch must fit the equipment. A color or printed pound total does not establish a safe working distance or an equivalent dumbbell weight.
How to do resistance band rows from a standing position
A standing resistance band row pulls from an attachment in front of you. Gymreapers’ original band-back exercise guide shows a roughly stomach-height anchor for its horizontal row. That describes the pulling line; the attachment method must still be approved for the system you own.
- Face the verified attachment in a stable stance, with similar working lengths at both hands. Start with the arms reaching forward and enough control to keep the torso still.
- Draw the elbows backward and bring the hands toward the lower ribs. Keep the head aligned rather than reaching the chin toward the handles.
- Stop before finishing requires a large shrug, a backward rock or twisting. Guide the hands forward again without letting the band snap them away.
Watch the destination of the hands and the movement of the trunk. If the handles reach a different place on each side, unload and check grip, working lengths and stance. If the whole body rocks, reduce the pulling demand rather than speeding up. A moving anchor, rubbing elastic or slipping grip ends the set; inspect only after tension is removed.
Bent-over row with a foot-held band
A bent-over row with resistance bands changes the fixed point to the feet and adds a position task: holding the hinge. Mayo Clinic’s resistance-tubing row transcript uses the center of handled tubing beneath the feet, a neutral back and elbows moving close to the body. It is a specific tubing arrangement, not permission to stand on every band or connector.
- First rehearse the hip hinge without resistance. Keep a comfortable knee bend and a torso angle you can maintain; parallel to the floor is not a compulsory target.
- With suitable footwear and an approved band, establish secure foot contact and even working lengths. Keep rigid fittings and handles out from beneath the feet.
- Hold the chosen hinge and draw the elbows backward as the hands rise toward the hips or lower ribs. Lower smoothly without standing up to complete the pull.
Separate two limits. If the arms cannot finish while the hinge stays steady, the pulling resistance may be too demanding. If the torso rises, rounds or repeatedly arches first, holding the position is the immediate limit. End the set and choose a more manageable setup; low-back exhaustion is not a target. Unload before changing foot placement or grip.
Resistance band lat pulldown: use a genuine high attachment
A resistance band lat pulldown uses an overhead attachment and bent elbows. In Gymreapers’ demonstration, the hands descend in front of the body toward the upper chest while the elbows move down. A low fixture does not become a vertical-pull setup simply because you lean away from it.
Choose a supported standing, seated or kneeling position that permits comfortable overhead reach, controlled entry and a controlled return. Keep the head and trunk quiet as the elbows descend. Return gradually overhead without losing the grip or allowing the band to pull you upward. Pulling behind the neck is not needed here.
The exact hand endpoint depends on comfortable movement and the equipment, rather than a requirement to touch the chest. Check slack at the start and stretch at the finish before changing distance. If a workable overhead path is unavailable, use a suitable row instead; do not manufacture a high anchor from an unverified household fixture.
Straight-arm band pulldown: keep the elbow shape
A straight-arm band pulldown differs from the bent-elbow lat pulldown above. The hands move in an arc while a small elbow bend remains fairly constant. Catalyst Athletics’ exercise library demonstrates the braced-trunk, straight-arm pattern with a cable and explicitly lists bands as a variation. Its cable attachment is not an installation instruction for your band.
- Rehearse the comfortable shoulder-driven arc without meaningful resistance, then arrange a compatible high attachment and grip.
- Preserve the small elbow bend as the hands sweep downward. A slight fixed hinge may fit the setup, but avoid repeatedly bowing the torso to finish.
- Stop at a controllable endpoint near the body and return along the same arc. Do not force extra travel by arching the low back or driving the elbows into a hard lock.
If the elbows bend noticeably during the downward pull, the motion is closer to a lat pulldown. If repeated elbow straightening drives the downward movement, it is closer to a pressdown. Preserve the intended elbow shape rather than adding either action to finish. If the hands collide with the attachment or thighs early, unload and reassess the arrangement. A strong sensation is not a reason to keep an awkward path.
Resistance band pull-aparts: no external anchor
Resistance band pull-aparts use a directly held suitable long band. The British Heart Foundation’s original demonstration starts at shoulder height with palms down and approximately shoulder-width hands, then moves the hands outward and returns slowly. Follow the arm shape of the chosen version without forcing a locked joint.
Set an even grip with a working span you can control. Move outward without changing the movement into a bent-elbow row, lifting the ribs or shrugging to gain distance. Return with the same care as the outward pull. If the band is too demanding, choose a suitable easier band or approved longer working span; narrowing the grip is a resistance change, not automatically better technique.
Record the band and hand spacing so the next set is comparable. You do not need a daily high-repetition challenge or a dramatic end position for the movement to count as practice. A pull-apart is an exercise choice, not a diagnosis or promised correction of posture.
Resistance band face pulls: a higher hand path
Resistance band face pulls use an external high attachment rather than the two free endpoints of a pull-apart. StrengthLog’s original banded face-pull instructions describe a face-height anchor, high elbows, hands moving toward the face and a controlled return. Start lightly and use a grip and connection intended for that path.
Rehearse the finish before loading: hands separate toward either side of the face while the elbows move outward and back. Keep the head and torso quiet; the face should not travel forward to meet the hands. The exercise name identifies direction, not a target for band or handle contact.
If the wrists fold, grip slips, attachment moves or the body rocks to finish, unload and resolve that issue. Do not add an improvised towel, knot or unrelated clip to make an unsuitable setup resemble another demonstration. Choose a different controllable pulling movement when the needed path cannot be established.
A supported dumbbell row changes the support and resistance
The American Council on Exercise’s single-arm row uses the opposite hand and knee on a bench. Establish support beneath the shoulder and hip, brace the abdomen and keep the head aligned. Draw the working arm close to the body, stopping before further lifting requires torso rotation, then lower gently.
Use a stable support designed for the exercise; do not substitute an unstable chair for the demonstrated bench. The weight should suit the whole task, including getting into position and setting it down. One fixed kilogram per hand is a known mass, but it cannot be equated to a band label or assumed challenging enough for every reader.
Suspension rows move the body rather than stretching a band
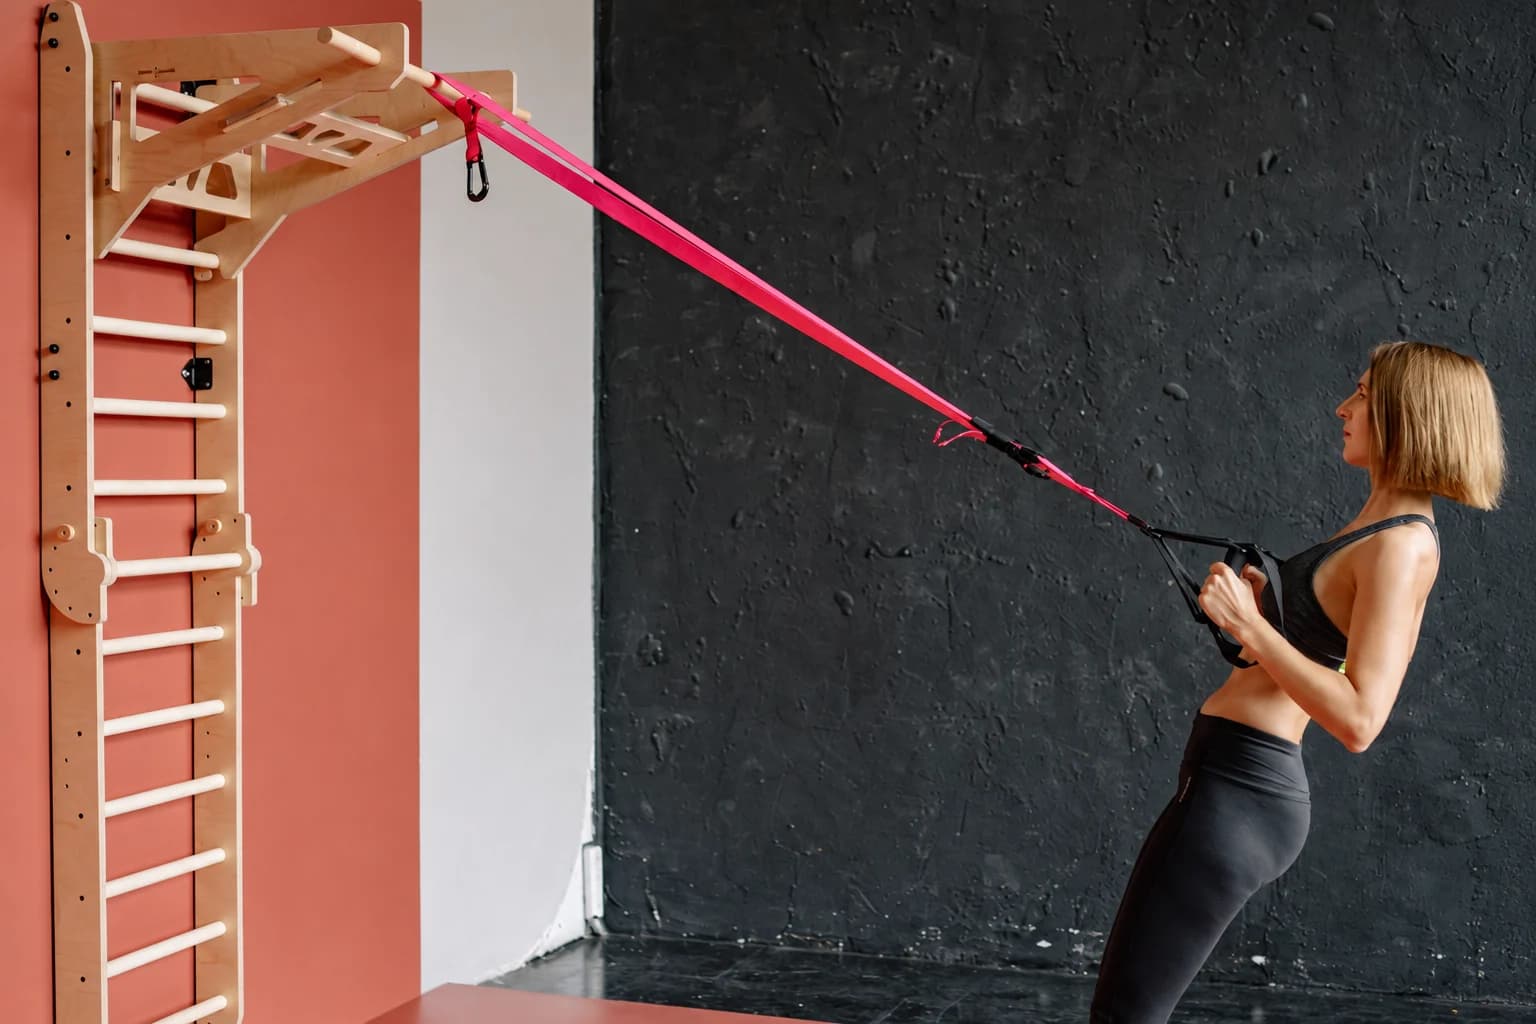
A suspension row needs a complete system and attachment intended for bodyweight suspension. In TRX’s own low-row instructions, the body stays in a plank-like line as the arms extend and then pull the body toward the anchor, elbows traveling close to the torso. Use the setup and adjustment instructions for the actual system.
The fixed-length straps shown in the photograph are different from elastic loops. Do not hang your body from a band bar, separate handle or wall fitting because it looks similar. Body position changes the task, but a photograph cannot establish attachment security, permitted user load or the right starting difficulty for you.
Where lower-back resistance-band exercises fit
Searching for lower-back resistance-band exercises can mix up two goals: keeping the trunk steady during an arm pull, and training a separate trunk-control movement. Rows and pulldowns above should not be renamed lower-back treatments. During a hinged row, retain a comfortable position rather than aiming to tire the lower back first.
A separate bodyweight option is the ACE bird-dog. From hands beneath shoulders and knees beneath hips, brace and slowly extend an opposite arm and leg only as far as you can retain the trunk position. Avoid rotating or arching to lift the limbs higher, then return gently. ACE labels the full movement intermediate; it is not a compulsory starting exercise for everyone.
Keep this version unweighted. Band loading or a held weight would change the task and is not part of these instructions. If pain or a medical limitation is the reason you are looking for lower-back exercises, seek individualized guidance instead of treating this general fitness guide as a rehabilitation plan.
Build a repeatable back session
Begin with the row or pull whose equipment and body position you can control. Rehearse lightly, then select work and recovery that fit your current ability and wider training program. A pulldown, pull-apart or face pull is optional variety, not a requirement to complete every possible arm path in one session.
| What changes first? | Useful adjustment | Record for next time |
|---|---|---|
| Trunk rocks during the standing row | Reduce demand and repeat a stable pulling line | Band, working length, stance and attachment |
| Hip hinge changes before the arms tire | End the set; consider a suitable supported option | Torso position and the point control changed |
| High-anchor path feels cramped | Choose another documented setup or use a row | Available reach, attachment and comfortable endpoints |
| Pull-apart becomes a row or shrug | Use a more manageable band/span | Band identity and grip width |
| Dumbbell is no longer suitable for the goal | Select an appropriate different load or movement | Actual weight per hand and completed work |
Progress one meaningful variable at a time, while retaining the same movement and the equipment’s limits. Do not convert package weight or summed band labels into a training-load comparison. Stop for pain, dizziness or an unexpected loss of control; investigate equipment changes only after unloading.
Printable resistance-band back-exercise PDF
Keep the movement distinctions beside your training log with the printable back-exercise cue guide. The PDF covers the six band variations plus the separate dumbbell, suspension and bodyweight-control options, with brief cues and source links. Use it alongside the instructions for your chosen exercises and equipment; seek individual professional guidance for a clinical or rehabilitation plan.
Two different equipment formats in the PBGGAME catalog
For an elastic equipment comparison, the three-section bar with five flat loops is the specific S-connector configuration shown in the card. The bar-only and four-tube options have different contents. Its listed packed mass is 1,910 g; that is shipping mass, not resistance or a user-load rating. Confirm the exact model’s permitted exercises and connections before choosing it for a movement above.
The 1 kg neoprene dumbbell pair contains two fixed weights, listed as 1 kg each and 2 kg for the pair. A one-arm row uses one weight, and no bench is included. That light load may suit practice for some readers and be insufficient for others. These are catalog format examples, not equipment we claim to have workout-tested.
For a wider choice, browse the resistance-band collection, then match the actual construction to the intended exercise. The suspension photograph is included to explain a different option; the two featured products are not complete suspension trainers.