Yoga Balance Poses: Build a Steady Standing Sequence
Follow a short supported standing sequence with Mountain, small weight shifts and toe-down Tree, with clear entries, returns and easier options.
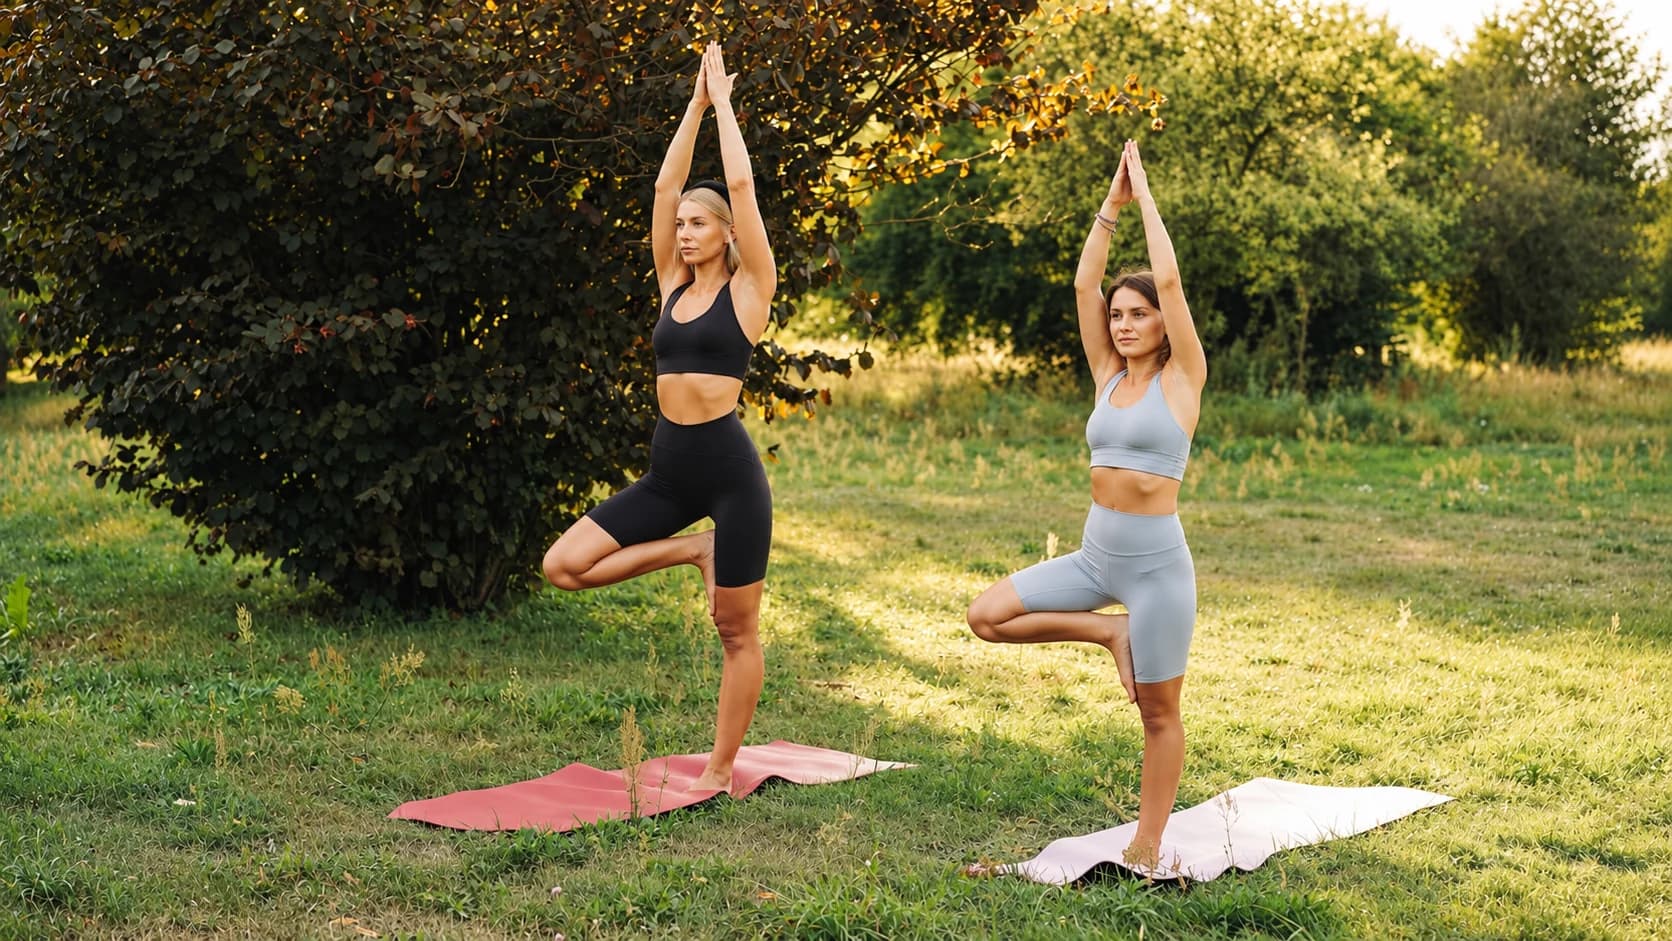
Start a standing balance sequence with a position you can return to easily. In this practice, Mountain provides that two-foot base, a small weight shift introduces the change in support, and a low version of Tree keeps the bent-leg toes on the floor. You will return both feet to the ground before changing sides.
The sequence uses wall contact throughout if you want it. Its order and doses are editorial suggestions: begin with one round, use three comfortable breaths in Mountain, make three small weight shifts towards each side, and spend two or three comfortable breaths in each toe-down Tree. Finish earlier whenever you need to reset. You do not need to remove the hand support to complete the sequence.
Before you begin: check the floor and support
Choose a clear, level area beside a solid wall. Face the wall at a distance where you can rest one or both hands against it without reaching or leaning. Keep the space around your feet free of furniture, loose items and mat edges that could catch a foot. Use a fixed wall rather than a door that could open.
Check the standing surface before beginning. If you use a mat or rug, it should lie flat without folds or curled edges and stay in place as you make a small, feet-down shift. If it moves beneath you, change the surface before practising. A clear, suitable floor is an option; a mat is optional.
Jivana Heyman's accessible standing-balance teaching includes wall or chair support. For this sequence, the wall keeps the setup simple. If you choose a chair instead, use a sturdy, non-wheeled chair on a level surface. With both feet grounded, check that gentle hand contact does not make it slide or tip. Use the wall if it moves.
Yoga balance poses for beginners: find Mountain
Begin with both feet about hip-width apart, facing forwards. YogaEasy's Mountain Pose instructions include lifting and spreading the toes, then placing them down again. Let the knees stay easy rather than pushing them backwards into a locked position. Stand upright without making the whole body rigid or clenching the jaw.
For this practice, keep your eyes open and look at a steady point in front of you. Rest the hands on the wall as needed. Take the three comfortable breaths suggested for this editorial sequence, letting the arms and shoulders remain easy.
Use this starting pause to check the setup rather than search for a perfect stillness. You should be able to put attention on your feet while keeping the support within reach. If you need to reposition the feet or move closer to the wall, do that now with both feet down.
Read the four positions as one supported sequence
| Frame to find in the instructions | Contact or finish to keep clear |
|---|---|
| Mountain | Begin with both feet grounded and the stated wall support available |
| Left and right weight shift | Keep the small shift and return described in this version |
| Low Tree | Use the article’s low foot placement, avoiding the knee joint |
| Return | Place both feet down before changing position or props |
A standing balance yoga sequence, step by step
The following order links the two standing shapes through small, deliberate transitions. Keep the wall available during every stage. The breath counts and three shifts per side are editorial pacing choices, rather than a prescribed dose from either source.
- From Mountain, make a small shift towards the right foot while keeping both feet in contact with the floor. Return to the middle, then make the same small shift towards the left and return. Repeat until you have moved towards each side three times. Keep the movement small enough that neither foot needs to lift or roll onto its outer edge.
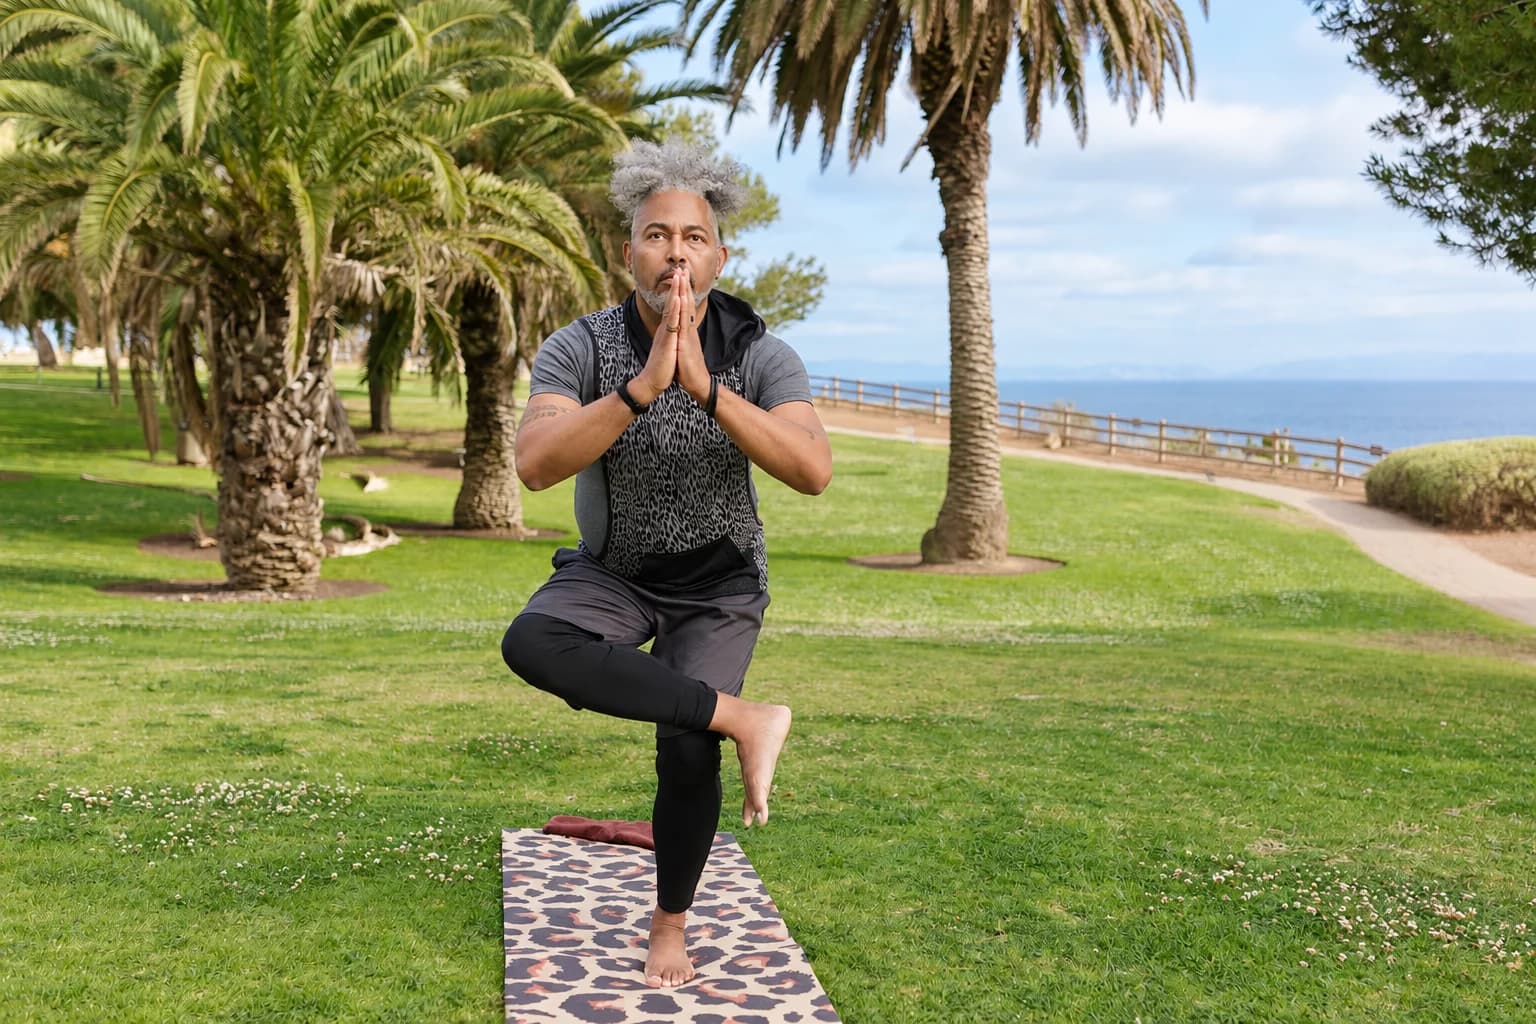
- Return to the middle. To enter a low Tree on the left leg, let more weight settle into the left foot and move the right foot towards the inside of the left ankle. Keep the right toes on the floor and let the right heel rest against the standing ankle. Let the bent knee open only as far as comfortable. Keep the foot away from the standing knee joint. Stay for two or three easy breaths, with the hands supported as needed.
- To leave the position, place the right foot back beside the left at hip-width. Settle with both feet grounded before changing anything else. Keep hand contact while you check that you are ready for the next side; avoid hopping straight across from one balance to the other.
- Repeat on the other side: settle weight into the right foot, bring the left heel towards the inner right ankle and keep the left toes on the floor. After two or three comfortable breaths, return the left foot to hip-width. Finish in Mountain for three easy breaths. Once both feet are settled, release the wall and step away normally.
Heyman's toe-down Tree is the basis for the low foot position here. Keeping the toes down is a complete version for this sequence. You can finish the round having used the wall throughout and having kept both feet in contact with the floor during each pose.
Adjust your yoga balance practice one thing at a time
If a transition feels hurried, stop in Mountain before trying the next part. There is no need to fit the whole sequence into one continuous flow. You can practise only the small shifts, return to the middle and finish there.
If Tree feels difficult to organise, keep the bent-leg foot a little farther from the standing ankle and leave its toes comfortably on the floor. Reposition it with both feet down. Use more hand contact and a shorter pause, then return to Mountain before trying again. Make the next attempt easier to enter and leave, rather than trying to rescue a wobble by holding longer.
Once the first round feels straightforward, you may repeat the same supported round. Keep the setup, foot position and breathing pace familiar. Choose one modest change for a later practice, such as a slightly lighter hand contact, while keeping the wall close enough to touch. Leave out closed-eye practice and higher foot placements in this introductory sequence.
Choose optional equipment for its actual role
Set out the Black & White woven cotton yoga rug as a separate practice-surface option. This single cotton rug is listed as 182.9 by 61 centimetres and 5 millimetres thick, and rolls for storage. Check that it lies flat and stays still on your floor before beginning standing work.
Heyman's article also offers a Tree variation with the bent-leg foot resting on a block. If you have been shown that option and want the extra foot-contact height, the Cork yoga blocks pair with D-ring strap contains two cork blocks, each 9 by 6 by 4 inches, and one yoga strap. This sequence does not use the strap.
Keep the standing foot on the floor. Use a single block on its lowest, broad face for the bent-leg foot, with the wall still available. The block is not a hand support or a platform to stand on. The floor-level toe-down version remains the simpler choice for the sequence above. For other taught prop uses, see the yoga block exercises for beginners guide.
Finish with a clear return to standing
At the end of the round, notice whether you could enter each position, pause comfortably and return both feet to the floor. If one transition was unclear, make that the smaller task for next time. Keep the support that made the sequence manageable and end with an ordinary, settled two-foot stance.