Water Exercise Equipment: Buoyancy, Drag and Session Planning
Understand buoyancy and drag, distinguish aquatic hand tools from swimming-drill accessories and plan equipment around your pool activity and ability.
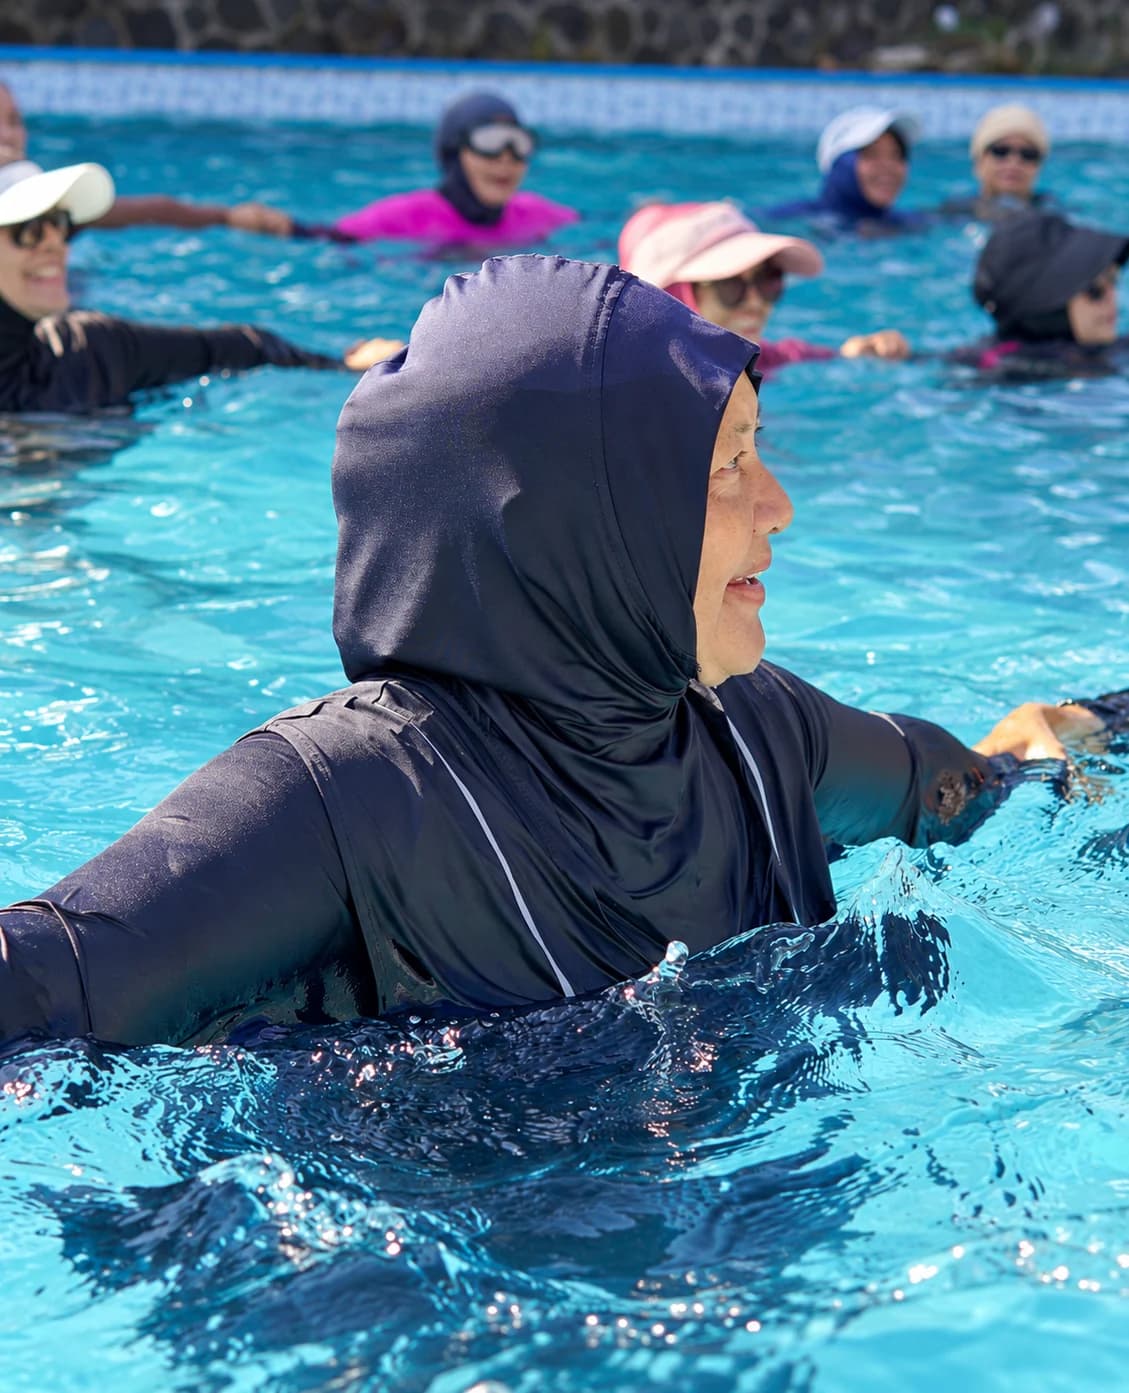
Choose water exercise equipment for the activity you will actually do: a standing fitness class, familiar pool movement or an instructed swimming drill. The right choice depends on the pool, your ability and the tool's role. Buying a larger collection does not make every piece suitable for the same session.
Water itself provides resistance. Extra equipment can change the direction or amount of effort, the contact position and the space needed. Start by understanding those differences, then check what the venue supplies before buying tools to take with you.
Buoyancy and drag do different jobs
The AquaJogger Water Workout Guide distinguishes buoyancy, an upward force, from resistance to movement through water. With buoyant foam, pressing downward can oppose its tendency to rise. Drag depends on movement through the water, including speed and how much surface area faces the motion.
This is why a foam aquatic dumbbell can feel light on land yet demand effort underwater. Mayo Clinic's water-exercise guidance describes that difference. Its dry weight is not a resistance rating you can compare directly with the kilogram label on a land-training dumbbell.
| What changes? | What it means for practice |
|---|---|
| Direction relative to buoyancy | Moving a buoyant object down and managing its return are different from lifting a land weight. |
| Movement speed | Faster movement can increase water resistance; begin with a pace you can control. |
| Presented surface area | The shape and orientation facing the water affect the task; follow the exact tool's directions. |
| Body position and water depth | Contact, support and reach change with the setup; deeper water is not an automatic progression. |
Do not use faster movement or a larger tool to rescue an unstable position. Learn how the implement behaves at a small, controlled pace first. A maker's named handle orientation or movement pattern belongs to that model, rather than every foam object with a similar shape.
Match each listed piece to its teaching role
| Selected Blue kit component | Role to identify with the instructor | What the package does not establish |
|---|---|---|
| Two foam dumbbells | The intended water-resistance movement and controlled return | A dry-weight equivalent or a prescribed session |
| Segmented foam waist belt on a strap | The exact permitted support role, fit and water setting | A lifesaving function or deep-water permission |
| Pull buoy | The specific instructed swimming drill | Independent swimming skill or flotation safety |
| Kickboard | The taught drill and venue conditions | A universal beginner or deep-water exercise |
For the force question rather than the shopping list, read water resistance versus elastic bands.
Water exercise equipment for beginners: match the role
- Foam hand dumbbells or hand buoys: buoyant hand-held tools for taught water-fitness movements. Check the actual grip and the ability to manage their return.
- Foam waist belt: a body-worn tool with model-specific fit and use requirements. Its buoyancy does not establish lifesaving protection or permission to enter deeper water.
- Pull buoy: a swimming-drill accessory with a different purpose from a standing fitness hand tool. Use it within swimming instruction appropriate to your ability.
- Kickboard: another swimming-drill format. It is not an interchangeable hand weight or a reason to attempt an unfamiliar swimming task.
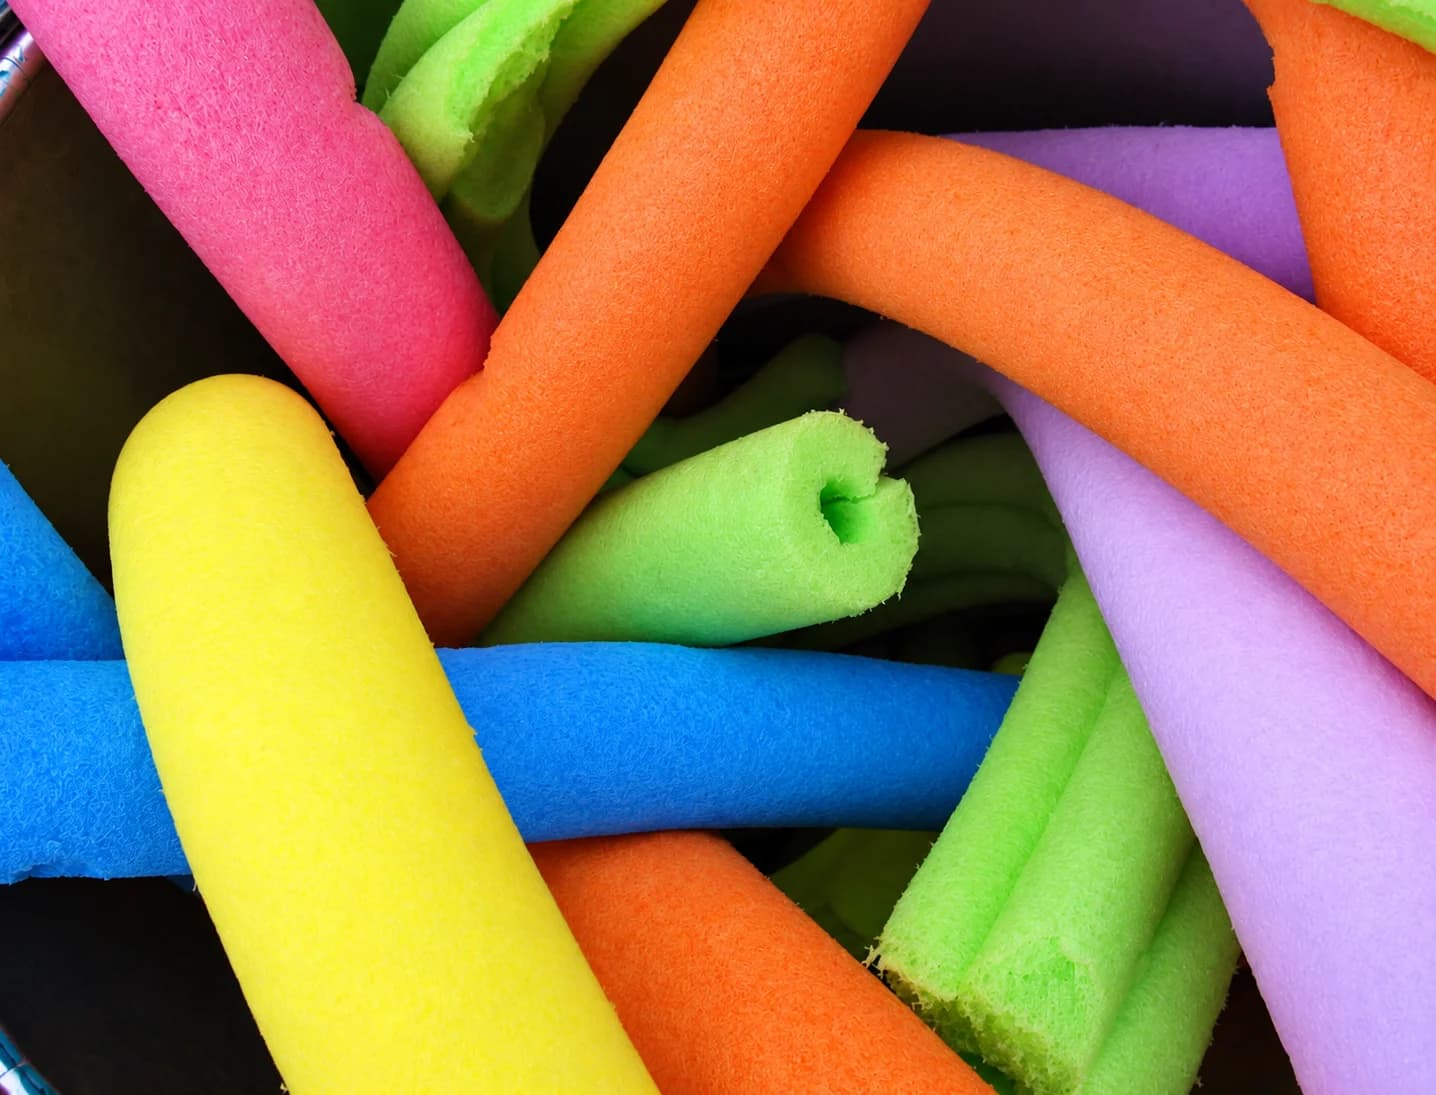
- Pool noodle: a separate foam format used in some instructed activities. Size, condition and intended use still matter; the photograph is not a use demonstration.
Choose the activity before choosing among these tools. If a class supplies suitable equipment and teaches its use, try that format first. A standing session may need no additional implement, while a swimming lesson may call for a specific accessory. You do not need to add every item from a kit to make the session complete.
Plan around the pool you can actually use
The Aquatic Exercise Association's standards and guidance treat ability, facility conditions and water depth as part of aquatic programming. Confirm the designated activity area, access arrangements, equipment rules and available instruction. A photograph cannot establish that another pool's depth or layout will suit you.
Ask what the session expects: standing contact, supported exercise or swimming skills. An unfamiliar pool is not the place to guess about those requirements. Follow the venue's supervision and participation rules, and choose instruction suited to your current water ability rather than relying on a foam accessory.
Allow room for the complete tool movement and other pool users. Keep spare equipment in the designated storage place rather than scattering it around the activity area. If a particular tool is not permitted or the available space does not fit its use, choose another suitable activity instead of improvising.
Build an aquatic fitness routine you can shorten
| Part of the session | A practical choice |
|---|---|
| Get settled | Use the agreed area and begin with familiar easy movement, without adding equipment immediately. |
| Practise one task | Choose a movement you have been taught. Add one suitable tool only when its contact and return are manageable. |
| Pause and adjust | Rest, reduce speed or omit the tool if the position or grip becomes difficult to keep. |
| Finish | Return to easy familiar movement, then follow the venue's exit and equipment-return arrangements. |
This is a planning outline, not a swimming lesson or a required duration. You can finish after a short familiarisation. If a qualified instructor has given you a session, use its movement choices and rests rather than combining unrelated exercises from equipment pictures.
For water resistance exercise, change one feature at a time: the speed, movement size, tool or amount of work. Do not enlarge the motion and increase speed together just because the first attempt felt easy. Keep enough control to stop the motion deliberately, and avoid letting a submerged buoyant tool spring away.
The AquaJogger guide recommends small, slow, controlled starts with resistance tools used underwater. Apply only the instructions relevant to the equipment and activity you have learned; its deep-water methods and particular DeltaBell grips are not a manual for every aquatic kit.
One kit with several distinct tool types
The PBGGAME Blue aquatic exercise equipment set includes two foam dumbbells, a segmented foam waist belt on a strap, one pull buoy and one kickboard. It combines several tool types rather than supplying a complete session or requiring you to use every piece.
Match any item you intend to use to the taught activity. Confirm its exact fit and operating instructions with the maker and facility before use; the belt's appearance does not establish lifesaving certification or suitability for deep water. The kit does not include the noodles in the photograph.
Check and store the tools after the session
Inspect foam, grips, straps and closures before the next use. Set aside damaged or insecure equipment and follow the exact maker's cleaning, drying and storage directions alongside the venue's rules. Do not assume that a tool which still floats has a secure grip or an undamaged fastening.
Note the activity, tool, water setup and whether you could keep the motion and return controlled. Those observations are more useful than guessing resistance from dry weight or treating a larger splash as progress. Pool exercise is one activity option; its suitability is individual, rather than a universal replacement for land training.