Hula Hoop Workout for Beginners: Learn the Rhythm
Learn a hula hoop workout for beginners with a level launch, a steady waist rhythm and unhurried resets. Build short practice bouts as control develops.
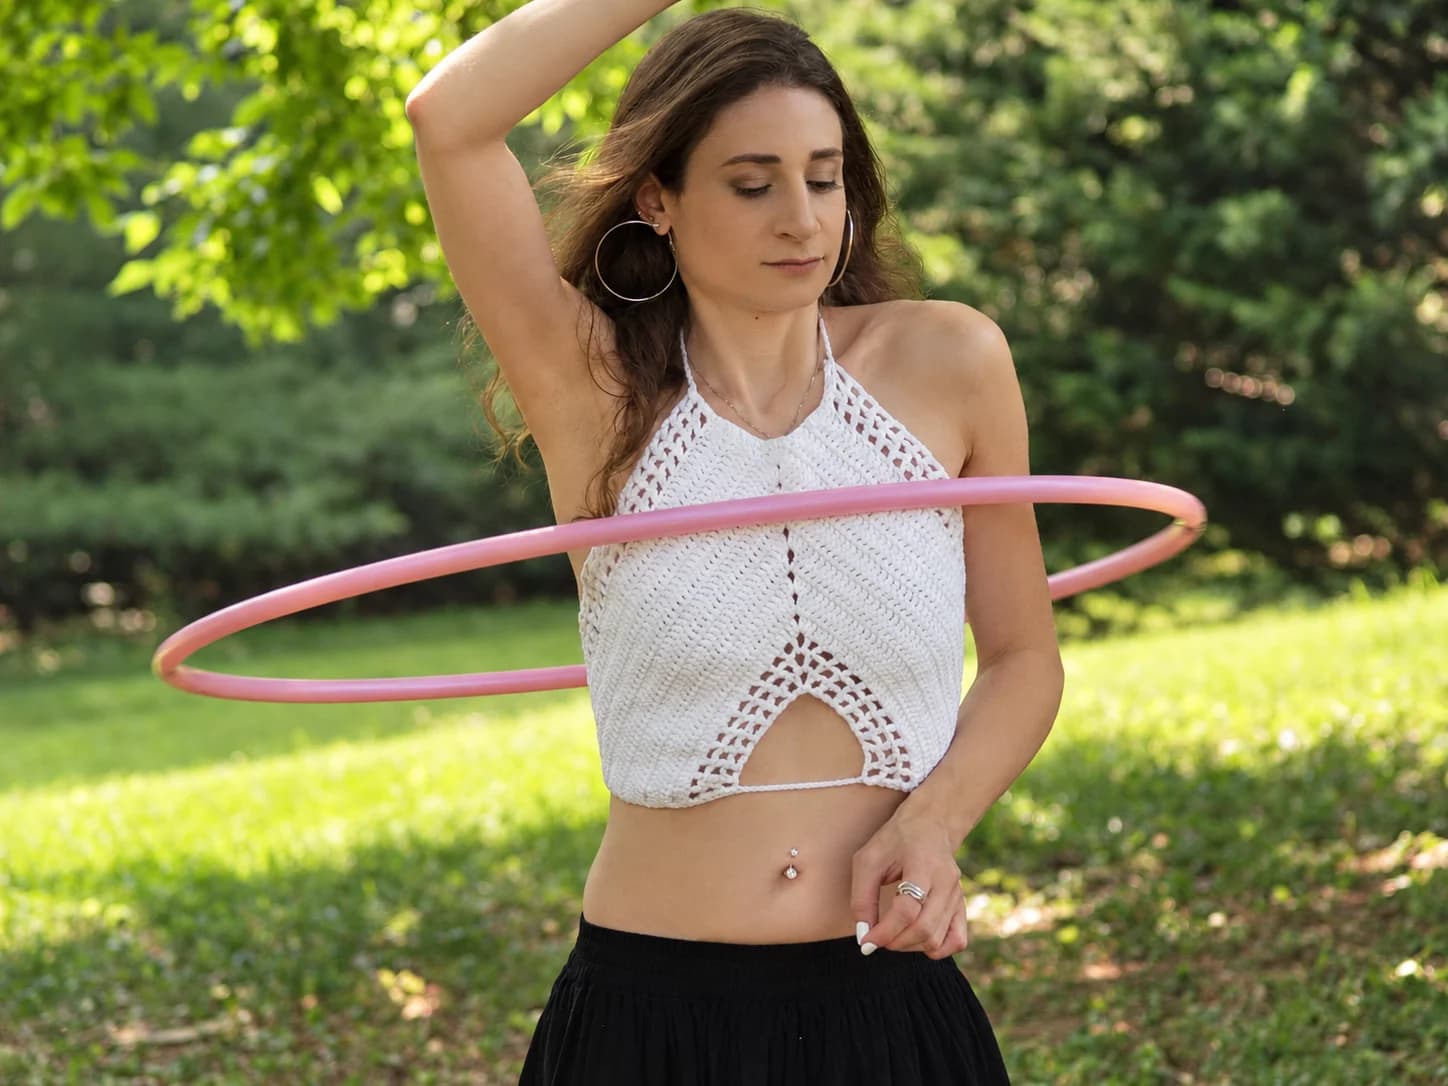
A hula hoop workout for beginners starts with learning how to launch the hoop and keep it moving around your waist. Choose a clear space, practise a small repeatable rhythm and give yourself time to reset when it drops. A few controlled turns are a useful first success; you can build longer bouts as the movement becomes familiar.
This guide uses a classic free-spinning hoop: the whole ring travels around your body. The aim is to learn that skill and organise manageable practice. Choose your starting session by the control you can maintain, rather than by a promised change to one body area.
Keep the launch level and the stance change separate
| Moment | Classic free-spinning ring | Footwork cue from the lesson |
|---|---|---|
| Before launch | Hold the ring level around the waist with its back contact settled | Choose a staggered or parallel stance before the attempt |
| Launch | Hands give the flat horizontal start | Keep the chosen feet planted |
| Continue in a staggered stance | The whole ring continues around the body | Small front-to-back pulse |
| Try a parallel stance on another attempt | Stop, pick up and launch again from a clear start | Small side-to-side pulse |
| Drop / finish | Let the attempt end; pick up only after the ring settles | Reset rather than chase the falling ring |
The PBG-140649 listing’s unpacking instruction is specific to the 42-inch Sky Blue spring-button hoop, including the stated 12-hour uncoiling preparation. Request the supplied instruction sheet through contact if it is missing; that duration does not apply to every hoop or to a fitted waist-track device.
Choose a classic hoop that suits your practice space
For this style of practice, the optional 42-inch Sky Blue spiral-grip fitness hoop is a large free-spinning ring with grip tape and a spring-button connector. Its nominal assembled diameter is 42 inches. Check that size against the space available around you before choosing it, including the room needed to pick up and relaunch a dropped hoop.
Follow the supplied uncoiling and assembly directions before your first session. This hoop's instructions call for careful unpacking away from your face because it is under tension, at least 12 hours to uncoil before joining, and a connection that snaps into place. Plan that preparation ahead of practice rather than trying to force the hoop into shape immediately after opening it.
The HOOPLOVERS beginner tutorial uses a hoop reaching roughly from the floor to the navel as a sizing reference. Treat that as a starting guide when comparing hoops, rather than a guarantee that one diameter suits everyone. A large hoop still needs to feel manageable for your own stance, launch and available room.
Make a clear practice area before the first launch
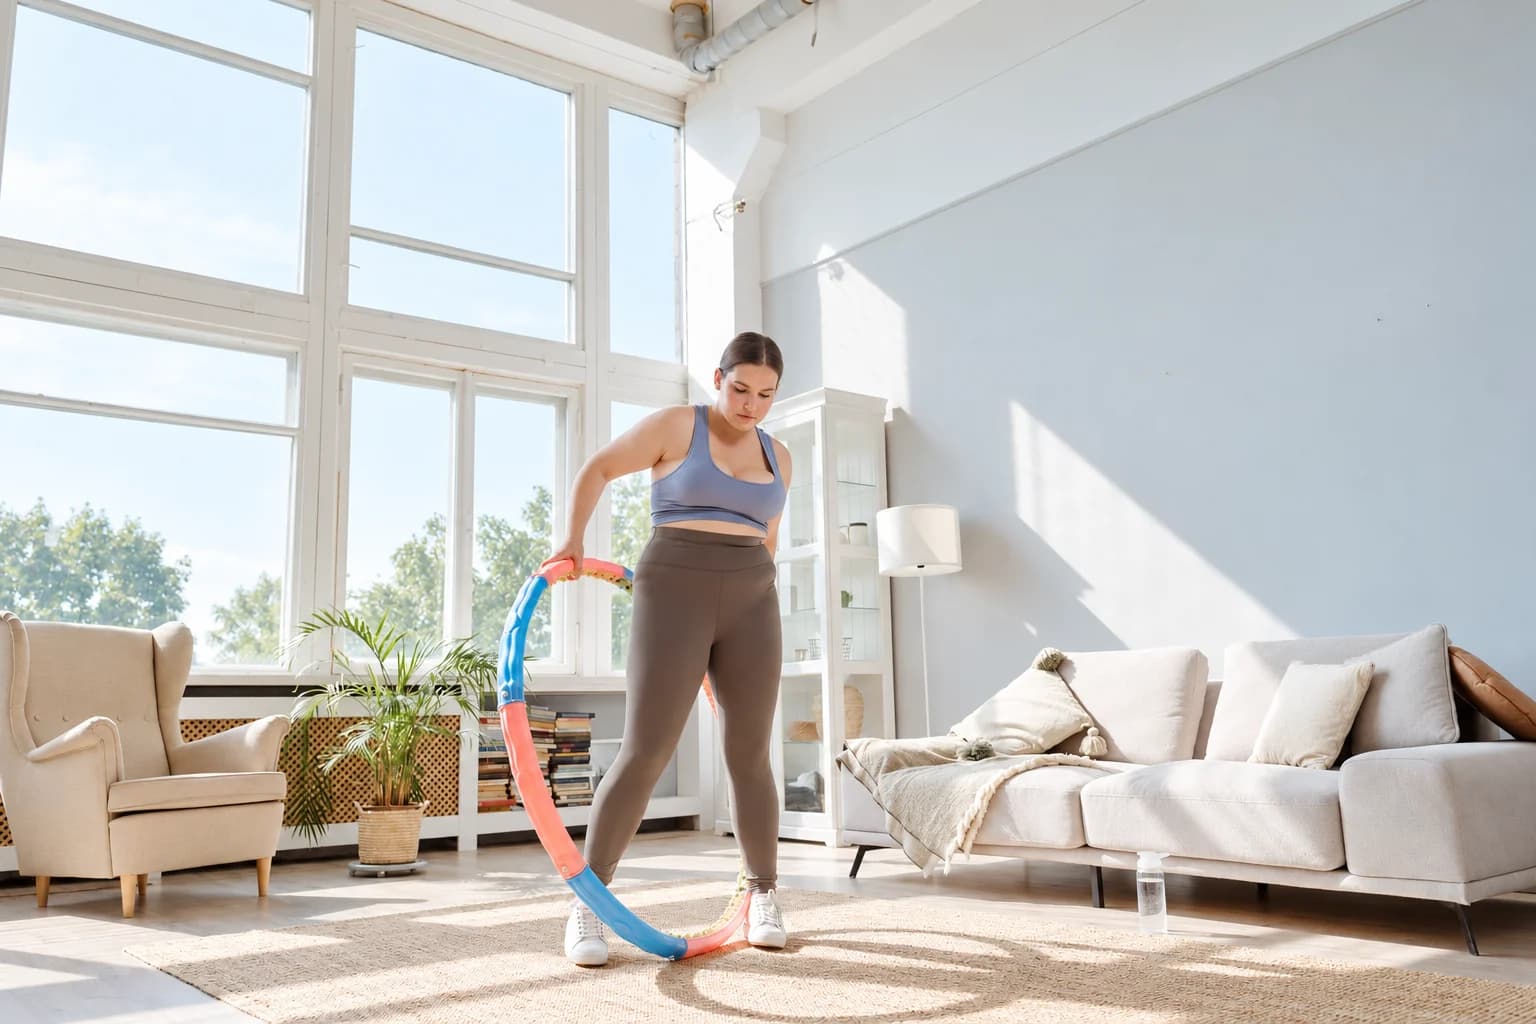
- Move away from furniture, lamps and other objects the hoop could hit. Leave a clear area around your waist and where the hoop may land.
- Choose a level surface where your feet can stay planted and you can pick up the hoop without stepping around clutter.
- Check that the hoop is assembled according to its instructions and its connector is fully engaged.
- Place a timer within easy view if you plan to use one. Keep the first launch practice untimed so you can concentrate on the movement.
Walk gently around the area for a minute, then try a few small weight shifts without the hoop. These are editorial preparation suggestions. Keep the movement easy and use this time to check your footing. If your room cannot accommodate the full ring, Low-Impact Home Cardio: Options Beyond Jumping offers other movements to organise at home.
Fitness hoop technique: launch level and find a small rhythm
Both the HOOPLOVERS tutorial and The Spinsterz beginner guide teach a level hand launch and rhythmic weight shifts. Begin with one stance and one rotation direction, so you have fewer choices to manage during an attempt. The instructions below combine their beginner cues; the short practice counts later are editorial examples.
- Stand with feet about hip-width apart, one foot slightly forward. Keep your heels down and your knees soft.
- Hold the hoop level around your waist, resting it against the small of your back. Choose a comfortable direction of rotation.
- Give the hoop a firm, flat push with your hands so it begins travelling around you horizontally.
- Use a small front-to-back pulse with your staggered stance. Keep your feet in place while you look for a rhythm that continues the hoop's movement.
- If the hoop drops, let the attempt finish. Pick it up, return to the same stance and level starting position, then launch again when ready.
Use each reset to return to a clear starting position. If the hoop tilts immediately, rehearse the level hand launch before adding more waist movement. If you begin making large movements below the hoop, make the next attempt smaller and simpler. The HOOPLOVERS lesson explains that excessive movement below the ring can pull it down.
You can also practise with your feet beside each other. In that parallel stance, the tutorials use a side-to-side pulse. Change the stance between attempts first, giving yourself a fresh hand launch, instead of trying to solve the footwork while the hoop is falling. Choose whichever starting stance lets you repeat the sequence most clearly.
Try a short hula hoop workout for beginners
Use this editorial session as a first practice format. The tutorials teach the technique; they do not prescribe these attempt lengths or rests. After the easy preparation above, keep the session focused on starting, finding a rhythm and resetting. Have enough room to put the hoop down during breaks.
- Rehearse four launches. Let each attempt end naturally, then take about 20–30 seconds to pick up the hoop, reset and prepare again. There is no duration target yet.
- If those launches feel manageable, try three short bouts of up to 15 seconds. Use the same stance and direction. A dropped hoop simply ends that attempt; there is no need to rush another launch into the remaining seconds.
- Rest for about 30 seconds between bouts, with the hoop on the floor or held still. Take longer if you need it to start the next attempt attentively.
- Finish with a minute of easy walking and put the hoop away according to its storage instructions. You can finish earlier if the attempts become uncomfortable or increasingly difficult to organise.
It is fine for the first session to contain more resets than continuous hooping. Completing a level launch, recognising the pulse that helps you continue and returning to the same start are all parts of the skill. Avoid turning a short practice into a long series of hurried attempts just to reach a timer target.
Hula hoop exercise progression: extend control in stages
Repeat the short format until you can start deliberately and maintain a comfortable rhythm for the chosen bout. Your next step can follow one of the stages below. These durations organise practice; they are editorial examples, not a research protocol or a requirement to advance on a particular day.
- Settle the launch: stay with brief attempts until you can reproduce the level start and chosen pulse. Leave the timer out if it distracts you from those actions.
- Extend an established rhythm: try three bouts of up to 20 seconds, then up to 30 seconds in a later session if comfortable. Keep a pause of about 30 seconds between bouts, or longer when needed.
- Explore another start: use separate short bouts to practise the other foot forward, a parallel stance and the opposite rotation direction. Reset the hoop by hand before each new attempt.
The Spinsterz guide encourages practice in both rotation directions and each stance, then changes of foot position after control develops. You can explore those options gradually. When a new stance or direction feels unfamiliar, return to the short launch practice rather than expecting the same duration you achieved with your preferred start.
Two questions before you extend the session
Should you keep moving if the hoop is falling? For this beginner practice, finish the attempt and reset. A new level launch gives you a clear place to begin again. Learning recovery tricks while the ring drops can wait until you can maintain a familiar rhythm; they are not needed to complete this session.
Is a waist-track hoop with an attached ball the same equipment? It uses a different arrangement: the track stays fitted around the waist while an attached weight travels around it. The classic hoop in this guide is a free-spinning ring. Use the instructions for the type you own, rather than applying this hand-launch sequence to a fitted track.
For your next practice, return to the clear space and give yourself a few unhurried launches. When you can find your rhythm again, choose the short bout that suits today's control. Longer continuous hooping can grow from those repeatable starts.