Warm Up for Agility Practice: From Easy Steps to Direction Changes
Build an agility warm-up from easy steps to small mobility movements, side steps and planned turns. Rehearse the route before adding pace to practice.
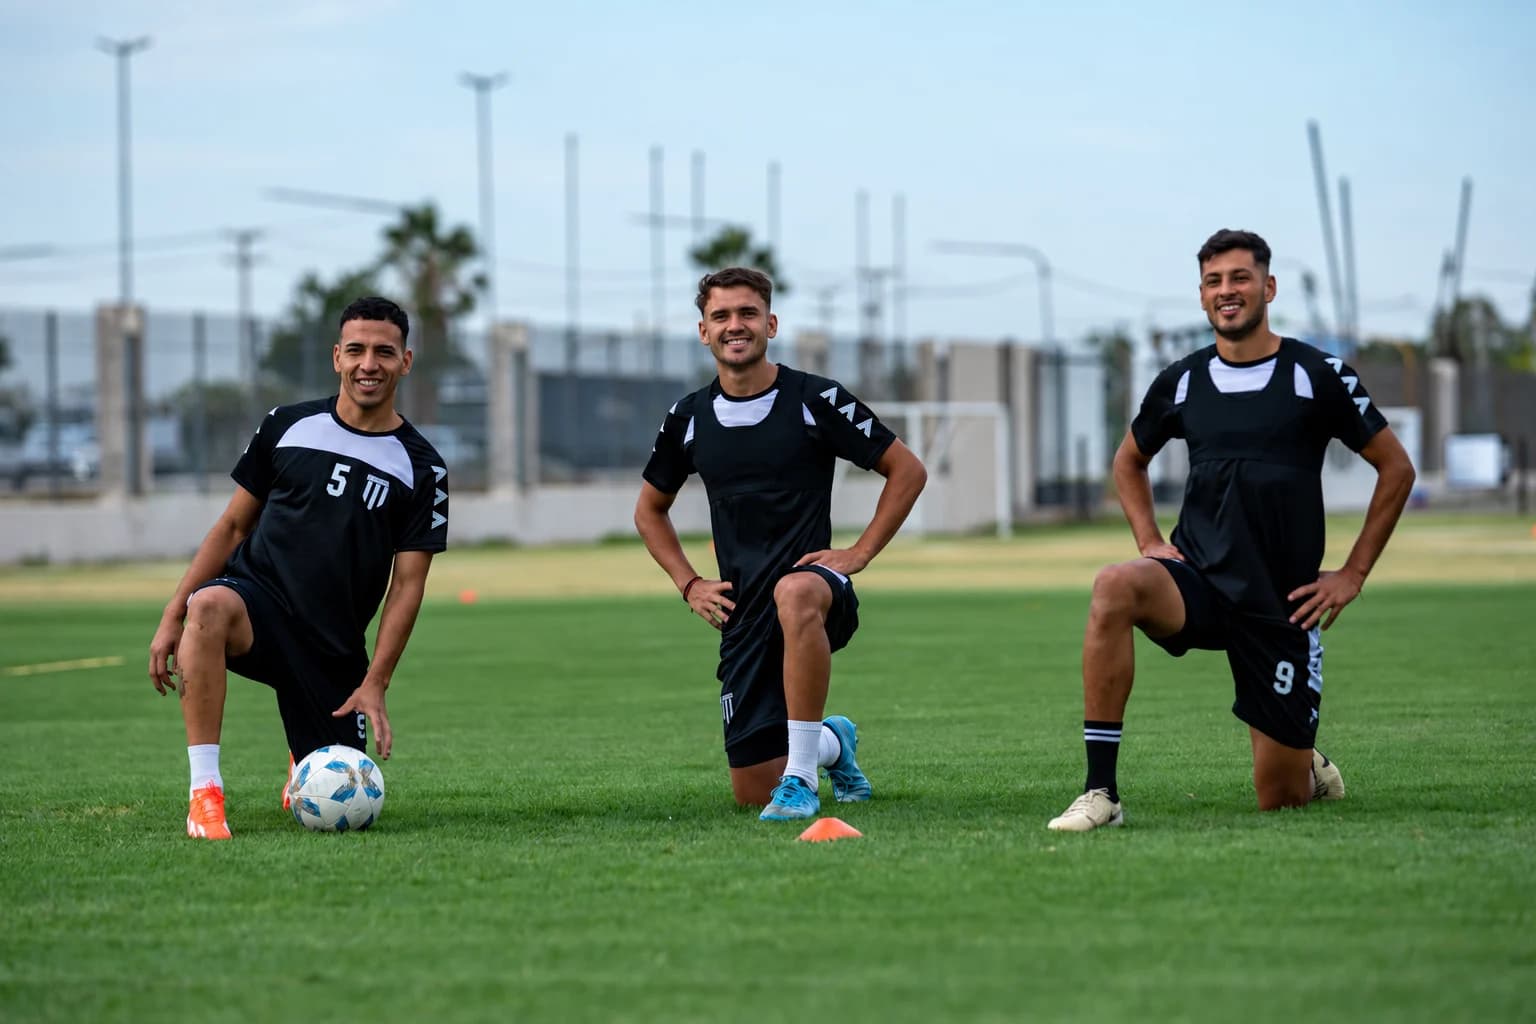
An agility warm-up can move from easy forward steps to small mobility movements, then to controlled side steps and planned turns. Keep the route simple and increase the movement demand gradually. The aim is to enter footwork practice with the pattern already familiar, while keeping the opening work manageable.
Begin in a clear area with room to move and stop. Choose the direction before each pass, learn it at an easy pace and leave space beyond the turning point. A warm-up gives you a gradual entry into the session.
Build an agility warm-up routine in three stages
ACE’s activity-specific warm-up guide moves from dynamic mobility towards rehearsing the intended activity. USTA’s tennis warm-up guidance includes controlled movement, dynamic actions and sport-pattern rehearsal.
The short sequence below adapts that build-up for planned field-style footwork. Its small repetition counts and marker spacing are a practical example for this guide. Make one unhurried pass through the stages, taking time to learn the movements before adding pace.
- Begin with easy forward movement so the first task is simply stepping and finding a comfortable rhythm.
- Use small ankle rocks and lateral lunges to introduce controlled movement in different positions.
- Rehearse side steps, then a slow planned stop and turn that resembles the direction changes in the practice ahead.
A three-stage route map to read before moving
| Stage | Direction or task | Space to leave |
|---|---|---|
| Easy forward travel | Walk out → ordinary stepped turn → walk back | Room to settle at each end |
| Controlled mobility | Small ankle rocks and side movements as described below | Clear footing and the stated support |
| Planned side travel and turn | Side step → settle → chosen small-step turn | Room beyond the endpoint to slow before turning |
The USTA Dynamic Warm-up and Flexibility Training for Tennis page is the stable official entry for the controlled side-shuffle and lateral-lunge references.
Start with easy forward steps
Walk out along a short clear lane, turn with a few ordinary steps and walk back. Let the arms move comfortably. Make a second pass a little brisker if the first feels easy to organise. Keep enough room to settle at either end.
If space is limited, march on the spot first, then use the walking lane when you are ready to practise travelling. Take the time you need to find a comfortable rhythm. Save the sharper changes for the later part of the warm-up.
Add small ankle and side movements
Try a few controlled repetitions on each side. Four of each per side is one simple starting arrangement for this sequence; choose a smaller range or fewer repetitions if that makes the movement easier to follow.
- Ankle rock: face a wall in a short split stance. Keep the front heel on the ground. Move the front knee forwards over the toes through a comfortable range, then return to the starting position. Complete the repetitions, change the front foot and repeat.
- Small lateral lunge: begin standing, step to the right and send the hips back as the right knee bends, leaving the left leg longer. Press through the right foot to return to standing. Repeat to the left. Begin with a modest step and a shallow movement you can control.
Keep the repetitions moving smoothly between the start and finish. The ankle rock follows ACE’s example; the lateral lunge uses USTA’s hips-back cue within this small practical sequence. Give both sides time to learn the action.
Give the next steps two clear endpoints
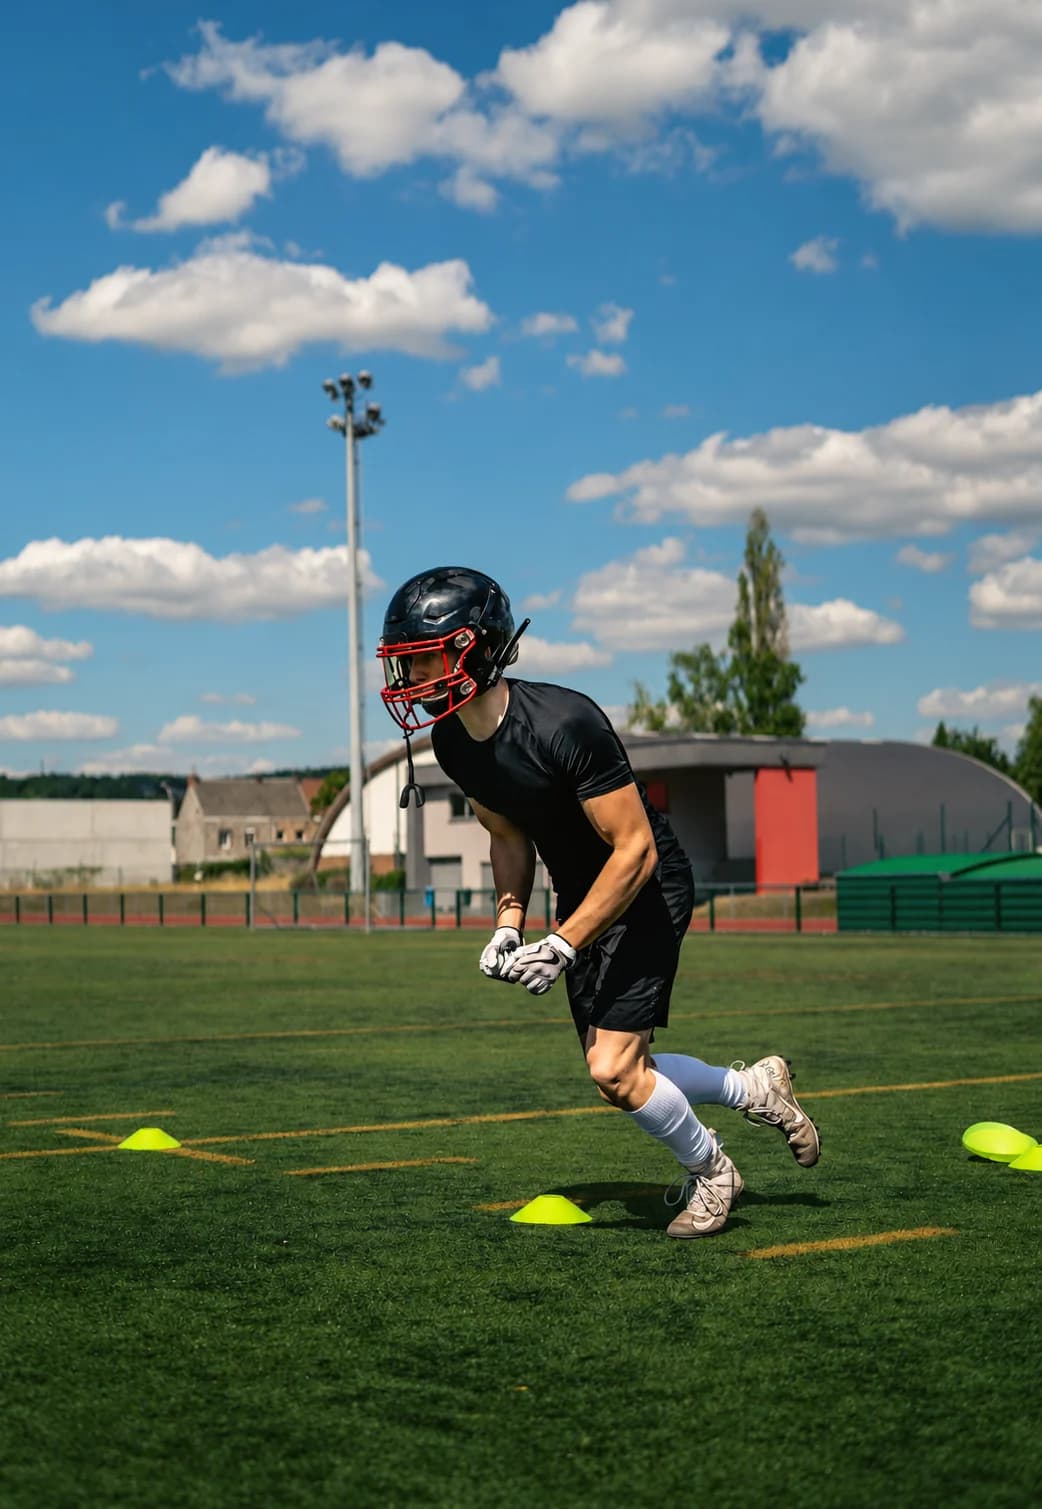
Choose two endpoints a few comfortable walking strides apart, with clear space beyond them to slow and finish. Place any markers just outside the intended foot-placement path. Walk the route once before using it for side steps or turns.
If visible endpoints help, the optional 12-piece flat training-cone set contains the listed six-inch rubber centre-hole markers and a stacking holder. Use two markers for this simple layout and keep the rest outside the movement area. Check that the selected markers lie flat and stay in place on your surface.
Rehearse side steps before shuffling
Keep the footwork warm-up easy enough to place every step deliberately. Start facing across your lane so you can travel sideways between the endpoints. Begin with ordinary side steps, then use a small shuffle if that pattern is familiar.
- Stand with the feet apart, hips and knees slightly bent and chest up.
- To travel right, step the right foot out and push from the left leg. Bring the left foot towards the right without crossing the feet or bringing them together.
- Continue with small controlled steps to the endpoint. Slow, stop with room to spare, then repeat towards the left, pushing from the right leg.
USTA describes pushing from the inside leg during the side shuffle. Use that cue at a low pace here, with the full step order above as this guide’s practical explanation. One pass each way gives you a chance to feel both directions before deciding whether another is useful.
Keep the change-of-direction warm-up planned
For the final preparation, decide the route before moving. A simple out-and-back pass lets you rehearse approaching a point, settling and choosing a new direction without needing a reaction cue.
- Begin at the first endpoint and walk briskly towards the second, keeping the route ahead clear.
- Before the endpoint, shorten the steps and reduce the pace until you can stop with control.
- Turn using several small steps in the direction you chose, then walk back along the lane.
- Reset at the start. On the next pass, choose the other turning direction so you practise both ways.
Keep this rehearsal small and deliberate. If the turn feels rushed, begin slowing earlier or use a gentler approach. Leave the faster approaches, more demanding braking and reactive decisions for the main practice you have planned.
Move into the first practice drill gradually
Use the last part of the warm-up to rehearse the opening pattern of your actual drill at an easy pace. If that drill uses a different route, learn the route before increasing speed. Change one feature at a time so the next pass is easy to understand.
A useful endpoint is being able to follow the route, settle at the endpoint and repeat the pattern without hurrying the feet. Repeat the simpler version if that still needs attention. Keep enough energy and focus for the practice that follows.
For help choosing that next setup, Agility Ladders vs Cone Drills: What Are You Practicing? explains the different tasks those layouts can organise. Match the warm-up’s final rehearsal to the drill you actually intend to use.