Agility Ladders vs Cone Drills: What Are You Practicing?
Compare ladders and cones by foot placement, planned direction changes and cue response. Choose a clear practice task, understand simpler options and match the equipment.
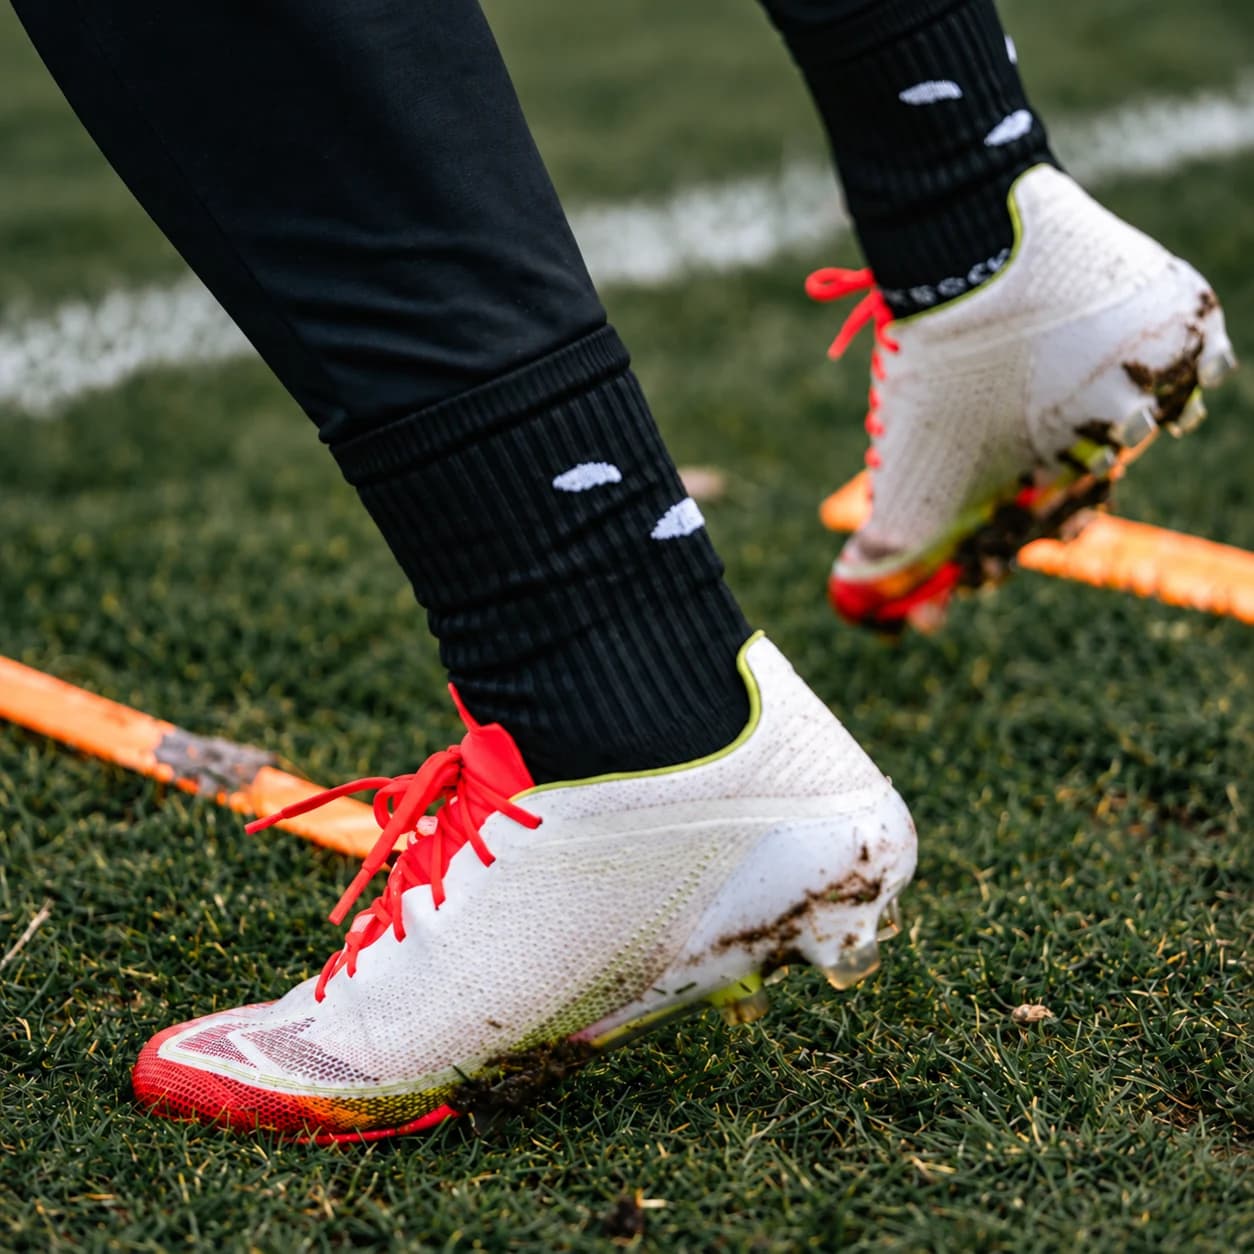
Choose between an agility ladder and cones by naming what you want to practise. Repeating foot placements, moving through a known change of direction and choosing a response to a later cue are different tasks. The equipment can organise the space, but the instructions determine the practice.
That makes the choice more useful than asking which tool is always better. A ladder may give a learned step pattern clear spaces. Markers may organise an approach, a direction change or a finish. Either still needs a defined movement, suitable space and a clear way to complete the attempt.
Compare agility ladders and cone drills by the task
Three layouts, three different instructions
| Schematic using flat discs / ladder cells | Known before starting | Information arriving later | Clear finish |
|---|---|---|---|
| Ladder: start → [R,L] → [R,L] → exit | Foot order and route | None in this placement task | Beyond the last cell, then settle |
| Flat disc: start → ○ → planned return → finish | The whole route and return are named | None; disc colour alone adds no decision | An agreed clear finishing area |
| Flat discs: start → choose ○ left OR ○ right → finish | Possible options and taught movement | A separate agreed cue chooses the option after starting | A finish assigned to either permitted option |
The response task needs an actual later cue and an already learned movement. These diagrams specify no spacing, speed, turning radius or permission to sprint in a small room. Select an appropriate taught task and enough clear room to finish.
| Practice goal | A useful equipment role | What to check |
|---|---|---|
| Repeat a known foot-placement pattern | A flat ladder can organise repeated spaces for a learned sequence. | Whether the intended contacts stay controlled and clear of the rungs. |
| Practise a known route with direction changes | Cones or suitable markers can identify spatial references along that route. | Whether the approach, change of direction and finish are understood before adding pace. |
| Choose a response to a later cue | Markers can identify options; the actual cue creates the response demand. | Whether the participant really has to read the cue and choose, rather than follow a route already known. |
| Combine placement and travelling movement | A ladder and a cone can serve separate parts of one learned drill. | Whether each part is clear before the combined task becomes more complex. |
The ACE soccer-training guide gives a combined example: a forward two-feet-in ladder pattern, a lateral exit toward a cone, a touch and a return. The example uses the tools for different parts of the task. It also puts controlled movement and body position ahead of added speed and decision complexity.
You do not need to start with the complete combination. Identify the part you intend to learn, choose an appropriate simpler task and leave enough space to finish it. The guide's cone touch is part of that particular coaching example, not a requirement for every marker or practice route.
Use the ladder for a defined placement pattern
For a straightforward placement task, a smooth forward two-feet-in pass is a simpler practice example adapted from ACE's combined sequence. Keep the intended contacts clear, move at a pace you can organise and finish beyond the working spaces under control. This is a learning option, not a fixed-speed prescription.
Learn the actual sequence before trying to perform it quickly. The beginner ladder-drill guide explains existing pattern choices. Use the instructions for the selected pattern; neither a photograph nor the ladder's product name supplies a mandatory lead foot or a complete stepping sequence.
If the feet repeatedly catch a rung or the order is lost, simplify the task or reduce the pace before adding complexity. A faster pass is only useful to the intended practice when the required contacts and finish remain recognisable. The ladder's cell size must also suit the movement you are attempting.
Make cone footwork practice specific
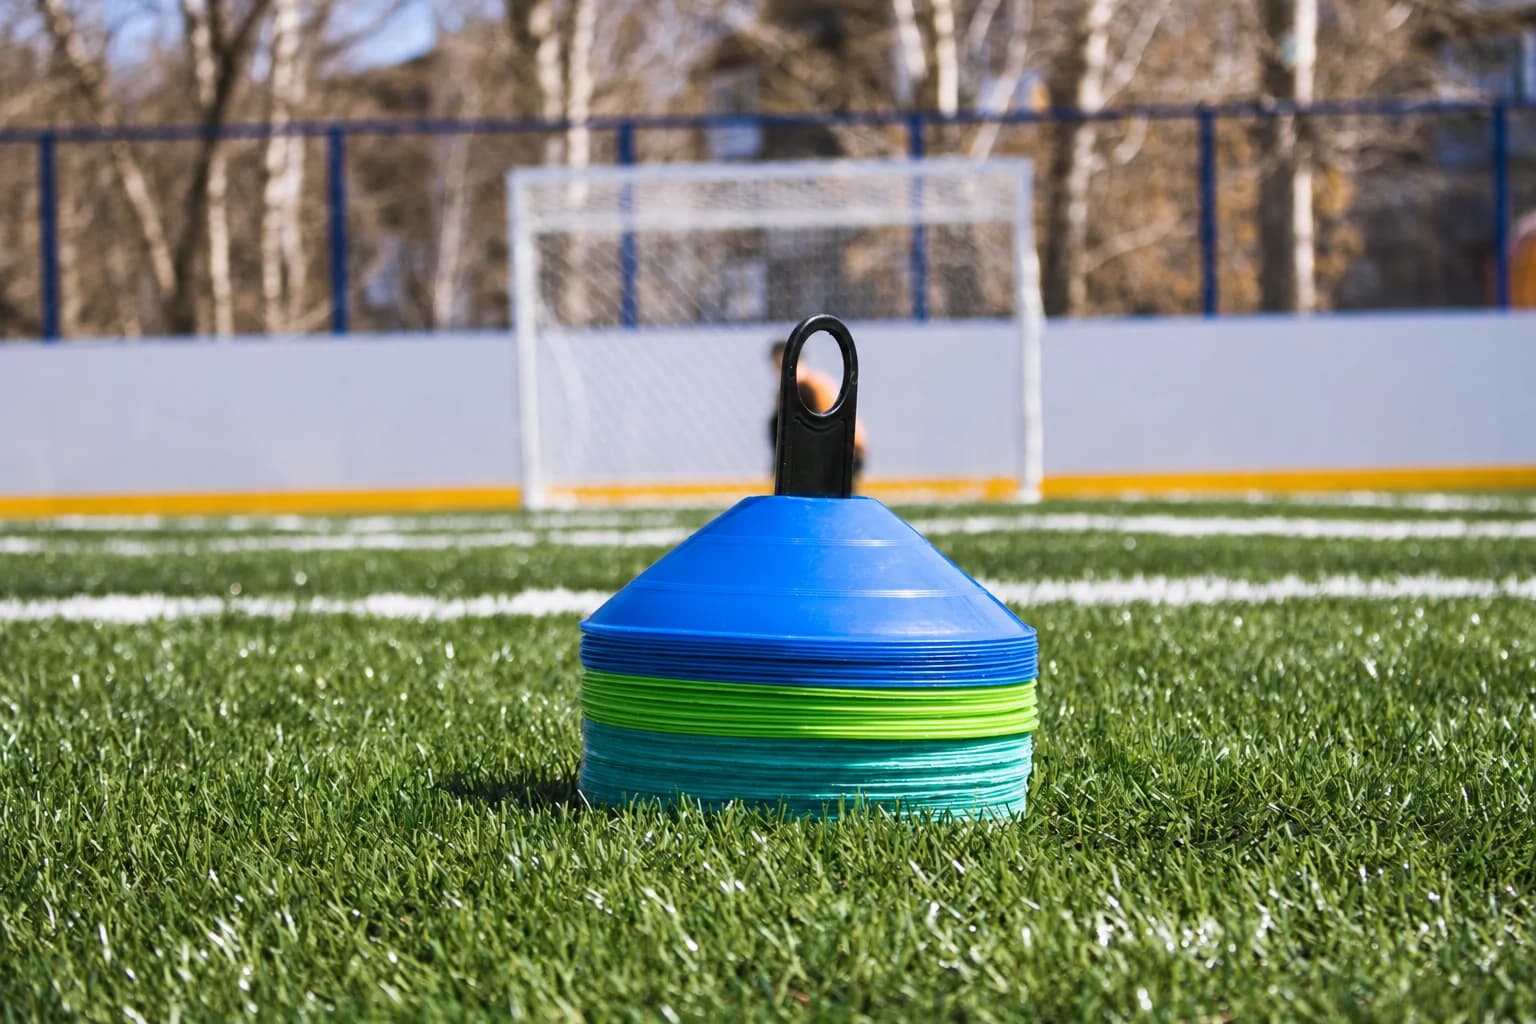
State what each marker represents: an approach reference, a planned change of direction, an option to select or a finish point. A collection of cones does not supply those instructions automatically. Place the references so the foot path and completion area remain clear.
A separate planned out-and-return around a visible marker is another simpler practice example adapted from ACE's combined drill. Rehearse the route and its direction change at a manageable pace before making it faster. You do not need to add a hand touch to a low marker or step on it to give the route a purpose.
If a colour identifies the route before the attempt begins, the movement can still be preplanned. If a later cue determines the choice, a response demand has been added. Keep that difference explicit when choosing a drill or describing what you practised. A cone route can be entirely preplanned.
Finish with the same care used for the approach. If there is insufficient room to complete the turn and slow down, choose a different route or location. These home-practice choices do not establish universal cone spacing, a turning radius or permission for maximal sprints in a small area.
Ladder drills versus agility drills: check the decision
The NSCA change-of-direction adaptation guide distinguishes a predetermined direction change from responding to a later visual or auditory cue. Use that distinction to check the task, rather than rely on “agility” printed on the equipment.
A memorised sequence asks you to execute known movements. A cue-based task also asks you to perceive information and select the response. Learning the movement and controlling the route remain relevant before adding that complexity. Use a taught cue-based task when response practice is the goal; another marker alone does not create it.
You can also keep the tasks separate. One practice slot may focus on accurate placements, another on a known travelling route, and another on an appropriate response task. Completing one of those tasks does not demonstrate all three, or establish an improvement in match performance.
Choose the next practice deliberately
- Name one main goal: a repeated placement pattern, a known direction change or a response to a cue.
- Select a learned drill or a clearly simpler practice version that serves that goal.
- Walk through the intended contacts or route and identify where the attempt finishes.
- Check the actual equipment, surface, foot clearance and room to finish before adding pace.
- Review the relevant quality: contacts for the ladder, route execution for planned marker work, or reading and selecting the response for cue-based work.
Make the next change match what you observed. A placement error may call for a clearer or slower pattern. An unclear route needs rehearsal. A response task needs an actual decision cue and enough movement familiarity to use it. Adding speed to every problem is not a complete progression plan.
A twelve-marker option for planned practice
The PBGGAME set of twelve flat training markers with a holder supplies twelve thin coloured center-hole discs. They are flat markers, unlike the raised dome cones in the photograph. Use only as many as the intended practice needs, with the marker positions and foot path clearly distinguished.
Check the model's instructions and suitability for the actual surface. No friction or non-slip performance is established here. Choose the movement task first, then the equipment that can organise it; neither the holder, the colours nor the number of markers supplies a reactive drill by itself.