Kneeling Comfort in Yoga: Mats, Pads and Position Changes
Compare a full mat, local knee padding and position changes, then use a brief familiar transition to check floor contact and adjust the setup.
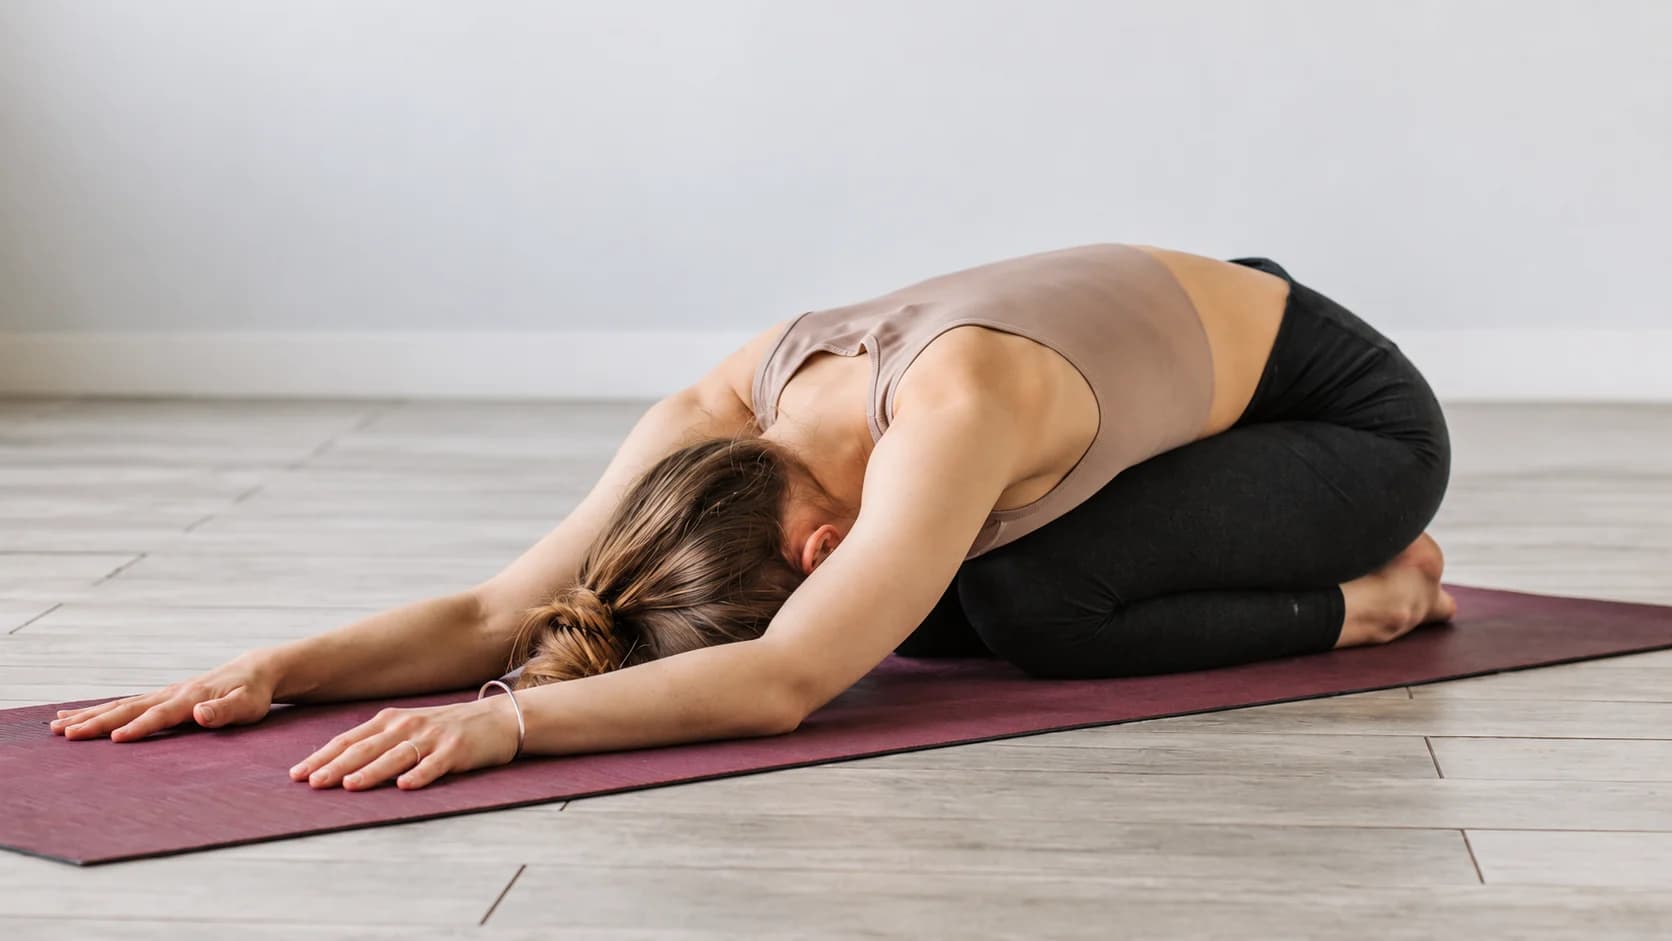
For kneeling comfort on a hard floor, separate three choices: the practice surface beneath you, padding at the knee's contact point and the position itself. A full mat and a small floor pad do different jobs. You can also change to a position that does not involve kneeling instead of adding more material underneath the knee.
Start with a familiar movement and a setup you can enter and leave comfortably. The short trial below uses an already-taught Low Lunge transition to compare floor contact. It is not a test of how much discomfort you can tolerate, and padding is not a reason to remain in a position that hurts.
Map the contact before entering the familiar lunge
| Stage | Contact and space to identify | When to move the pad |
|---|---|---|
| Before entry | Back-knee landing area; separate space for the hands and front foot | Place and flatten it before the taught transition |
| During the short familiar position | Back knee on its intended contact; pad edges clear of other contacts | Leave the position rather than pull the pad under a loaded knee |
| After the taught return | Knee is clear; you have left the kneeling contact | Now adjust, remove or prepare the other side |
A floor pad is not a medical knee brace, and more thickness is not a reason to remain in pain. The map refers only to the already-taught Low Lunge check described below; it is not a new pose lesson.
A yoga knee pad for hard floors: what it changes
A local floor pad adds material at a chosen contact point. Before using one, identify where the knee will land and where the hands and feet need to remain. Keep the pad clear of those other contacts unless the taught setup specifically places them there.
In Low lunge, YogaEasy offers a folded blanket beneath the back knee. Bernie Clark's discussion of knee comfort in Low Lunge and Pigeon also describes local padding options, including a towel, blanket or folded mat edge. Those examples give you ways to change contact with the floor; the position and the route into it still need to suit you.
Plan the padding before beginning the movement. Place it flat and check that it does not slide or bunch when touched lightly. If your practice moves between positions, decide when you will put the pad in place and remove it. Avoid trying to pull it into position while the knee is resting on it.
Mat cushioning for knees: compare the whole setup
Use the comparison below to decide which part of the setup needs attention. A listed thickness describes the item before use; it does not tell you exactly how comfortable the contact will feel.
| Option | Where it acts | What to check before entering the position |
|---|---|---|
| Full practice mat | The larger area used by hands, feet and knees. | It lies flat, stays in place and leaves the required space for the movement. |
| Local floor pad | A smaller selected contact area. | Its position matches the knee contact, with no edge in the way of the hands or feet. |
| Folded blanket or towel | A local area arranged for the taught position. | The fold remains flat and does not bunch or shift. |
| A position change | Changes whether the knee contacts the floor at all. | You know the alternative and its entry and exit, or can ask the teacher to show it. |
Extra padding can raise the knee’s contact point as well as change its cushioning. Check the whole position again after changing the setup. If a pad makes the transition awkward, catches a foot or moves on the mat, leave the position and rearrange it before trying again. You can choose the mat alone, local padding or another position according to the actual task.
Yoga kneeling support: try one familiar transition
Use this example only if you have already learned the Downward-Facing Dog to Low Lunge transition and its return. If that route is unfamiliar, ask a teacher to show an appropriate setup first. The purpose here is to check the surface in a movement you know.
Use a one-to-two-breath pause for this short example, and leave the position sooner if it feels uncomfortable.
- Clear a level practice area. Unfold the mat fully if using one, then place the local padding where the back knee will contact the floor in your familiar lunge. Check that the pad and mat remain flat, with room for your hands and front foot.
- From your taught Downward-Facing Dog, step the right foot between the hands, then gently lower the left knee onto the prepared contact area. This follows YogaEasy's entry. Keep the hands supported on the floor or the familiar support your teacher has shown; there is no need to raise the arms for this check.
- If the position is comfortable, pause for one or two ordinary breaths. Notice whether the padding stays in place and whether you can use the familiar hand and foot contacts without an edge getting in the way. Finish sooner if you need to change anything.
- To leave, bring the hands to the floor as needed and follow the taught step back into Downward-Facing Dog, lifting the back knee clear as you return. YogaEasy uses that return route. Continue to your usual taught finish or the non-kneeling alternative your teacher has given you.
- Once the knee is clear and you have left the position, adjust or remove the pad. If you choose to check the other side, arrange its contact point first and use the same familiar entry and exit. There is no requirement to repeat the trial.
Keep setup changes separate from the movement. That makes it easier to notice whether the material, its placement or the chosen position needs changing, without trying to solve everything while kneeling.
Match the equipment to the contact you need
The Black NBR foam yoga knee pad, pack of one is a single rectangular floor pad with listed dimensions of 61 by 31 by 3 centimetres. It has a ribbed texture and a hand-wash-only care instruction. It is placed on the floor; it is not a wearable knee brace.
For a larger practice surface, the Grey cross-fold TPE mat with storage bag is listed as 182.9 by 80 centimetres and 0.8 centimetres thick. It includes one storage bag and is also hand wash only. Unfold it fully before checking the practice area.
Compare the surface options by the body contact and floor arrangement you want. When placing the pad on a mat, check the pad-to-mat contact as well as the mat-to-floor contact, and make sure the complete setup stays still before beginning.
Leave enough room around the local pad for the movement you actually intend to use. Put it in place before entering, and move it only after leaving the kneeling contact. This keeps the equipment choice attached to a clear task rather than making the thicker item the default.
When to change the position instead
If the knee contact is uncomfortable, leave it and choose the alternative you have been taught. Ask the teacher for a version that avoids kneeling if that is what you need. You can also finish that part of practice while the teacher helps you choose the next step.
Change one practical detail at a time: the pad's position, a fold that is bunching or the taught posture option. If the difficulty remains, stop repeating the check. Adding another layer is only useful when the resulting arrangement is comfortable and manageable; it is not a way to make pain acceptable.
For a separate practice organised around supported standing positions, the standing yoga balance sequence uses clear feet-down returns. Choose it when those movements suit you, rather than treating it as a replacement for instruction about a painful kneeling position.