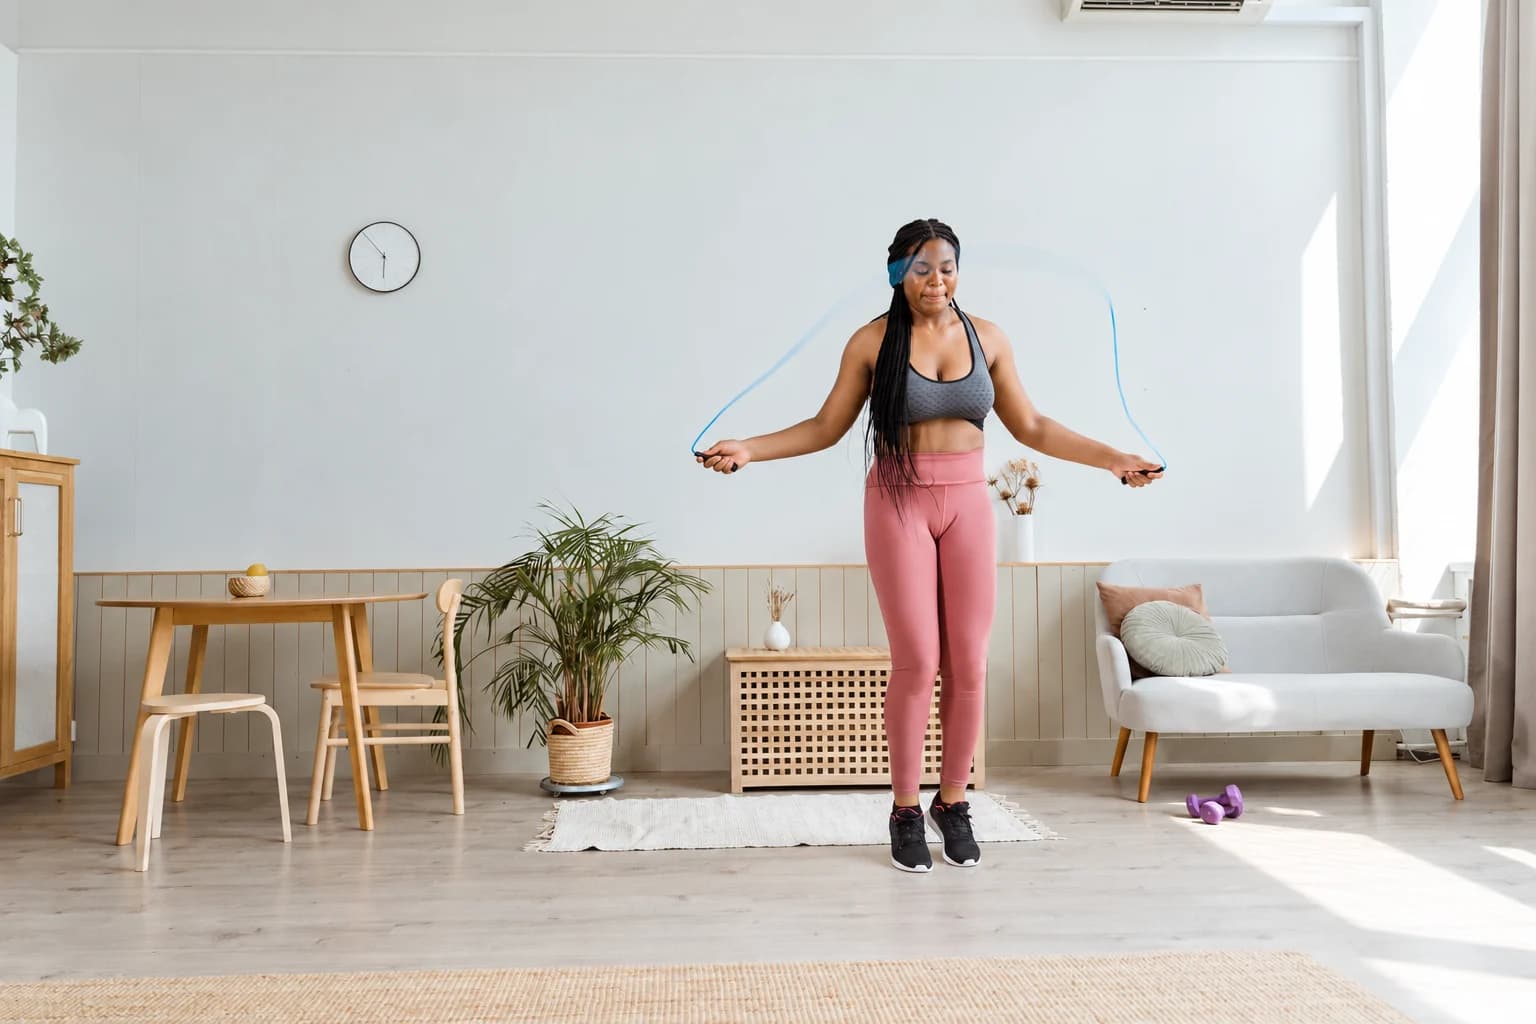
Compact Home Workout Equipment: A Practical Kit & Packing Guide
Choose a compact workout kit around your routine, compare three equipment roles, and learn how to pack resistance bands for travel.
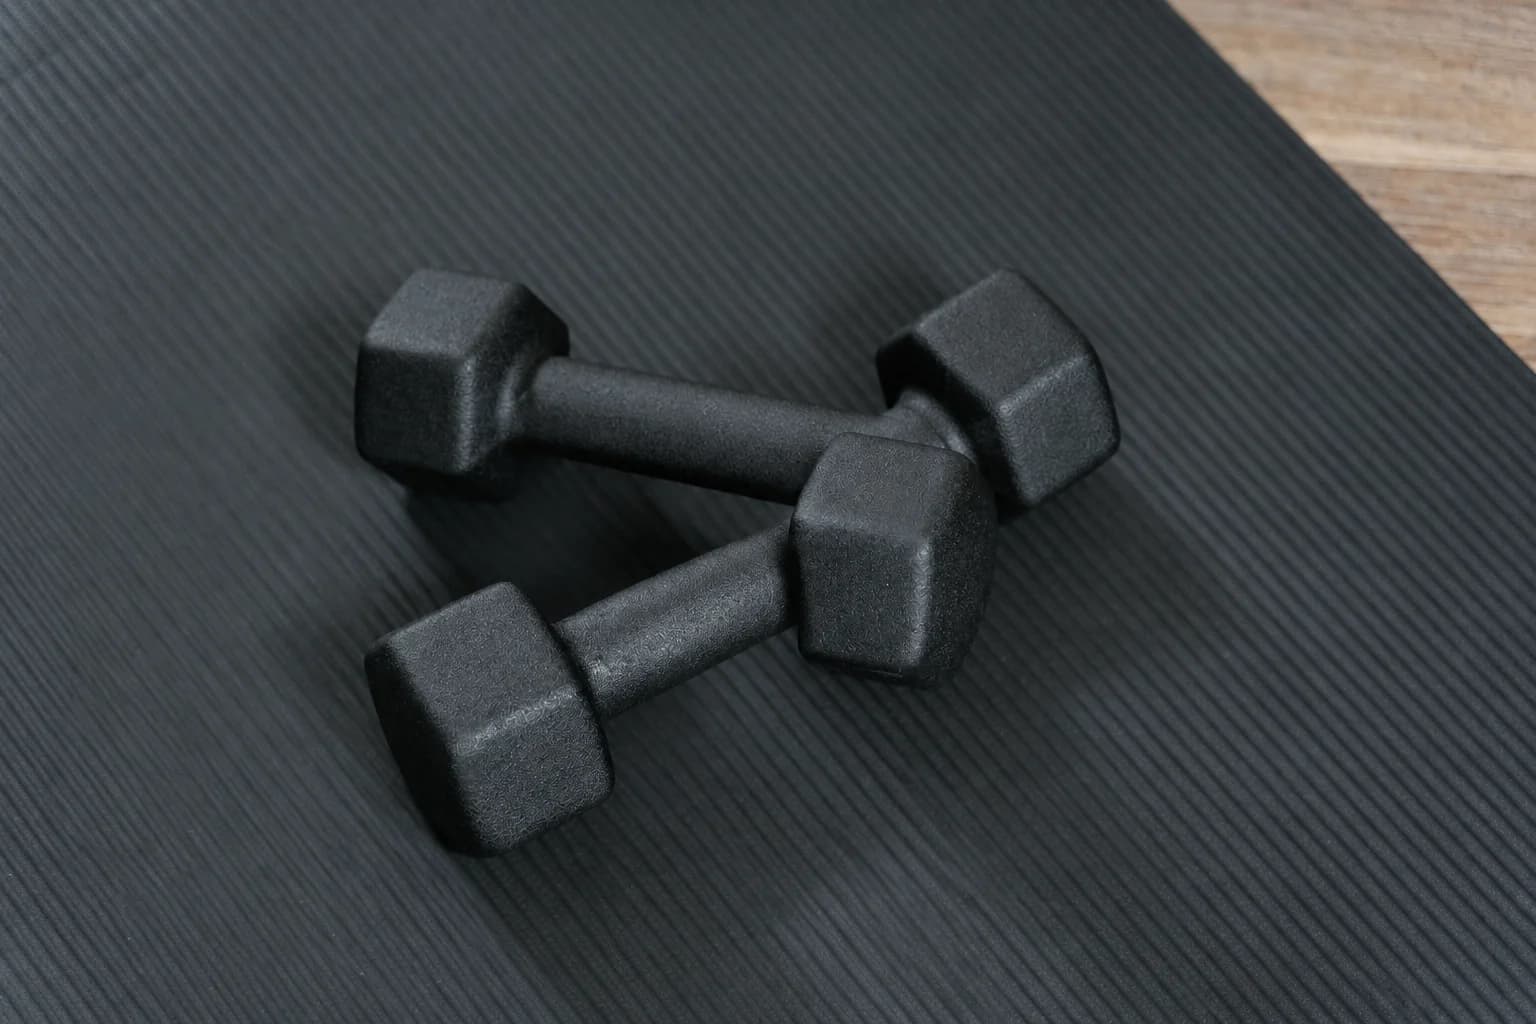
Choose portable workout equipment by the session you want to do, the space you can use and what you can comfortably carry. Start with one way to add resistance and, when your routine needs it, a suitable floor surface. Add a rope or another accessory only when it has a separate job. Then pack the complete setup, including shoes, water and small parts, before deciding it is genuinely portable.
Build a focused home or travel kit around the activities you want to practise. This guide helps you compare equipment roles and pack resistance bands, mats and carrying essentials into a setup that is straightforward to unpack, use and store.
Start with your routine, rather than a shopping list
Write down where you expect to train and the movements your current instructions call for. A floor-based Pilates session, a band strength session and outdoor skipping need different tools. If you are starting from scratch, choose an appropriate beginner program first; equipment labels alone do not tell you how to structure a session.
For generally healthy adults, the American College of Sports Medicine’s 2026 resistance-training guidance recognizes elastic bands, bodyweight and home-based routines as useful options. Consistent training matters more than having an elaborate equipment collection. That supports starting simply; it does not mean every band provides the same resistance or replaces every gym exercise.
Give each item a reason to travel: “I need this because my session uses it.” Include setup time in that decision. A tool that requires an approved anchor, adjustment key or particular surface can be compact yet inconvenient for the location you have.
Check the space before buying smaller equipment
Measure the area you can actually use, with furniture, doors and other people accounted for. Check the whole movement path, including overhead clearance. A mat-sized patch of floor is not automatically enough for a turning rope, a long stretched band or movements that travel sideways. Confirm that the activity is permitted and that its noise suits the setting.
At home, consider where the equipment will dry and be stored after use. Away from home, ask about the room or training area before relying on it. A hotel door, bed leg or chair is not an approved band anchor simply because it is nearby. Use only an attachment arrangement the equipment instructions allow, in a location that meets those instructions.
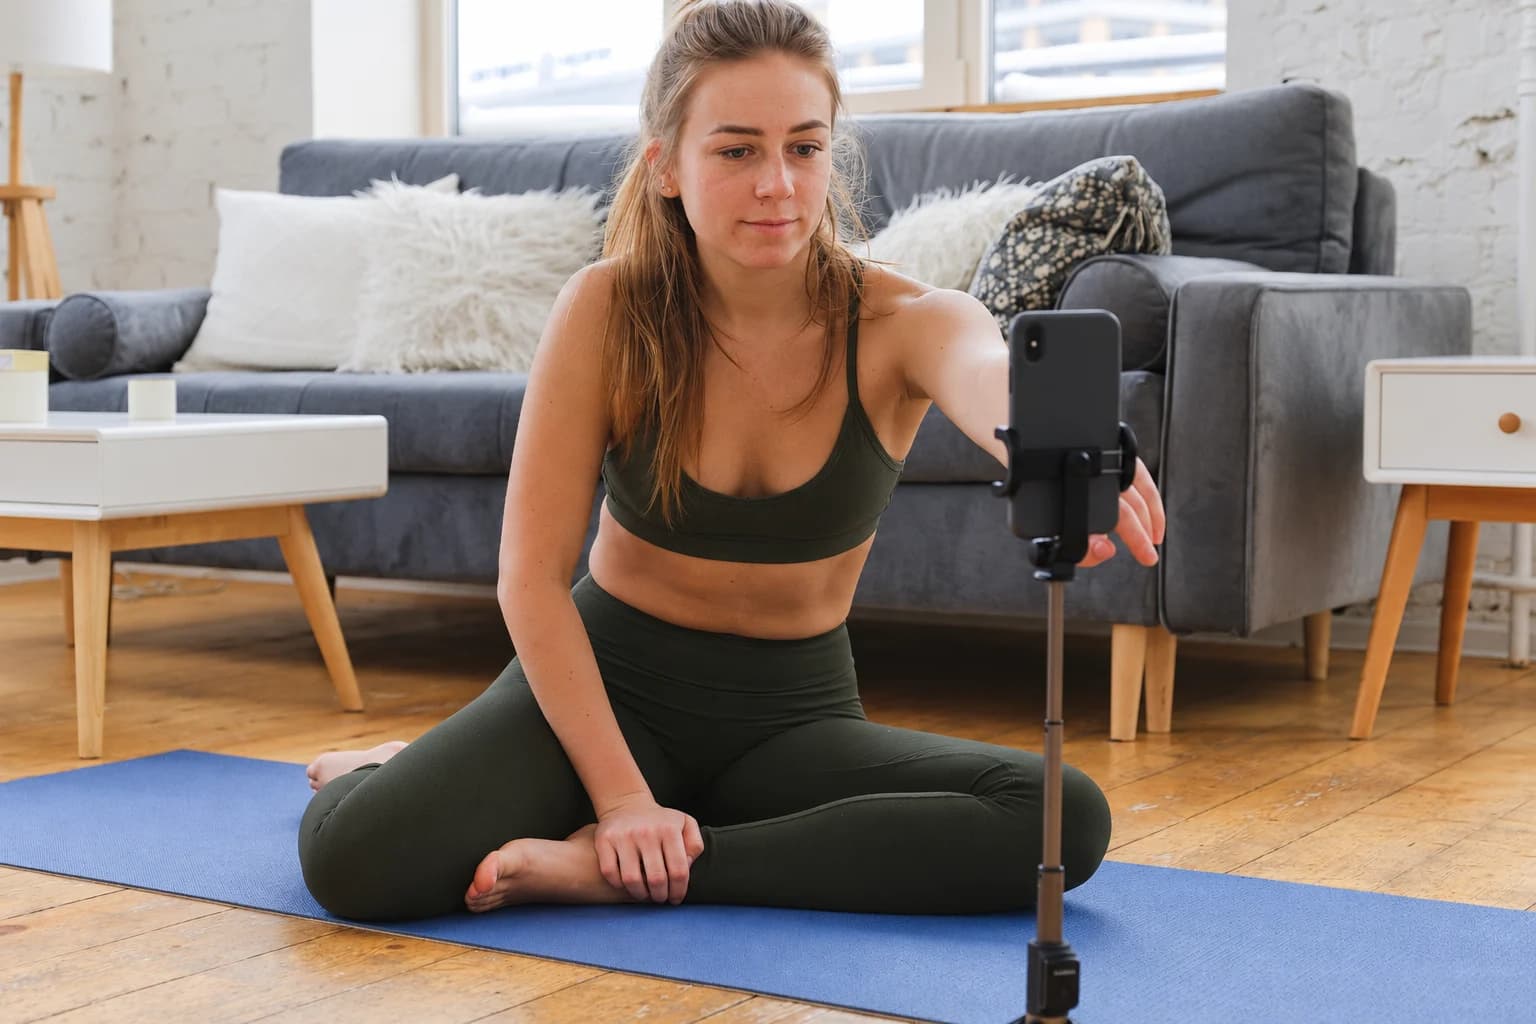
Choose a session that fits the room and complete the floor, clearance and support checks before setting out equipment. Keep the movement area dry and stable, and select an anchor arrangement only where its installation requirements can be met.
Give each equipment category a separate job
| Equipment | What it can contribute | What to check before packing |
|---|---|---|
| Long-loop band or handled tube system | External resistance for exercises that match that format | Correct resistance, compatible components, material and permitted setup |
| Exercise mat | A defined floor surface for suitable floor-based work | Unfolded size, surface compatibility, thickness and packed dimensions |
| Jump rope | A tool for skipping practice and conditioning | Full turning clearance, appropriate surface, noise and model-specific sizing |
| Sliders, a small ball or a stretching strap | A specific movement or exercise in your routine | Floor compatibility, inflation or setup needs, and the actual instructions |
| Gym bag and small pouches | Organization and transport | Internal opening, packed weight, separation of damp items and hard parts |
A cardio tool and a resistance tool do different jobs. The CDC’s adult activity guidance includes aerobic activity as well as muscle-strengthening activity; a compact accessory does not automatically cover both. Walking may handle part of your aerobic activity without taking any space in a bag. Choosing home workout equipment starts with those separate jobs.
For resistance equipment, match the format to your exercise instructions. Short hip loops, long continuous loops and handled tubes are not interchangeable merely because all are called bands. If you need help identifying a complete system, use our portable resistance band kit guide.
Three product examples, with different roles
For a kit built around band work and floor exercises, these PBGGAME items illustrate three distinct choices. Pick only the ones your session needs, and check the selected option on its product page before ordering. These are specification-based examples, rather than a claim that we tested this combination together.
- The natural-latex long-loop resistance band set provides continuous loops, with set size and resistance ranges varying by option. Choose the resistance for your instructed movements and check personal material requirements. The linked example is the five-loop option labelled Orange; anyone avoiding latex should choose a suitable alternative material.
- Create a portable practice surface with the cross-fold TPE travel yoga mat, listed at approximately 182.9 by 80 by 0.8 cm when unfolded. Compare the actual folded block with the usable opening of your bag when planning a travel kit. The linked mat is the Blue option.
- Carry your session and personal items in the 37 L gym duffle, listed at approximately 18.5 by 8.7 by 14.2 inches externally. Check its usable opening and compartment against the items you plan to pack. The linked example is the Navy Blue bag with navy-and-white stripes.
Do not add the advertised capacities together or assume that three lightweight items make a lightweight complete kit. Water, footwear, a towel and the bag itself count. Measure your chosen combination after packing, rather than using product photographs to judge scale.
How to pack resistance bands without tangling the kit
Pack bands clean, fully dry and relaxed. Keep hard accessories away from the elastic, and carry only compatible components. The following departure-to-arrival method is an organization routine; your own band instructions still decide cleaning products, permitted attachments and stretch limits.
1. Identify and inspect the exact setup
Lay out the band, the correct handles or cuffs, any approved anchor you intend to use and the instructions. Keep a copy available offline. Count removable components now so you can notice something missing when you repack. Do not substitute look-alike clips or connectors whose compatibility you have not verified.
Inspect the relaxed elastic, edges and fittings in good light. Royal Devon NHS exercise-band advice highlights checks for wear, nicks and punctures, and storage away from direct sunlight and extreme temperatures. Follow your own product’s stop-use criteria. Do not pull hard on a questionable mark to “test” it; leave damaged or uncertain components out of the kit.
2. Dry the pouch and accessories too
If you have just trained, allow the drying time specified by the maker before putting the kit away. Check webbing, handle padding and the inside of the pouch as well as the elastic. A dry band placed beside a damp towel is no longer being stored in a dry arrangement.
Use only the cleaning method approved for that material. Do not add oil, fragrance, powder or a conditioning treatment for the trip unless the product instructions call for it. Contain toiletries separately so a leaking bottle cannot coat the equipment.
3. Fold loops loosely; coil tubes without forcing them
Lay a continuous loop or flat band into broad, relaxed folds, or a loose roll suited to its case. Do not knot it for storage or stretch it tightly around a bottle to make a smaller bundle. For tubing, use a loose coil and detach accessories only where the system permits removal. Fixed end fittings should stay intact.
Place hard handles beside the coil, rather than pressing an edge into the tube. Keep clips and other hard components in their own small pouch or compartment. Arrange any anchor webbing so the band is not trapped against a clip gate, zipper or abrasive edge. If you must force the bag closed, use more space or leave something out.
4. Keep the kit away from grit, leaks and hard corners
Separate it from dirty shoes, loose tools and wet clothing. Avoid a position where a heavy object compresses the elastic against hard hardware. Close the luggage while watching for trapped straps or bands. An elastic loop hanging out of the zipper should not become a carrying handle.
Check current carrier and security rules for the complete kit on your actual route, including any metal attachments or tools. A band being small does not establish universal baggage approval. Build drying time into the return journey too, especially if you plan to train shortly before leaving.
Run one complete packing rehearsal
Plan your compact training kit
| Item and role | Packed size and units | Actual carried mass and units | Opening / condition check |
|---|---|---|---|
| Band and approved components: ____ | ____ | ____ | Relaxed, inspected, clean and fully dry: ____ |
| Mat, if the routine needs it: ____ | Measured folded block ____ | ____ | Opening accepts it without forcing: ____ |
| Hard accessories / tools: ____ | ____ | ____ | Separate from elastic and zips: ____ |
| Personal items / water / shoes: ____ | ____ | ____ | Wet/dirty items separated: ____ |
| Bag with complete load | Closed dimensions ____ | Weighed complete bag ____ | All closures engage; carry route tried: ____ |
Mat-packing note: measure the folded mat and the bag's usable opening before planning the load. Keep folded-item dimensions separate from packaging figures, and use the mat-format guide to compare practice size, folding and storage.
- Lay out everything you will carry: equipment, approved accessories, adjustment tools, instructions, footwear, water and towel.
- Pack the bag in the order you expect to use the contents. Close every compartment without forcing a zipper or trapping elastic.
- Weigh the whole bag and measure its closed dimensions if those affect your journey or storage space. Carry it the way you actually intend to travel.
- Unpack and set up in a suitable space. If one small clip requires emptying the whole bag, change its storage place before adding more equipment.
For a band-only session, the first version may contain just the specified band, its approved accessories and personal essentials. For a floor-based session, the mat may matter more than a rope. Compare those focused versions before combining them. The aim is a kit that supports a real session, rather than one that represents every possible category.
Unpack, inspect and reset at the destination
Check the equipment after transit, even if it was sound before departure. Look for trapped edges, grit, unexpected residue and damaged components. Then verify the actual floor, clearance and permitted setup. If the conditions differ from your plan, change the session or location before starting.
After use, clean and dry each item as directed, count the components and put them back in their assigned places. Keep a damaged component out of the bag instead of treating it as a backup. After several sessions, note what you repeatedly leave unused and what you genuinely miss; let that record guide the next purchase.
Common compact-kit questions
What is the smallest useful home workout kit?
It depends on your routine. Bodyweight work may need no equipment; a band-based routine may need only the specified band and a suitable space. A mat adds comfort or a suitable surface for some activities, but it is not a substitute for checking the floor and the exercise instructions.
Does a folding mat fit inside any gym bag?
No. Compare its folded dimensions with the bag’s internal space and opening, then allow room for the other contents. Listed litres and external dimensions cannot guarantee the fit.
Should bands stay in my car between sessions?
Use the storage conditions supplied with your bands. A vehicle may expose equipment to direct sunlight and temperature extremes, so it is a poor default storage plan when those conditions are outside the instructions. Choose a suitable storage location you can control.
Do I need a rope as well as bands?
Only if skipping is part of the session and you have an appropriate place for it. You can browse resistance bands or training accessories after you have identified the job. Let the routine decide the accessory, and keep the finished bag simple enough to use regularly.