Deceleration Training: Learn to Slow Down Before Changing Direction
Learn a slow approach, shorter steps and a settled finish before adding direction changes. Plan the space and use coaching feedback to guide the next attempt.
Deceleration training starts before the final foot contact. Plan an approach you can control, begin slowing before the intended finish and allow time to settle. The learning task is the whole sequence: approach, reduce pace, finish and reset.
Start with a demonstration and movement feedback from a qualified coach. A slow, observable attempt gives you something specific to review before adding a direction change or a more demanding approach. You do not need a maximal run or a shortest-stop challenge to begin learning the sequence.
Keep deceleration drills for beginners slow and observable
Joe Eisenmann's Volt Athletics youth-development guide describes demonstrating the task, approaching a designated stopping point from a short distance and beginning slowly. The steps shorten before the stop, the arms coordinate, and the learner settles and freezes so the finish can be observed and adjusted.
That is a youth-coaching example. The practice below scales its learning cues into a manageable adult walk-through, with a broad stopping zone, room beyond it and a walking reset. These are practical adaptations, not a validated adult test, fixed training dose or invitation to copy the guide's later high-speed progressions.
Have the coach show the intended finish before the approach begins. The source allows a lunge-like finish on the front leg or a balanced athletic position in coached practice. Learn the version appropriate to the task instead of assuming one photograph supplies the required foot arrangement or depth.
Arrange the approach, stopping zone and room beyond

Choose a clear approach lane and identify a broad zone where you intend to settle. Keep usable room beyond that zone. This layout is a practice choice for learning; no universal lane length or stopping distance is supplied here.
Walk through the space before adding a travelling approach. Check the actual surface and surrounding activity, including anything that would interrupt the finish or reset. The endpoint should leave you room to settle without an immediate turn, obstacle or another person in the way.
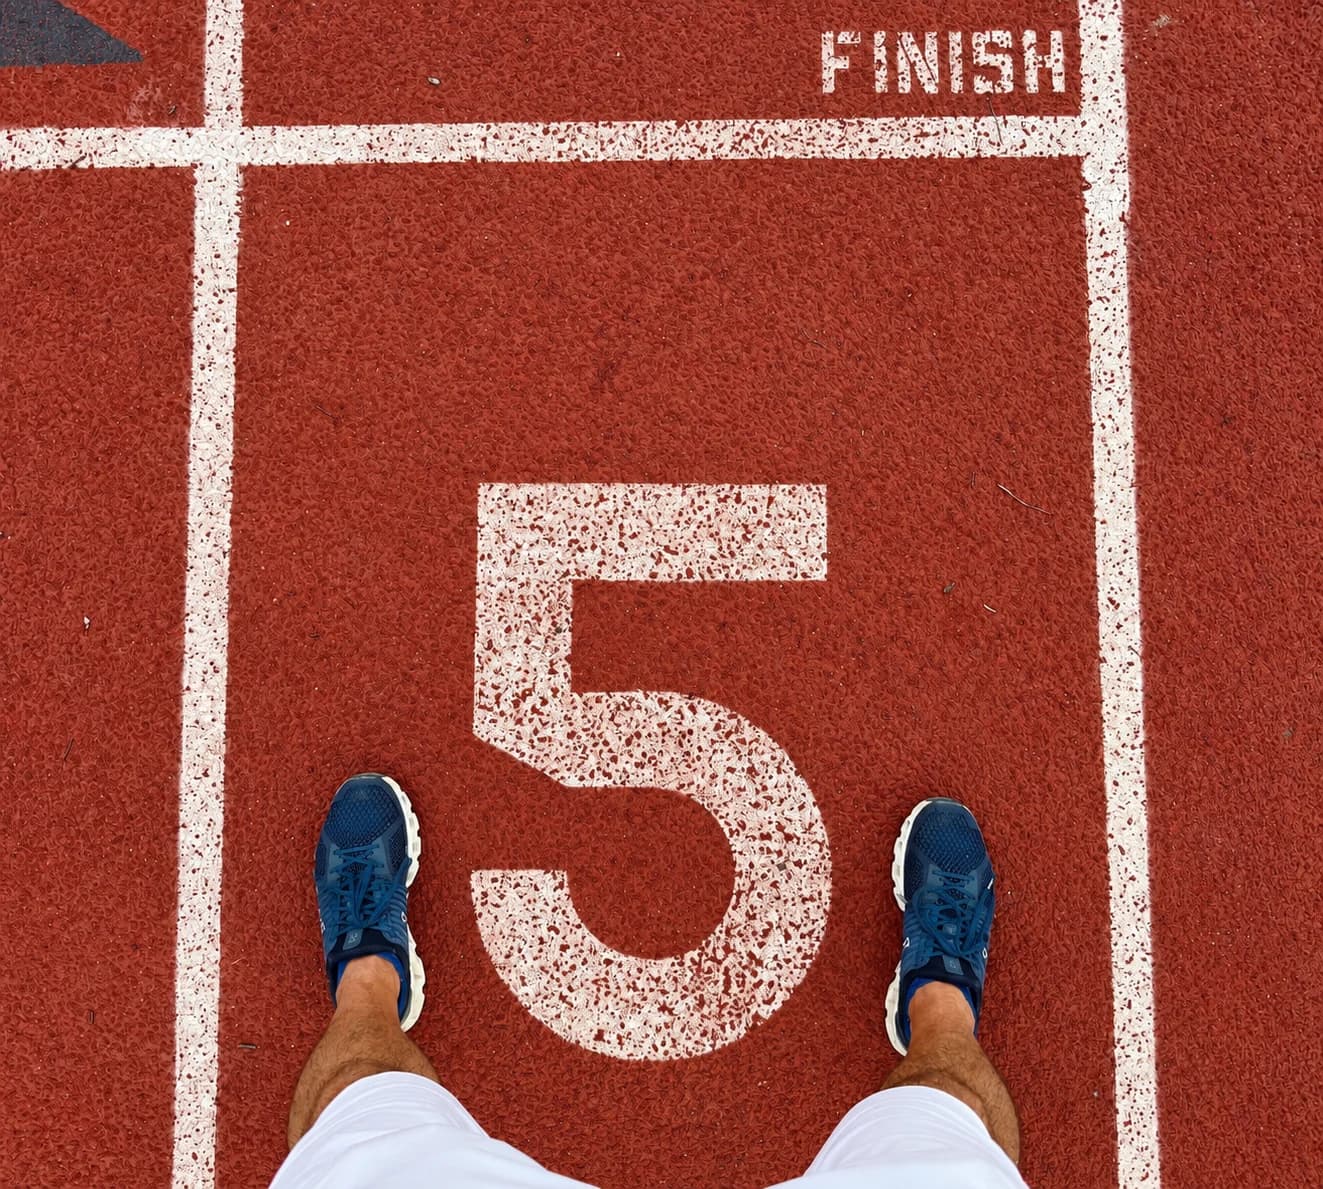
If using markers, place the references beside the foot path to identify the approach and zone edges. They are visual references, not landing targets. A line or number can identify a place, but it does not tell you which foot must contact it or how many steps the stop should take.
Keep the first comparison simple: can the approach remain manageable, do the steps begin shortening before the finish, and can you settle where intended? If the space makes that difficult, change the layout or return to a slower walk-through. Do not use a narrow stopping area to manufacture a harder braking task.
A braking mechanics exercise has an approach and a finish
| Whole sequence | Observable change | Record after the attempt |
|---|---|---|
| 1. Manageable approach → | The demonstrated slow approach is understood before starting | Approach version ____ |
| 2. Begin slowing → | Steps begin shortening before the intended finish | Where slowing began ____ |
| 3. Settle and pause → | The taught finish becomes stable within the broad zone | Within zone? ____; stable? ____ |
| 4. Walking reset | No immediate turn or race into the next attempt | Feedback / next simpler adjustment ____ |
The entire approach-and-finish sequence should be demonstrated and reviewed by your coach. This diagram records timing relationships; it does not supply a universal finish pose or justify adding speed.
- Rehearse the demonstrated sequence slowly. Know the approach, the intended stopping zone and the finish position before travelling into it.
- Approach under control at the manageable pace selected for learning.
- Begin shortening the steps before reaching the finish. Use the smaller coordinated steps described by the coaching guide, while allowing the arm action to reduce with the slowing movement.
- Allow the ankle, knee and hip to bend as the body lowers a little. Keep the finish within the position you have been shown.
- Settle and pause for observation. Establish the finish before adding another movement.
- Once stable, reset at a walking pace and review the attempt before repeating.
The NSCA mechanics excerpt describes shorter strides, reduced arm-swing amplitude and a torso that is more erect than during forward acceleration. Use those relationships as coaching cues. The aim here is coordinated slowing over the approach and finish.
A coach can observe when the steps shorten, how the arms coordinate and whether the finish settles. Keep that feedback attached to the attempt you actually made. A static foot position cannot show when braking began or how movement changed over the preceding steps.
Let the observed finish guide the next attempt
| What happens | A useful practice adjustment | What to review |
|---|---|---|
| Slowing starts late and the finish becomes rushed. | Reduce the approach demand and begin the slowing sequence earlier with coaching feedback. | Step changes before the intended finish. |
| You continue moving or immediately turn after reaching the zone. | Keep the task as slowing, settling and pausing before adding a direction change. | Whether the selected finish becomes stable. |
| The finish repeatedly exceeds the intended area. | Review the approach and increase usable space; return to a slower rehearsal when appropriate. | The whole approach and finish, rather than forcing a last-step stop. |
| The route, surface or movement requirement changes. | Rehearse the changed conditions before carrying over the previous approach. | Whether the same cues remain manageable in the new task. |
These are practice decisions, not pass marks or a readiness score. Progression should follow observed control and individual review. Keep the basic task repeatable before adding speed, a turn or an unexpected cue; do not add all of those demands together by default.
Add a direction change after learning to settle
If your goal is to change direction safely, first establish a manageable approach and a controlled finish under appropriate conditions. Space, surface, prior learning and individual movement feedback belong in that decision. Use the observed control to discuss the next task with your coach.
A planned turn and a later-cue response add different jobs. The speed, agility and change-of-direction guide explains those distinctions. Keep this first practice focused on slowing and settling; use qualified instruction when choosing the next movement task.
If pain or unexpected loss of control occurs, end the task and obtain appropriate help. Repeated attempts should make the intended sequence clearer, rather than require you to force a more demanding finish.
Ten numbered spots can mark reference points
The PBGGAME numbered flat training-spot set supplies ten numbered TPR discs and a portable tote. They can identify lane-edge or stopping-zone references beside a clear path. Use only the references the planned practice needs; the numbers do not prescribe a ten-step sequence.
Keep the foot path separate from the markers and follow the model's instructions for the actual surface. Position the references before the attempt and keep the approach and finish visible. The spots organise the space; observation of the actual movement guides the next practice choice.