Breathing in Pilates: Coordinate Effort Without Holding Your Breath
Learn common Pilates breathing cues, notice gentle lower-rib movement and try a short unforced practice before adding a simple movement.
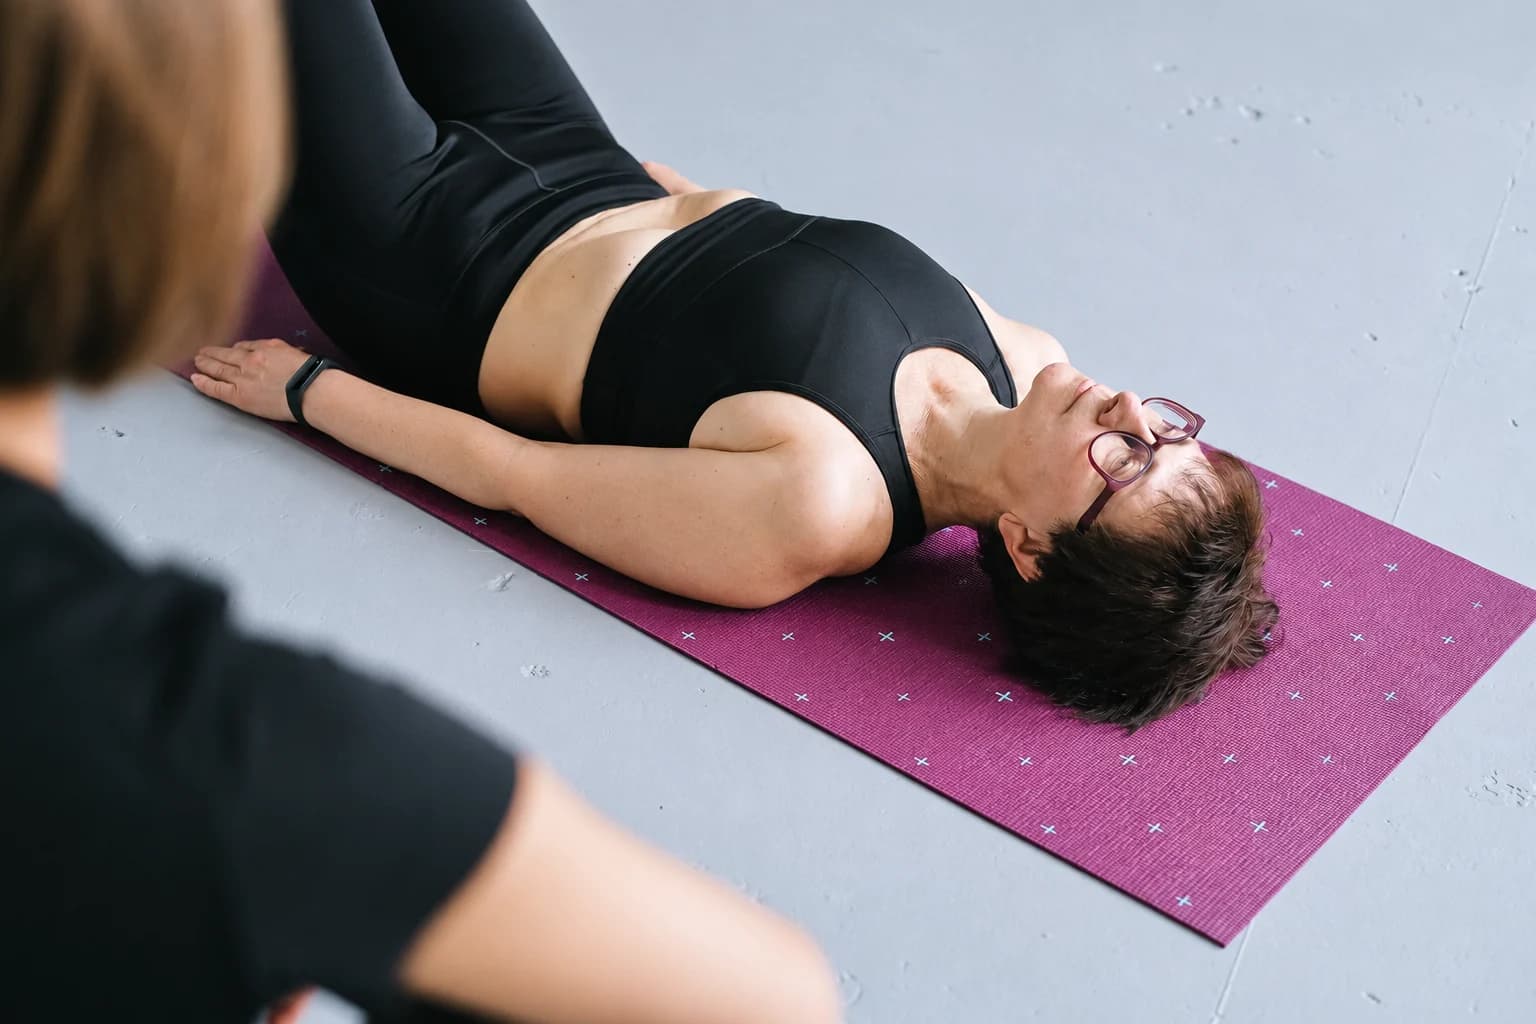
A Pilates breathing technique is a cue for organising attention and movement. Start with an easy breath you can repeat, then learn what a teacher means by expanding around the lower ribs or exhaling during a particular part of an exercise. The aim of this first practice is to recognise the cue while allowing breathing to continue naturally.
You can separate the learning into two parts: notice the breath without moving, then add one simple movement. There is no need to take the biggest possible inhale, force a long exhale or hold your breath while trying to follow the instructions.
Pilates breathing technique: begin with a natural breath
Merrithew's STOTT PILATES breathing principles begin by noticing smooth, natural breathing in a comfortable lying position. Its ribcage cue includes movement around the front, sides and back. It also allows the abdomen to expand slightly. Holding the belly completely rigid is therefore a different action from simply attending to the ribs.
Emma Hogan's Les Mills article, featuring Pilates trainer Dr. Gillian Hatfield, describes a normal inhale through the nose and an unforced exhale through the mouth. Use those as introductory cues while keeping the breath comfortable. You are learning where to direct attention and how to follow instruction, rather than trying to produce a dramatic breathing sound or a large visible movement.
Lateral breathing in Pilates: notice the lower ribs
“Lateral” directs attention towards the sides of the ribcage. Merrithew's tactile cue focuses on the lower back-and-side ribs. Resting your hands lightly there can make the movement easier to notice: feel a gentle widening as you inhale and a settling as you exhale. The hands give feedback; they do not need to squeeze or steer the ribs.
Keep the whole breath in view. The front and back of the ribcage can move too, and the abdomen can respond naturally. A side-rib cue does not require the chest and belly to become completely motionless. Nor does it require you to lift the shoulders in search of a larger breath.
You might notice only a small movement under your hands. That is enough to begin observing. Take another comfortable breath before deciding to make it deeper. If concentrating on the ribs makes the breath feel forced, put the hands down and return to ordinary breathing, then try the cue again more lightly.
Try a short lower-rib awareness practice
| Comfortable chair option: observation sequence | What to notice | What to avoid forcing |
|---|---|---|
| Settle with feet supported; arms at rest | Ordinary breath first | A bigger breath merely to match an illustration |
| Hands lightly at lower side ribs, toward the back as comfortable | Inhale: gentle widening ↔ around sides; front and back may also move | Squeezing the ribs or locking the abdomen |
| Let the breath leave naturally | Exhale: gentle settling; then the next comfortable breath | Holding between phases or prolonging the exhale |
| Hands return to rest | Ordinary breathing before deciding on a movement | Treating this observation as a test score |
The small arm reach below is this article’s optional coordination example. Learn the movement first, then try the stated breathing pairing only if comfortable. It is not a manufacturer protocol or a rule that all Pilates reaches must use that timing.
The sequence and three-breath counts below are an editorial introduction, not a required source protocol. Choose a stable chair with the feet supported, or a comfortable lying position with the knees bent and feet resting on the floor. The chair option lets you explore the hand cue without needing to get down to a mat.
- Settle into your chosen position with the arms resting comfortably. Take three gentle, natural breaths first. Let each breath arrive and leave at its own pace, with the throat and shoulders easy.
- Place the hands lightly around the lower side ribs, towards the back as comfortable. Keep the touch soft. If reaching around is awkward, rest one hand on one side and use that smaller contact for feedback.
- Take another three comfortable breaths. On each inhale, notice whether the ribs gently widen towards the hands. On each exhale, notice them settling. Allow the abdomen to move naturally and leave out any breath hold between phases.
- Rest the hands again and pause with ordinary breathing. From lying, return to sitting using a familiar comfortable transition when you are ready. From the chair, remain seated while deciding whether to finish or try a small movement.
For a floor setup that already calls for a mat, the PBGGAME blue cross-fold exercise mat is one ordinary mat format to compare. The selected item is one textured mat with lengthwise and crosswise fold lines; a storage bag is listed as included, and the material is listed as TPE. Compare its listed dimensions and exact use instructions with the space and requirements of your chosen practice. The seated hand-and-rib option above does not require a mat.
Breathing during Pilates: add one movement cue
The Les Mills article notes that combining breathing and movement can be difficult and suggests learning the movement before layering on the breath. Use that order when a class cue feels busy. First understand what the body is being asked to do, then connect the teacher's breathing instruction to that movement.
For a simple editorial coordination example, stay in the comfortable chair position and try a small forward arm reach:
- Rest the hands on the thighs. Gently move one hand a short distance forwards, then return it. Choose a comfortable reach and let the breath continue naturally while learning that small action.
- On the next attempt, try inhaling as the hand moves forwards and exhaling as it returns. This is one timing example for the practice, rather than a rule for arm movements in Pilates.
- Complete one or two more comfortable reach-and-return movements if the pairing is easy to follow. Let the movement fit the breath you have, instead of prolonging the breath to complete a larger reach.
- Rest the hand on the thigh and breathe normally again. If coordinating the two tasks was distracting, return to the hand-on-rib practice or leave the movement for a taught session.
Teachers often use an exhale during the more demanding part of an exercise. The actual instruction still depends on the task. Merrithew discusses exhaling with flexion and inhaling with extension, while also allowing an exhale during extension. Follow the cue for the exercise being taught and ask for clarification when the phase is unclear.
What a classroom breathing cue is asking you to notice
| Cue you may hear | A useful response |
|---|---|
| Broaden around the lower ribs | Notice gentle movement at the lower sides and back, with soft hand contact if helpful. |
| Keep the breath flowing | Allow the next breath to arrive comfortably; pause the movement if you need time to reconnect. |
| Exhale during this part | Identify the specific phase the teacher means, then practise that pairing at a manageable pace. |
Treat the words as directions for attention. You can ask a teacher to repeat the cue while demonstrating the movement, or to let you learn the movement separately first. A clearer explanation is often more useful than trying harder to match every instruction at once.
If coordination still feels busy
If the rib movement is hard to feel, use lighter hand contact and an ordinary breath. If a movement makes the timing confusing, shorten the movement or practise it without the added breath pattern before trying again. If you catch yourself holding the breath while concentrating, stop the movement, let ordinary breathing settle and restart with a simpler instruction.
You can also ask what the teacher wants you to prioritise in that repetition. The answer may be learning the movement, recognising a particular phase or exploring the breathing cue. That gives you a clear task for the next attempt while keeping the practice manageable. If you are moving between floor and apparatus lessons, the mat Pilates vs reformer Pilates guide explains which equipment settings need their own introduction.