Balance Board Exercises for Beginners: Start with Support and Control
Identify the board base, arrange fixed support and learn the exact entry and exit before gentle two-foot practice. Compare rocker, wobble and roller formats.
Balance board exercises for beginners start with the base, a fixed hand support and a known way to get on and off. The first useful task is gentle two-foot practice you can control, rather than a timed challenge or a dramatic movement. Identify the exact board before copying an exercise.
Rocker, wobble and roller boards behave differently. Their top surfaces can look similar while the supports underneath create different movement. Choose practice for that mechanism and its own instructions; the word balance on a listing does not make every board interchangeable.
Look underneath the board first
| Format | What is underneath? | What changes? |
|---|---|---|
| Rocker | Curved supports arranged for a particular rocking plane. | The intended direction is constrained by that base arrangement. |
| Wobble | Often a central rounded pivot or half-ball. | The platform can tilt in multiple directions. |
| Separate roller | A loose roller beneath a deck. | The roller can move relative to the board; mounting and stopping are different tasks. |
The Fitterfirst Balance Board User Manual distinguishes its single-plane Pro Rocker from its separate-roller Bongo. That is a useful reason to inspect the base rather than select instructions by the deck's outline or a broad product name.
A fixed incline is another category. A slant board holds a set slope for a different activity, while a rocker is intended to move on its curved supports. The slant-board setup guide explains that separate format; it is not a rocker-board routine.
Arrange support, floor space and the exit before starting
Fitterfirst describes a dry, obstacle-free surface with ample room to step off, and contact with both fixed sides of a doorway as a support option. The Si Boards instructions say to hold a stable support before stepping on and continue holding it. Establish the hand contact first, rather than reaching for something after the board moves.
- Confirm your exact board's permitted floor, footwear or contact, user restrictions and operating instructions.
- Keep the surrounding area clear, including the place where you will finish and return to the floor.
- Arrange a sturdy fixed support you can hold throughout the attempt. A movable chair is not the same support as a fixed frame.
- Learn that model's entry and exit before mounting. A roller-board stopping method is not automatically a rocker-board method.
- Inspect the deck, base, fixings and contact surfaces. Resolve damage or an uncertain setup before standing on it.
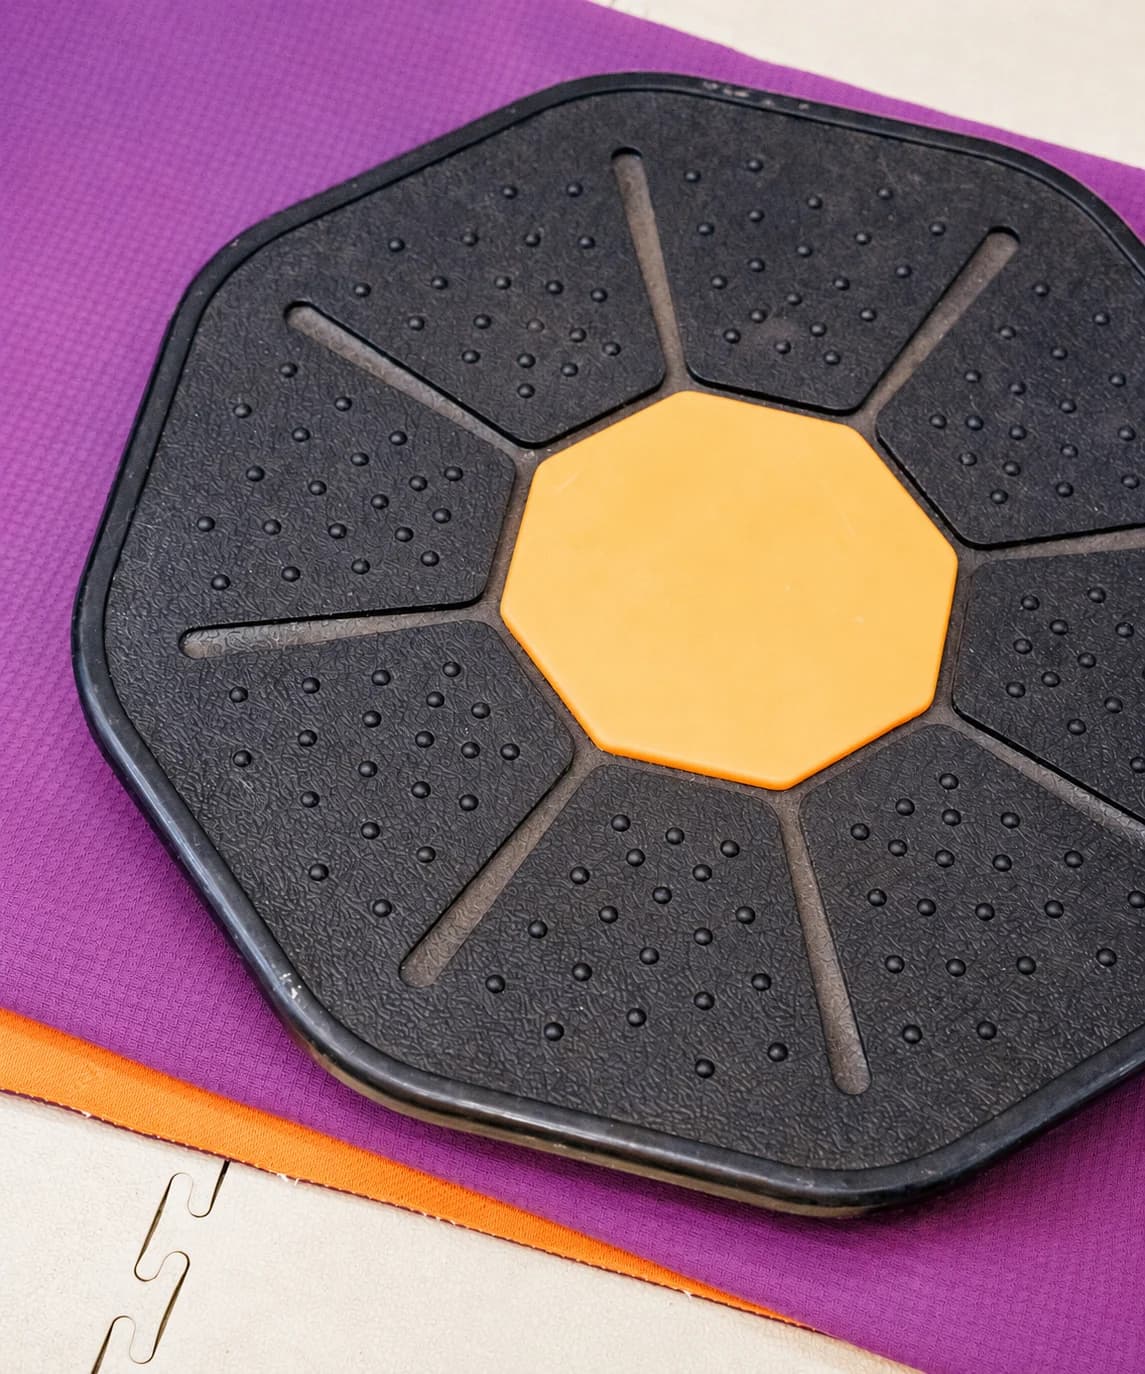
A photograph of a board on a mat does not establish floor compatibility. Use the exact maker's permitted arrangement instead of adding a generic soft layer to make the setup feel more stable. Likewise, neither a textured top nor an anti-slip label is a personal grip or floor test.
Wobble board beginner exercises need the right configuration
Si Boards describes a single central half-ball wobble configuration separately from its rocker with two half-ball supports. Those are named configurations in that maker's manual. They do not establish the same foot placement, mounting or movement for a fixed-rail board.
For a wobble board, choose the maker's own supported introductory activity and permitted movement. For a rail rocker, follow the plane its base is designed to use. Do not prescribe circles just because another board can tilt in several directions, or assume a round top reveals what is underneath.
Practise gentle movement with two feet and support
The introductory guidance in Fitterfirst's manual uses gentle movement, an upright posture and a forward gaze. Use those cues only after the entry, standing position and exit for your own model have been taught and are clear.
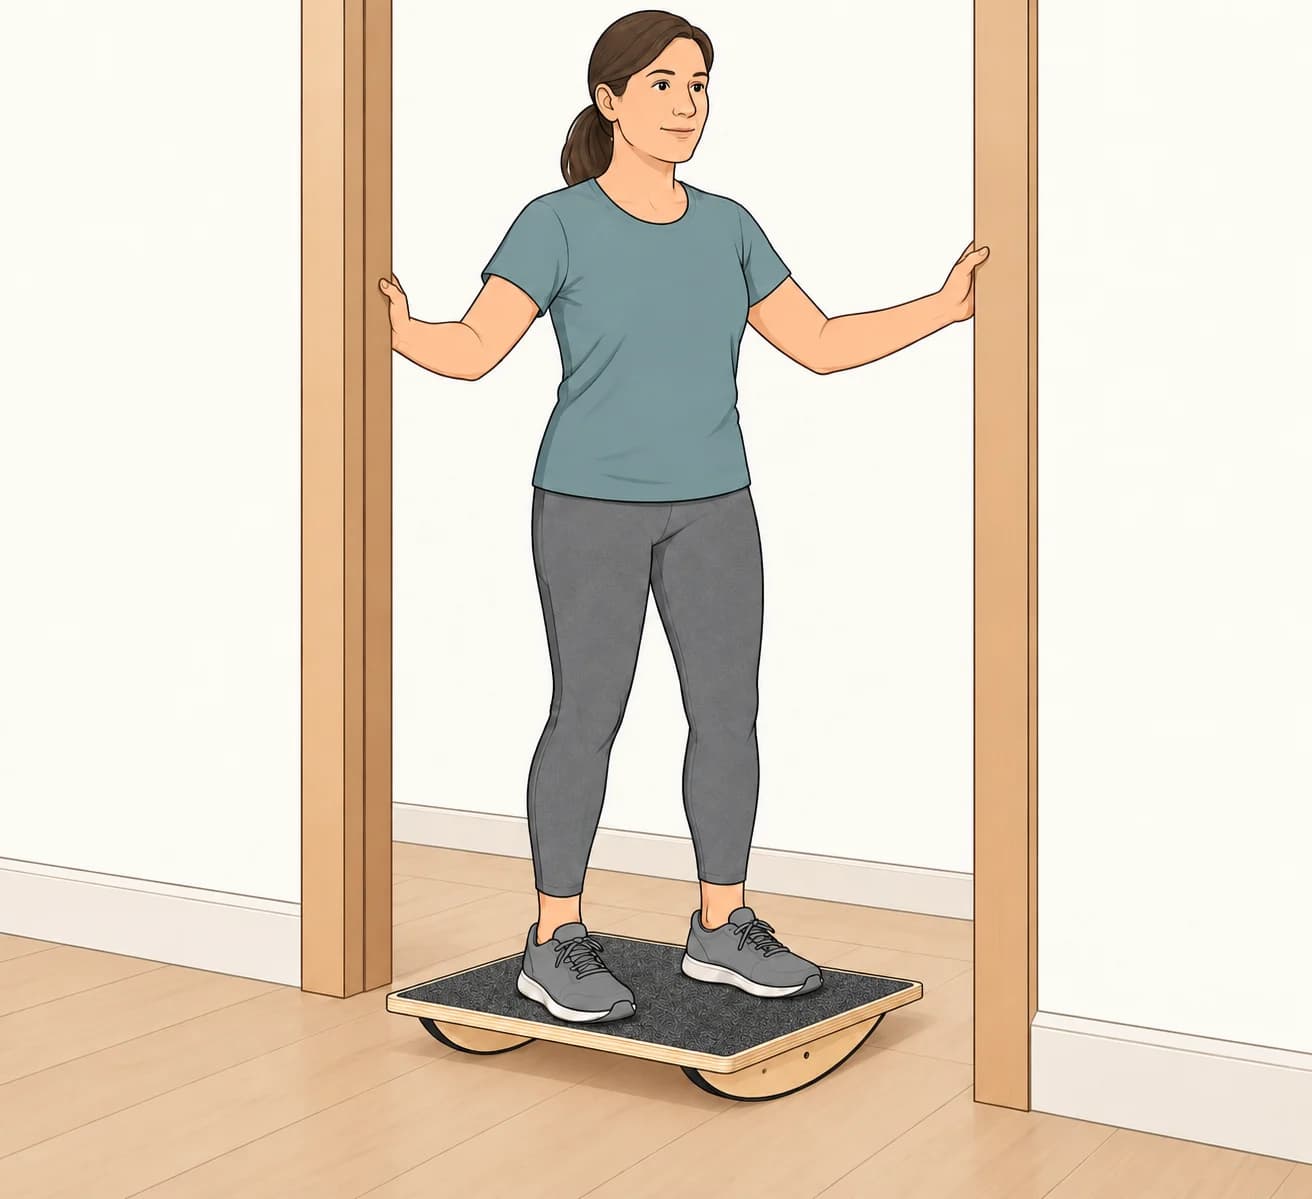
- Establish and keep the fixed hand support, then use the exact model's learned entry to reach its intended two-foot position.
- Remain upright and look ahead. Begin with gentle, small movement in the direction your board permits, keeping the hands in contact with the support.
- Keep the attempt manageable enough to settle the movement and finish deliberately. Use the learned exit for that model while the support remains available.
There is no universal foot width, knee angle or tilt target here. If you have not learned how to enter and leave a particular board, get suitable model-specific instruction first. A static drawing can explain the support relationship without providing the missing operating steps.
Balance board progression can mean more repeatable control
Repeat the same manageable setup before seeking a different challenge. Notice whether you can establish the hand contact, reach the intended standing position, keep movement gentle and finish as planned. These observations matter more than keeping the board moving for a longer time.
You can continue with two feet and fixed hand support. Releasing the hands, enlarging the tilt or combining another activity is not required for an introduction. If the movement becomes abrupt or you are chasing the board instead of controlling the task, finish using the learned exit and review the setup.
Check the cause before making the task harder
| Observation | What to review |
|---|---|
| The board moves in an unexpected direction. | Stop and identify the base configuration and its intended motion. |
| A foot shifts or the board slides on the floor. | End the attempt and check the permitted contact and floor arrangement. |
| You need to let go or jump to finish. | Do not begin another attempt until the support and model-specific exit are clear. |
Stop for pain, dizziness, numbness or unexpected loss of control, and obtain individual guidance for persistent symptoms or restrictions. This is recreational practice guidance, not an ankle-rehabilitation routine or a claim that a board will prevent falls.
Get the rail-rocker instructions before mounting
| PBG-162244 setup checklist | Model detail / setup step | Before training |
|---|---|---|
| Base and permitted movement | Two parallel curved rails | Maker-approved direction of travel and surface/contact conditions |
| Getting on and off | Follow this model's supported entry, standing and exit sequence | Supported entry, settled standing and supported exit for this model |
| User and load restrictions | Confirm this model's user restrictions, load limits and inspection rules | The exact model’s stated limits and inspection rules |
Send the model number and product link to PBGGAME contact for the matching operating documentation. Keep the board unused until the permitted setup and exit are clear. Fitterfirst and Si Boards explain their own equipment; their steps and ratings do not certify this rail rocker.
One rail-rocker option: check the selected base
The PBGGAME Black wooden parallel-rail rocker supplies one board with a black textured top and two parallel curved wooden rails underneath. It is not a central-dome wobble board or a loose-roller kit. You still need to arrange a suitable fixed support and permitted floor setup.
Choose the board for its base format and the practice you intend to learn. Check the exact model's operating instructions, permitted floor, entry-and-exit sequence and load limits, then arrange suitable support before beginning.