Slant Board Exercises: Setup and Controlled Calf Stretching
Check a stable incline board, learn a manufacturer-specific supported calf position and choose comfortable floor alternatives when needed.
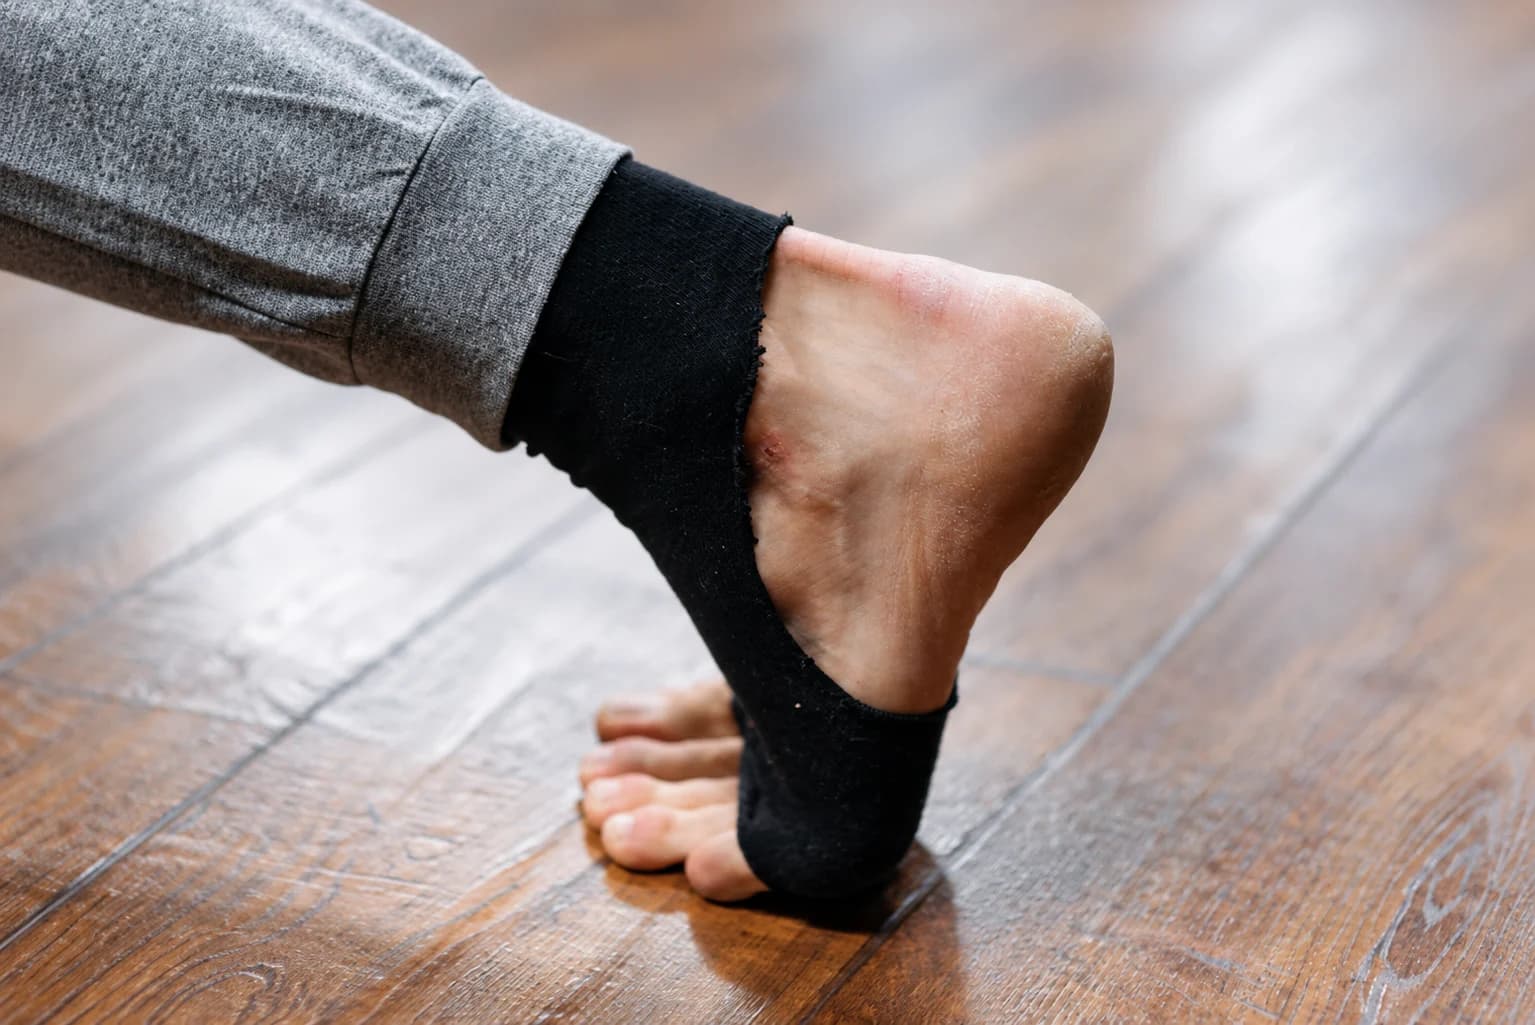
Start slant board exercises by checking the board, floor and hand support. You should be able to enter a comfortable position, remain steady and leave it deliberately. A steeper setting offers little practical value if you have to force the heel down or struggle to step off.
A fixed incline changes the surface beneath the foot during calf stretching. Choose the position around your available movement and the exact board instructions. A floor stretch is also a useful option when an incline does not fit comfortably.
A slant board should stay still during this task
Check the actual construction before choosing an exercise. A hinged incline with a secured support is a different tool from a platform designed to tip as your weight shifts. Similar product-category names do not make their instructions interchangeable.
| Equipment | What the platform does | What that means here |
|---|---|---|
| Stable slant board | Retains the selected incline. | Learn its adjustment, foot placement and supported entry first. |
| Rocker or wobble board | Moves as weight shifts. | Requires its own balance instructions; it is not a substitute incline. |
| Floor and wall | Provide a flat foot surface and hand support. | Allow calf practice without buying a board. |
Slant board for beginners: check the empty setup
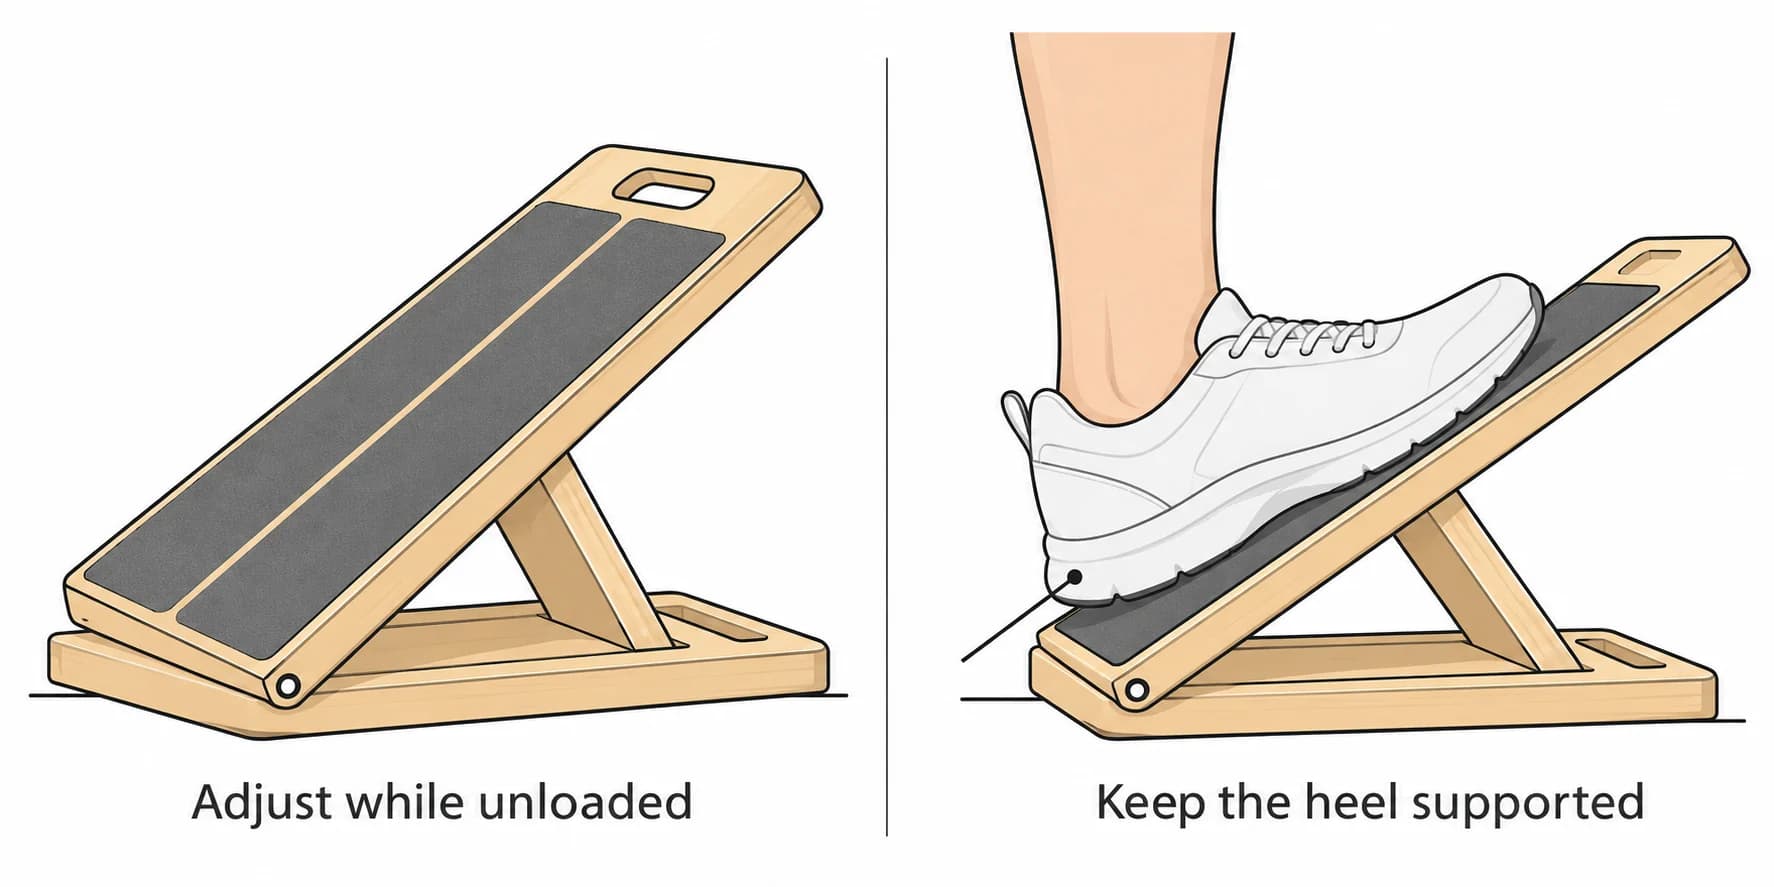
- Read the exact maker's assembly, setting and use instructions. Identify the intended support engagement points while the board is empty.
- Place the whole base on a level, firm, dry floor. Keep the area clear and put reliable hand support within reach.
- Check the deck, hinge, support and contact surface for damage or movement. A support merely touching a slot is not proof of correct engagement.
- Choose a permitted setting that lets the foot settle within the usable contact area comfortably.
- Keep fingers clear of hinges and slots. Step off and fully unload the board before adjusting or folding it.
The Lifepro InclineX Slant Board User Manual, pages 8–11, describes a flat sturdy floor, seating its adjustment bar in a base notch and beginning at that model's lowest setting. Follow your own model's mechanism: these details do not establish the lock, angles or capacity of a different board.
Do not add books, cushions, loose wedges or a thick mat beneath the base to invent extra height or stability. If the board moves, the foot slips or correct engagement is unclear, leave it unloaded. Adding force or gripping harder with the toes does not solve the setup problem.
Find the exact model document
The Lifepro InclineX user manual, printed pages 8-11 provides the safety, adjustment and wall-supported calf-stretch example referenced here. Use it as movement context, then check the operating instructions, permitted angles and load limits for your exact PBGGAME board before training. Our team can help with model-specific setup questions.
A supported slant board calf stretch
Lifepro's manual illustrates a wall-supported one-foot calf stretch. Use the following position only when your board's own instructions permit that placement. Confirm the hand support and return path before putting weight on the incline.
- Keep reliable hand support within reach and move into position slowly, without letting the board shift.
- Place the working foot straight on the intended contact area, with the heel down near the low edge. Keep the foot supported rather than hanging the heel off.
- Keep that leg straight without forcing a knee lock, and take only a gentle calf stretch. Maintain normal breathing.
- Remain still rather than bouncing, pulsing or pushing toward the last available degrees.
- Ease out of the stretch before stepping down, keeping hand support and control throughout the return.
The slow entry and fully unloaded adjustment checks are practical handling precautions, not a complete operating sequence for every board. If even a low permitted setting prevents comfortable heel contact, choose a floor version instead. You do not need to match an angle shown in a product photograph.
Two floor options with different knee positions
The AAOS Foot and Ankle Conditioning Program describes both straight- and bent-knee wall stretches with the heels on the floor. These are floor alternatives. Their knee positions do not automatically authorise a deeper bent-knee exercise on an incline board.
For the straight-knee version, face a wall and place your hands against it. Put the practice leg behind you, keep its heel on the floor and its knee straight without forcing a lock. Move forward only until you reach comfortable calf tension, keeping the trunk controlled rather than arching to gain distance. Ease back to release before changing sides.
For the bent-knee version, retain wall support and rear heel contact, then make a small controlled bend of the rear knee with the hips centred. Return gently to release. AAOS identifies soleus emphasis in this version; changing the knee position does not isolate one muscle completely.
If standing practice is unsuitable, see the lower-body mobility routine for a seated calf option. For strap formats and threading, use the stretching equipment guide. A strap kit is not required to try a floor wall stretch.
Choose one comfortable version for a short trial
Begin after some comfortable easy activity. Mayo Clinic's general stretching guidance recommends smooth movement without bouncing, normal breathing and tension rather than pain. A held calf stretch does not replace every activity-specific warm-up.
Choose one suitable position and try a brief comfortable hold, such as ten to fifteen seconds or less. Release fully, pause and decide whether one more attempt is useful. These times and counts are adjustable practice examples, not a treatment dose or a minimum session to finish. There is no requirement to complete the board and both floor versions.
Record the tool, setting, hand support and whether entry, hold and return stayed controlled. Repeat a manageable setup before changing one feature. Increasing angle, time and repetitions together makes the result harder to judge; staying with the same comfortable setting is a reasonable choice.
Use the setup to solve the problem
| What you notice | What to change |
|---|---|
| Heel cannot settle comfortably. | Leave the incline and use a suitable lower permitted setting or a floor alternative. |
| Board rocks, slides or clicks out of place. | Unload it; check floor, condition and the exact engagement instructions. |
| You need a strong pull on the wall to remain there. | Reduce the demand or choose a position you can leave more easily. |
| You bounce or hold your breath. | Release and reset with a gentler position and a shorter trial. |
Stop and unload for pain, tingling, numbness, burning or travelling symptoms, slipping or loss of balance. Persistent symptoms, a recent injury or medical restrictions need individual advice. A calf sensation alone does not show that a tendon, joint or tissue problem has been diagnosed or treated.
One adjustable board option
Explore the PBGGAME adjustable wooden calf-stretch board for a hinged incline format with a carry cutout and five settings. Choose a setting that suits the instructed movement, adjust the board fully unloaded and follow the load and setup limits for this model. Contact PBGGAME for help with numeric angles or operating details.
After use, unload before folding, keep fingers clear and follow the maker's cleaning and storage directions. Keep the contact area free from debris and store the board where it cannot become a trip hazard.