Assisted Pull-Ups and Dips: Equipment, Entry and Progression
Compare assistance for pull-ups and parallel-bar dips. Check equipment, plan a controlled entry and exit, understand changing band help and track repeatable progress.
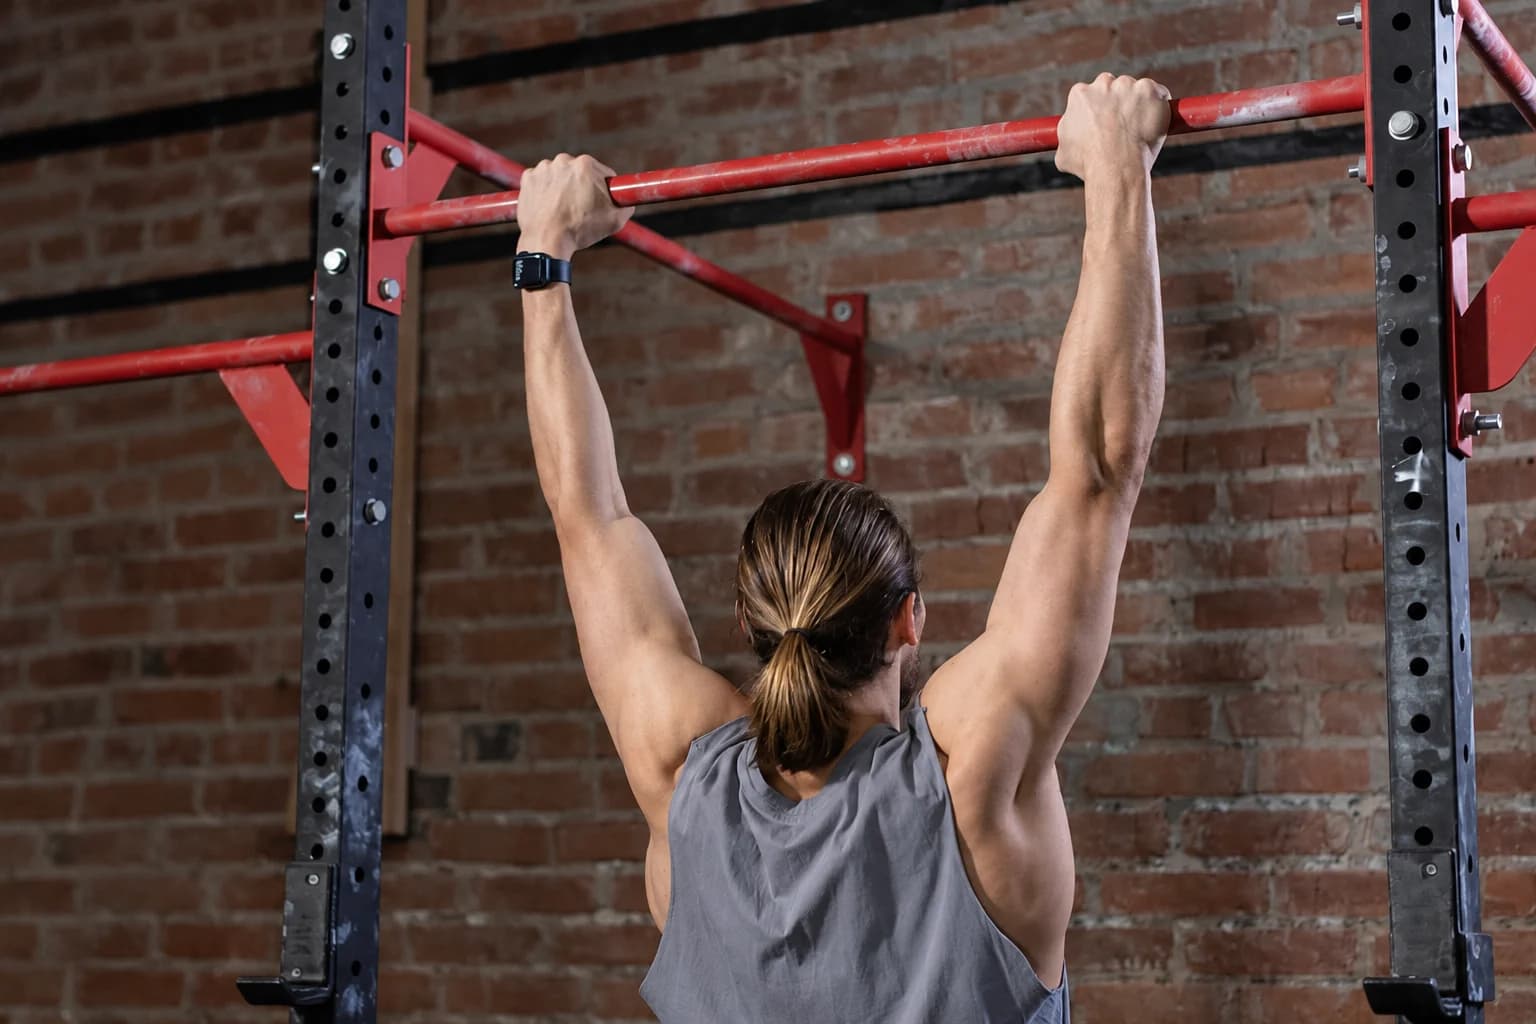
Assisted pull-ups and dips use help to make a bodyweight task more manageable, but they start from different positions. A pull-up hangs from an overhead bar; a parallel-bar dip supports the body between two rails. Choosing assistance is only part of the job. You also need a controllable way to enter, perform the movement and leave the setup.
This guide explains resistance bands for pull-ups, the different requirements of band-assisted dips and how to compare progress. A continuous loop, a fabric-cradle assistance accessory and an assisted machine are separate systems. Their attachments and mounting instructions do not transfer automatically.
Choosing the best resistance bands for pull-ups
The best resistance bands for pull-ups are those intended for that use and compatible with the actual bar, contact method and movement. That is a selection question, rather than a universal color or brand ranking. A short hip loop, nonelastic stretching strap or ordinary handled tube is not automatically suitable for supporting part of a hanging person’s weight.
| Equipment format | What to establish | What not to assume |
|---|---|---|
| Long continuous assistance loop | Intended pull-up use, permitted attachment/contact and stretch, suitable assistance | A printed resistance range is not fixed bodyweight support |
| Straps, elastic groups and fabric cradle | The complete system’s bar compatibility, assembly and foot/knee-support instructions | One-foot loop instructions do not describe this hardware |
| Overhead pull-up bar | Correct installation, secure locking and permitted loading/use | One straight bar does not supply parallel dip rails |
| Parallel dip station | Stable intended-use hardware and a documented assistance arrangement | Two chairs or loose stools are not a dip station |
Serious Steel’s band FAQ distinguishes its long bands from mini formats and calls for inspection before use. It also describes edge-related band damage. Check the entire elastic, fittings and contact surfaces; do not use damaged equipment or improvise protection to make a rough contact acceptable. Its color chart and selection percentages apply to its own products.
A doorway bar needs checks beyond whether it seems to fit. The Pullup & Dip telescopic-bar manual, English pages 14–19, illustrates the importance of a suitable frame, secured locks and controlled use without jumping or swinging. Its dimensions, assembly steps and load limits are not instructions for a different bar.
How to use a resistance band for pull-ups
EliteFTS’s band-assisted pull-up example uses a continuous loop at the bar and one foot in the lower part. It describes smooth pulling without swinging or jerking. This establishes one equipment arrangement, not permission to knot any band, substitute knee contact or connect a multi-part cradle in the same way. Follow the matching band and bar instructions for the exact attachment.
- Before loading, check the bar installation, full band and complete movement space. Establish an appropriate stable access support if needed, with enough clearance for the repetition.
- Plan entry and exit while your feet are supported. Use the documented contact method and transfer weight gradually; do not jump into a stretched loop. If this cannot be managed under control, choose another setup or seek hands-on instruction.
- Settle into the start, then pull smoothly while retaining a secure grip. Avoid a kick, swing or neck reach to make the chin appear higher. Use a range you can reproduce.
- Lower with control rather than dropping or rebounding. End the set while you still have enough grip and support control to leave it.
- Return to the planned stable support and unload the assistance before releasing or adjusting its contact. Do not kick a tensioned loop off a foot.
These are movement and preparation checks, not a substitute for the specific mounting procedure. A source demonstrating one foot does not explain every knee position or access-platform height. Rehearse the route out before deciding how many repetitions to attempt. If you cannot maintain the hanging position or complete the exit, adding a stronger band does not by itself resolve that problem.
Why the help changes during a repetition
In the bar-to-foot arrangement, the band is more stretched at the bottom and less stretched near the top. EliteFTS describes assistance falling as the body rises. You may therefore manage the lower portion while still finding the finish difficult; the band is not removing one constant number of pounds throughout the pull-up.
Do not subtract a printed resistance range from bodyweight to calculate the load you are lifting. Changing foot or knee contact, leg position, working length or the bar can change the comparison. A thicker assistance band generally means a different help profile, not the same progression as choosing a heavier band for a curl. Keep the arrangement consistent when comparing attempts.
Band-assisted dips need a separate station and entry plan
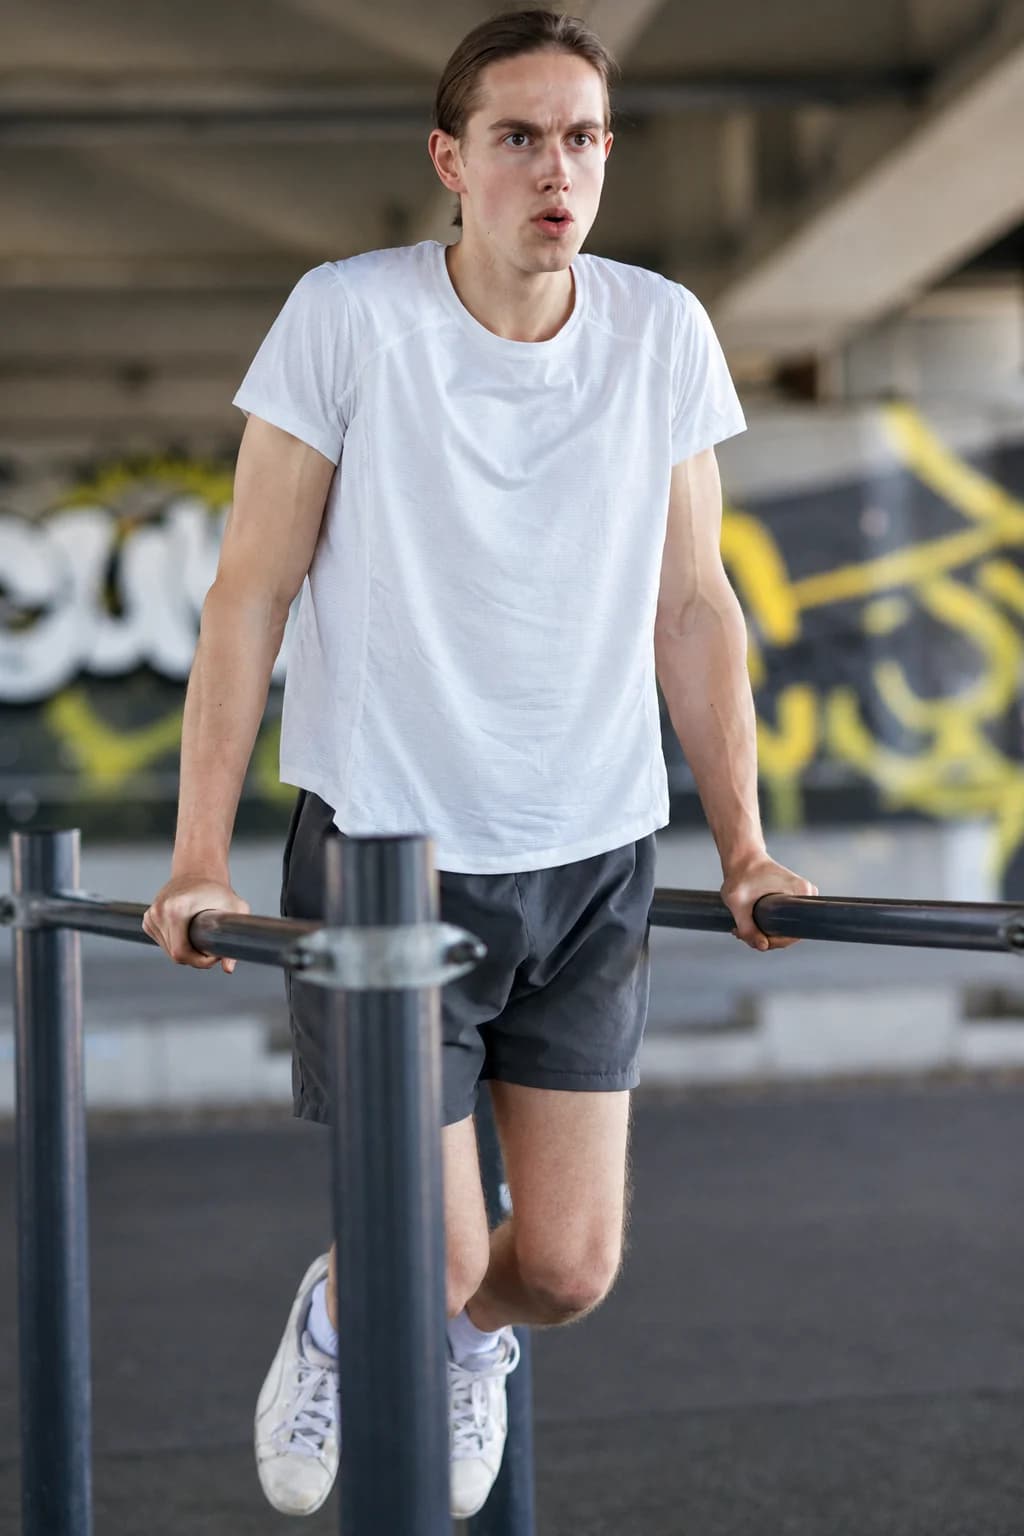
REP Fitness’s dip guide describes stable parallel bars or a suitable rack attachment, controlled lowering and pressing, and avoiding swing. Band assistance is one option it discusses. An overhead pull-up bar is a different piece of hardware, and two chairs or loose stools do not become a station simply because you can place your hands on them.
Before attempting a band-assisted dip, establish the station’s intended use and the actual band arrangement. There is no universal instruction to stretch a loop across any two rails or put the knees into its middle: the checked REP text does not document that route. Use instructions or qualified hands-on guidance that match the specific station and band, including attachment, body contact and how to get out.
Plan access while supported, keep the recoil path clear and transfer load gradually. The mount needs to lead to a steady top support without a hop or a slipping contact. Confirm that the planned support is still reachable at the end. If entering or leaving requires a rushed jump, stop and change the arrangement rather than rely on extra elastic help.
During the dip, keep the body quiet, lower through a comfortable repeatable range and press back without a bounce. Do not copy the deepest position in another athlete’s image. Return to the planned support and unload before changing band placement or grip. More assistance is not a guarantee of an appropriate shoulder range, and difficulty or pain should not be answered by forcing greater depth.
If that support and access are not manageable, an appropriately operated assisted machine or a different pushing task may be more practical. An incline push-up remains a different exercise; it is not a claim that one setup reproduces a dip. The photograph here shows ordinary bodyweight support only, so it cannot verify an attachment or band tension.
Progress with the same movement and a controlled exit
Begin with a small amount of practice that leaves room for a calm exit. One or two short sets of a few controlled repetitions provide an adjustable starting example. Rest until you can repeat the setup without rushing, and choose a manageable effort while learning the arrangement.
| Record | Keep comparable | Possible later change |
|---|---|---|
| Equipment and assistance | Exact station, band/system and approved attachment | Reduce assistance within that system’s permitted adjustments |
| Body contact | Same supported limb and body position | Treat a new contact method as a new setup |
| Movement | Same controlled range and no swing/rebound | Add controlled work before adding several demands |
| Finish | Grip/support remaining and a calm exit | Retain an easier manageable option |
For dips, do not reduce help and seek greater depth in the same comparison. For pull-ups, do not credit a changed band, shorter range and extra leg drive as a clean repetition increase. Keep a brief record of the actual setup and finish quality, then make a modest change only when the previous version is repeatable. There is no guaranteed date for the first unassisted repetition.
Calisthenics and resistance bands: help versus added load
Resistance bands for calisthenics can play different roles. In an assisted pull-up, upward elastic help reduces part of the bodyweight task. In a separately documented resisted movement, elastic can make the task harder. Those are different loading directions; buying a stronger band does not always mean a harder exercise.
Pull-ups and dips are also separate skills within a wider program. Use a suitable pulling option from the home back guide and distinct pressing or arm work from the home arm guide when they fit your equipment and abilities. A tube kit or a single doorway bar is not a complete calisthenics station.
Read the two model-document gaps separately
| Selected offer | Documents still needed | Combination status |
|---|---|---|
| PBG-584820 telescopic bar | Exact installation, frame suitability, locking, permitted loading and entry/exit instructions | No compatibility with the cradle accessory has been established |
| PBG-154853 fabric-cradle accessory | Exact connectors, support contact, permitted overhead hardware and supported entry/exit instructions | No compatibility with the bar has been established |
Ask PBGGAME contact for each model’s documentation, including written compatibility for any intended combined arrangement. These are separate formats to investigate, not a recommended two-item assistance system. The other manufacturers’ manuals above remain examples for their own equipment.
Two different catalog formats to compare
The PBGGAME telescopic doorway bar is a single compression-bar format with end pads and locking collars. The selected option is $28.99, with a recorded packed mass of 2,268 g. It supplies neither parallel dip rails nor an included assistance system. Check its actual installation and permitted-use documentation for your frame rather than transferring another manufacturer’s manual.
The PBGGAME fabric-cradle assistance accessory has upper straps, sleeved elastic groups and a broad foot/knee support. The selected option is $34.99, with a recorded packed mass of 1,200 g. It needs a suitable separate overhead bar and its own assembly and entry instructions; the continuous-loop example above does not describe its connectors or support.
Compare these PBGGAME formats by the movements and setup each one supports. Match the precise components to their model-specific installation, load and entry-and-exit instructions. Check support equipment separately for pull-ups and dips, and keep packed shipping mass separate from user-load limits or the amount of assistance.