Agility Ladder Drills for Beginners: Accuracy Before Speed
Learn two-foot forward and sideways ladder patterns, clear setup and walk-back resets, then progress accuracy before pace.
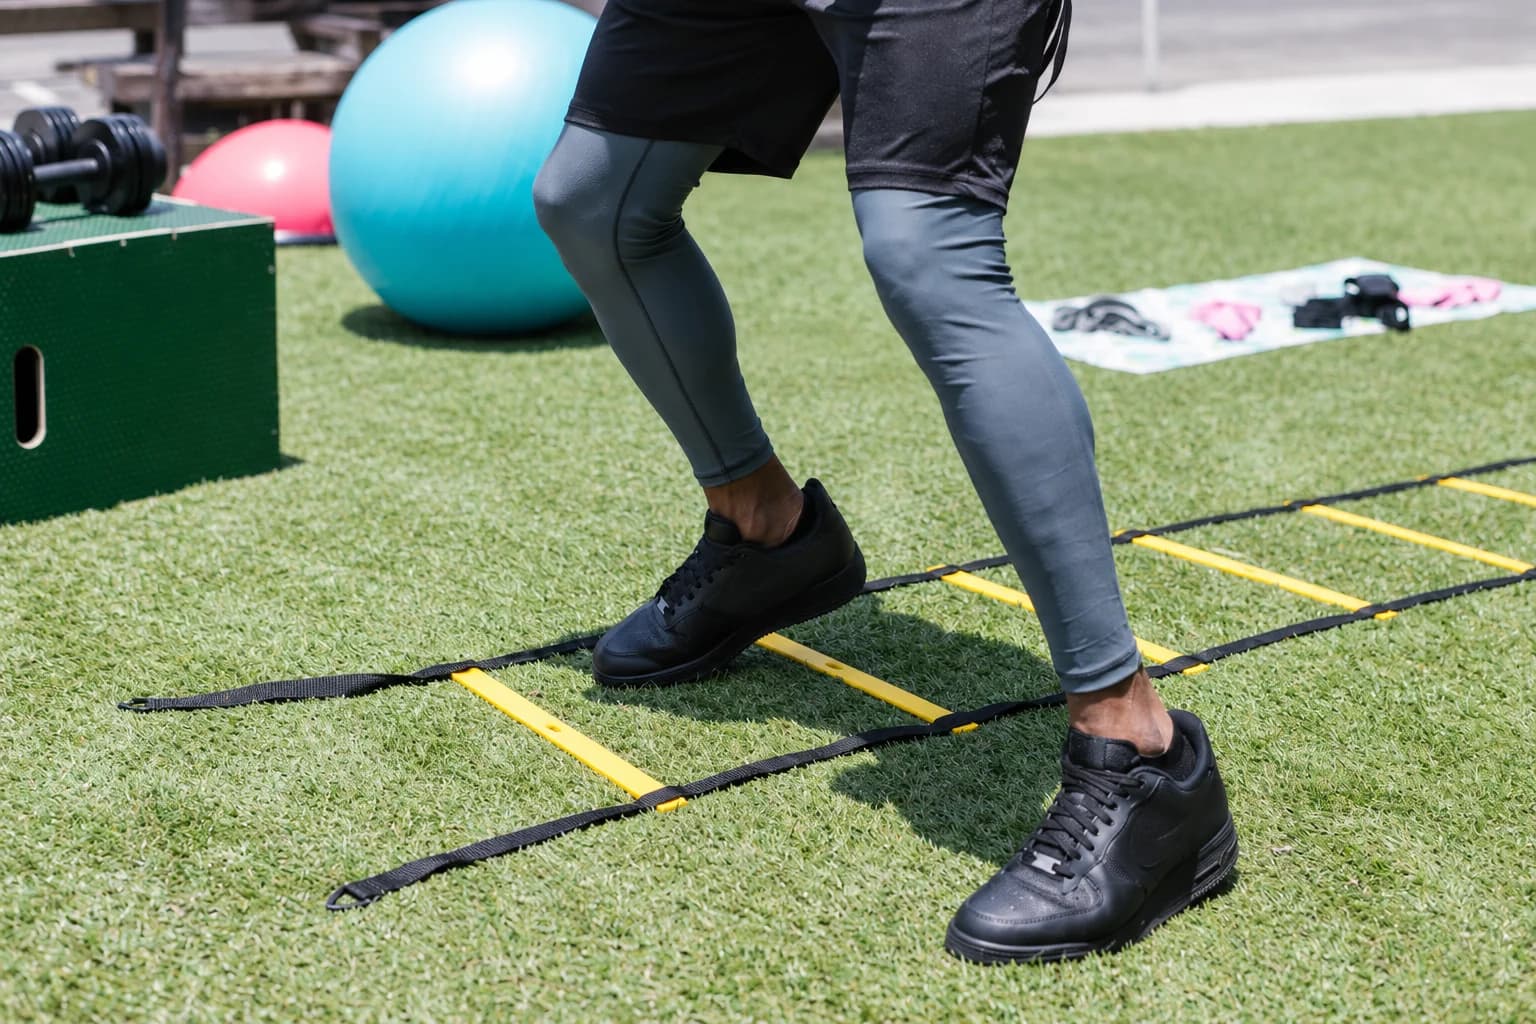
Start agility ladder drills for beginners by learning where each foot goes. Choose a short route, walk through a simple pattern and finish beyond the last space before turning. Pace comes later, once you can repeat the order without catching a rung or crowding your feet.
This guide uses two-foot forward and lateral patterns. Both place each foot into a space in sequence and can be practised without jumping. Compare a full ladder with a short frame layout by the usable openings, shoe clearance and room needed for your chosen pattern.
Set up a route you can finish and leave
Choose a level, clear surface and follow the ladder maker's and venue's instructions. Lay the route flat, untwist the webbing and check that the spaces accommodate your shoes. A published rung gap is not a universal fit rule. Leave clear room before the first cell, beyond the last one and alongside the route for the walk back.
- Inspect the route at walking pace. Place feet inside spaces, keeping clear of rungs, webbing and connectors.
- Remove loose objects from the foot path. Keep any start/wait or finish landmark outside that path.
- Choose the leading foot before starting and rehearse the order slowly.
- Use one person at a time. Wait until the previous person has finished and cleared the route.
If a shoe catches a rung or the equipment shifts, stop clear of the route and reset it while nobody is stepping through. Do not kick it straight as you continue. A shortened route is fine when space or concentration is limited; the return path still needs to remain clear.
Ladder footwork drills: two feet in each space, forward
| Pattern schematic | Space 1 | Space 2 | Finish |
|---|---|---|---|
| Forward, right leads | R1 then L2 | R3 then L4 | Both feet clear; settle before turning |
| Forward, left leads | L1 then R2 | L3 then R4 | Both feet clear; settle before turning |
| Sideways toward the right | R1 then L2; keep facing across the route | R3 then L4; no crossing | Clear the final space before walking back |
Check the three-frame layout with your actual shoes before starting the two-foot pattern. Both intended placements should fit inside each usable opening with clearance from the border and connectors. Choose a suitable layout and rehearse the foot order slowly before adding pace.
The following foot-order examples use the SKLZ Quick Ladder Pro V2 manufacturer guide, PDF pages 2–3 as a pattern reference. Practise the placements slowly on suitable equipment; their presence in a training guide does not establish a pace or dose for every beginner.
- Stand just before the first space, facing along the ladder. For this pass, choose the right foot to lead.
- Step the right foot into the first space, then bring the left foot into that same space.
- Step the right foot into the next space, then bring the left foot into it. Continue that right-left order along the route.
- Complete the final pair of steps, move into the clear finish area and settle before turning. Walk back outside the ladder.
Think “right-left, next space” rather than trying to fit a jump between the rungs. A later pass can start left-right. If both feet cannot fit deliberately without contacting the borders, change the suitable layout or choose a different task rather than squeezing the steps into it.
Two feet in each space, travelling sideways
- For a rightward pass, begin at one end facing across the route, with your right side toward its far end. Let the right foot lead.
- Step that foot into the first space, then bring the other foot into the same space.
- Move the leading foot into the next space and follow with the other foot. Keep facing across the route as you travel sideways.
- Finish beyond the last space, settle and walk back outside. To practise the opposite lead, reset your starting orientation before a separate pass.
Keep the sequence as step-follow, not crossed feet or a sudden pivot inside a cell. The leading foot changes with the chosen travel direction. If the order gets muddled, step out to a clear area and rehearse it slowly rather than improvising a faster recovery.
Agility ladder progression: change one demand at a time
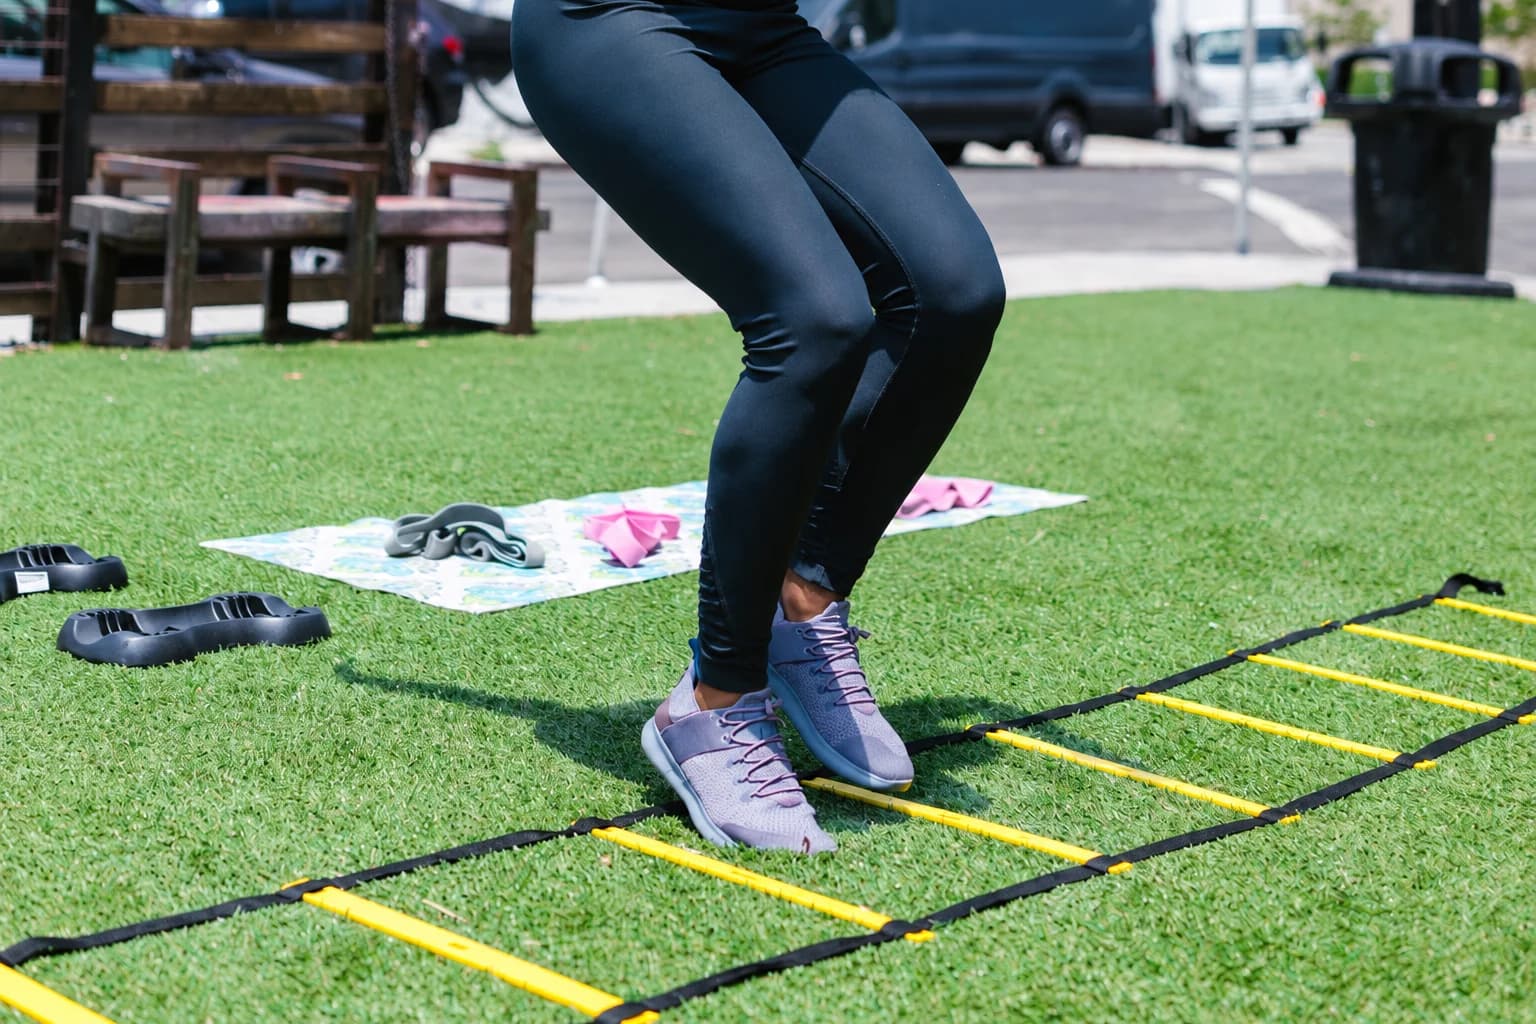
Repeat a familiar pattern with the same route and lead foot before changing pace. Notice whether you complete the intended spaces and keep clear of the borders. An accurate slow pass gives you more useful information about the sequence than a hurried pass with missed cells.
Change one feature when the current version is manageable. You might increase pace a little, practise the other lead or learn the sideways pattern. Keep the remaining details similar. There is no need to add speed, a longer route and a more complicated sequence together.
Keep a simple note: pattern, lead foot, spaces completed and any touches or missed spaces. Record mistakes separately rather than hiding them inside a faster time. Informal timing can describe your own repeated task, but it is not a sprint test or a general agility score.
If faster movement brings rung contact, crossed feet or loss of the known order, reduce the pace or return to the simpler version. Rest before trying again. Continuing through errors while tired changes the practice into something other than the planned foot placements.
The NSCA discussion of change-of-direction drill adaptation distinguishes familiar routes from drills that require responding to a later cue. Sheppard and Young's 2006 literature review also proposed a definition of agility that includes a whole-body change in speed or direction in response to a stimulus. A memorised ladder pattern and reading an opponent therefore ask different questions. Use the ladder for its specific practice task, without treating a quick pass as proof of faster match decisions.
Choose a small amount of repeatable practice
After some comfortable easy movement, try one slow pass of a suitable pattern. Walk back outside the route and rest until you can repeat the same deliberate placements. You can then try a second pattern or repeat once with the other lead. These are practice examples, not a quota or a fixed work-to-rest ratio.
Finish early if the order or footing becomes unreliable. Stop for pain, dizziness, numbness or unusual breathlessness. A partner can wait clear and help you remember the order, but you do not need a race, surprise direction call or another task while learning the route.
A three-frame alternative has its own limits
The PBGGAME yellow three-piece hexagonal agility-frame set supplies three frames with connecting clips. It is a short target-space alternative, not a full webbing ladder or the larger multicolour arrangement shown in some gallery images.
Use only a flat layout permitted by its own instructions and check actual shoe clearance. Hexagonal openings, edges and clips change the available placements. Do not assume every ladder pattern transfers: if two feet cannot fit without crowding, do not use that layout for the two-feet sequence. No jump, upright hurdle or complex crossover is needed to justify the equipment.
Existing permitted landmarks can mark the start and finish outside the route. Extra loose spots inside the cells add another surface to negotiate and are unnecessary for these patterns. Pack the equipment away after use so the route does not become an unnoticed trip hazard.