Where to Jump Rope: Floors, Mats, Outdoor Ground and Clear Space
Check jump-rope clearance, concrete, carpet, wood and tile; compare mat footprints and assess outdoor moisture, wind and changing access before training.

Choose a jump-rope space by checking the whole moving rope, the ground beneath it and the people who may enter. Then choose any protective mat. A soft surface alone does not establish stable footing, and a large mat cannot clear a ceiling light or repair uneven ground.
Start with the rope correctly fitted and its parts secure. Keep it still while inspecting the area. The checks below help compare real locations without treating a floor name, mat thickness or room-size estimate as a guarantee.
Inspect the space in two views
| View | Trace before any turns | Clearance question |
|---|---|---|
| From above | Your position → the whole cord arc → doors and people’s routes | Can anyone or any opening door enter the moving path? |
| From the side | Floor and mat edge → landing area → full upper arc → lowest light / beam / fan | Does the complete arc clear the lowest fixed obstruction? |
| At floor level | Actual cord contact and feet → mat footprint → seams / grit / raised edges | Do both interfaces remain suitable, without forcing a stance to fit? |
| Outdoor return check | Practice area → nearby edges / route users → changed weather | Is the location still clear, level and dry? |
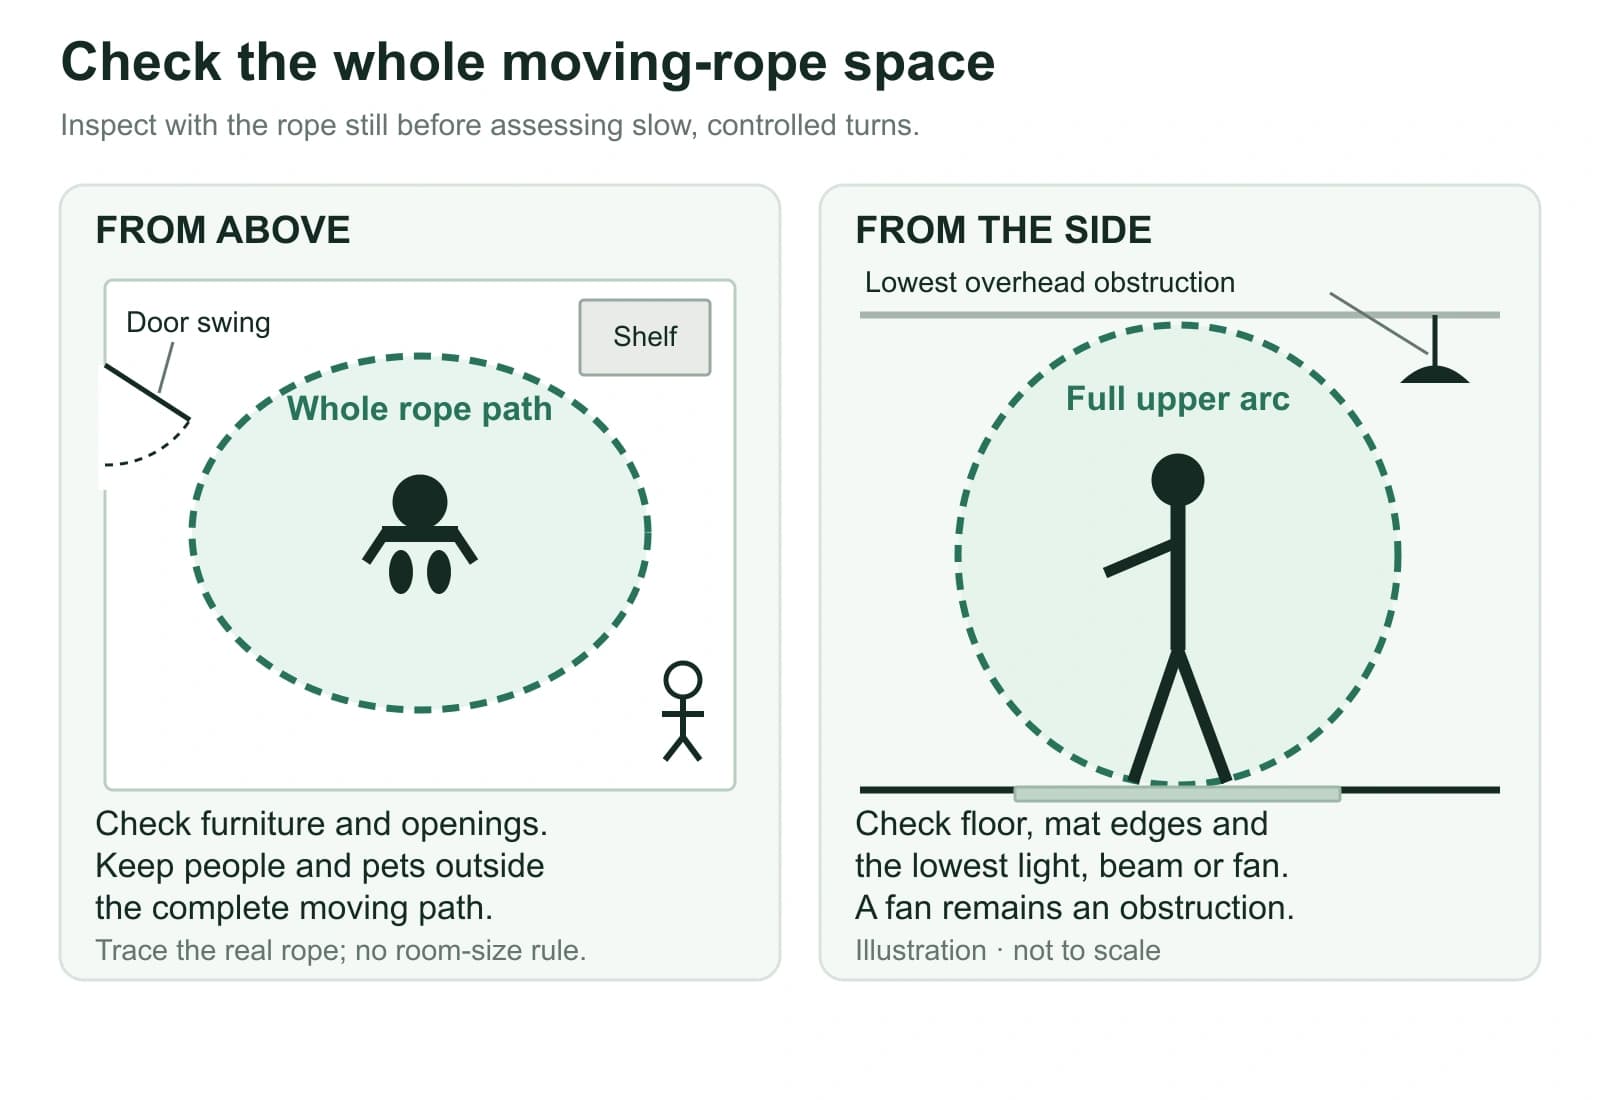
Record the clear area for the rope and position you will use. Keep doors, people and the lowest overhead fixture outside the complete moving path. If you cannot check that path without approaching an obstacle, choose another location before starting.
How much space do you need to jump rope?
Jump rope ceiling clearance depends on the actual rope, your position and the lowest obstruction, not simply the ceiling height. Check lights, beams, sloping sections and fan blades; switching a fan off does not remove it. Look behind you as carefully as ahead.
- Above: the entire rope arc must clear fixtures, not just your raised hand.
- Front and back: check furniture, glass, shelves and doors that may open into the area.
- Sides: allow for handles, normal position changes and the rope, keeping people and pets outside its path.
- Below: remove loose cables, bags and rugs; inspect mat edges and changes in level.
The space needed for skipping rope must remain available throughout use. Avoid shared entrances and walkways. Measuring the cleared area can help compare rooms, but laying a rope flat or reaching upward cannot establish jump rope swing clearance. Only after the stationary checks suggest ample room should you assess slow, controlled turns. Stop if the rope approaches an obstacle; an observer must remain outside its path.
If clearance is uncertain, choose another location. Do not shorten a correctly fitted rope to squeeze under a fixture. The length and adjustment guide separates fitting from room selection.
Compare the surface before adding a mat
| Location | What to inspect | Reason to change the setup |
|---|---|---|
| Concrete or paving | Roughness, grit, cracks, joins and rope permissions | Abrasion, raised points or uncertain footing |
| Carpet or a rug | Pile, underlay and movement under weight | Sinking, creeping edges or unpredictable contact |
| Wood or tile | Finish compatibility, cleanliness and grip | Sliding, trapped grit or an unapproved mat backing |
| Outdoor ground | Level changes, moisture, debris and changing access | Wet leaves, lifted edges or people entering the rope path |
Compare the actual setup rather than the floor name alone: overhead obstructions, objects beside the rope path, grip underfoot and movement between the mat and its base. Follow both floor and rope instructions when deciding whether that location is suitable.
Can you jump rope on concrete?
Check the rope maker's surface instructions first. To protect a jump rope on concrete, a permitted mat must cover the actual cord contact area, including in front of your feet. Clear grit from beneath it and reject cracked or uneven patches that leave it rocking or raised.
Inspect the rope's middle contact section and handle exits before and after practice on concrete or paving. Follow the selected model's surface permissions and replacement criteria. Wear depends on the cord, finish, ground and contact pattern; a mat or a session count cannot establish that a worn rope is ready to use.
An intentionally bare cable differs from damaged coating that exposes wire. Follow your model's stop-use instructions for cuts, tears or exposed strands. Tape does not restore the original construction.
Can you jump rope on carpet?
Inspect the carpet, underlay and any added mat as separate layers. With the rope still, stand and shift weight under control. A loose rug can creep; deep pile can let the mat sink unevenly. A jump rope mat over carpet is useful only when its maker permits that base and the complete arrangement stays workable.
If your skipping rope catches on carpet, stop and reconsider the contact surface. Carpet can also change rebound. Neither finding proves the cord needs cutting. Assess sizing on a compatible, stable surface instead of permanently adjusting around a rug. Stacking soft mats adds more interfaces that can move.
Jump rope on wood floors or tile
Before using a jump rope on wood floors, identify the finish and its care requirements, including permitted mat backings. When using a jump rope on tile, check grip even if it looks dry. Indoor suitability for a rope does not promise an unmarked floor.
To protect the floor from a skipping rope, inspect shoes, the mat underside and its upper face for grit. Lift rather than drag the mat. Clean and dry each component by its own instructions. Test only as the floor maker permits; a brief check cannot establish long-term finish compatibility.
Check both interfaces: shoes can slip on a stationary mat, or the mat can slide beneath shoes that grip well. After use, lift it when permitted to inspect moisture, marks or transfer. Stop using a combination that changes the finish. A quieter sound in the room does not prove silence below; consider building rules and timing.
How to choose a jump rope mat
Jump rope mat size should cover both foot placement and normal cord contact. Once the room passes clearance checks, observe controlled contact, stop the rope, then measure. If it crosses an edge repeatedly, reassess the footprint instead of forcing your stance onto a tiny spot.
Jump rope mat material, density and thickness describe different properties. Compare permitted rope types, backing compatibility, edge flatness and behavior underfoot. A stable mat for skipping rope must work on its actual base; the softest or thickest yoga mat is not automatically suitable. Never hold curled corners down with loose objects in the rope path.
Check how the mat is stored and moved as well as its floor footprint. Confirm the permitted rolling or folding method, the packed dimensions and the space needed to dry both faces. A mat that cannot lie flat after storage needs attention before it returns to the rope path.
The PBGGAME oval mat is one current option to assess. Its listing names rubber and a nominal 52 × 36 inch size; the specification table separately gives 51.6 × 35.5 × 0.19 inches. These are listing measurements, not our independent measurements. It is a separate mat, without a rope bundle or a verified pairing with every rope. Confirm the usable footprint and floor compatibility before choosing it.
Outdoor jump rope setup: weather changes the decision
Choose an outdoor jump rope surface that is permitted, clear, level and dry. Grass can hide holes; paving can hide rough joints. Avoid traffic, narrow paths and unguarded edges.
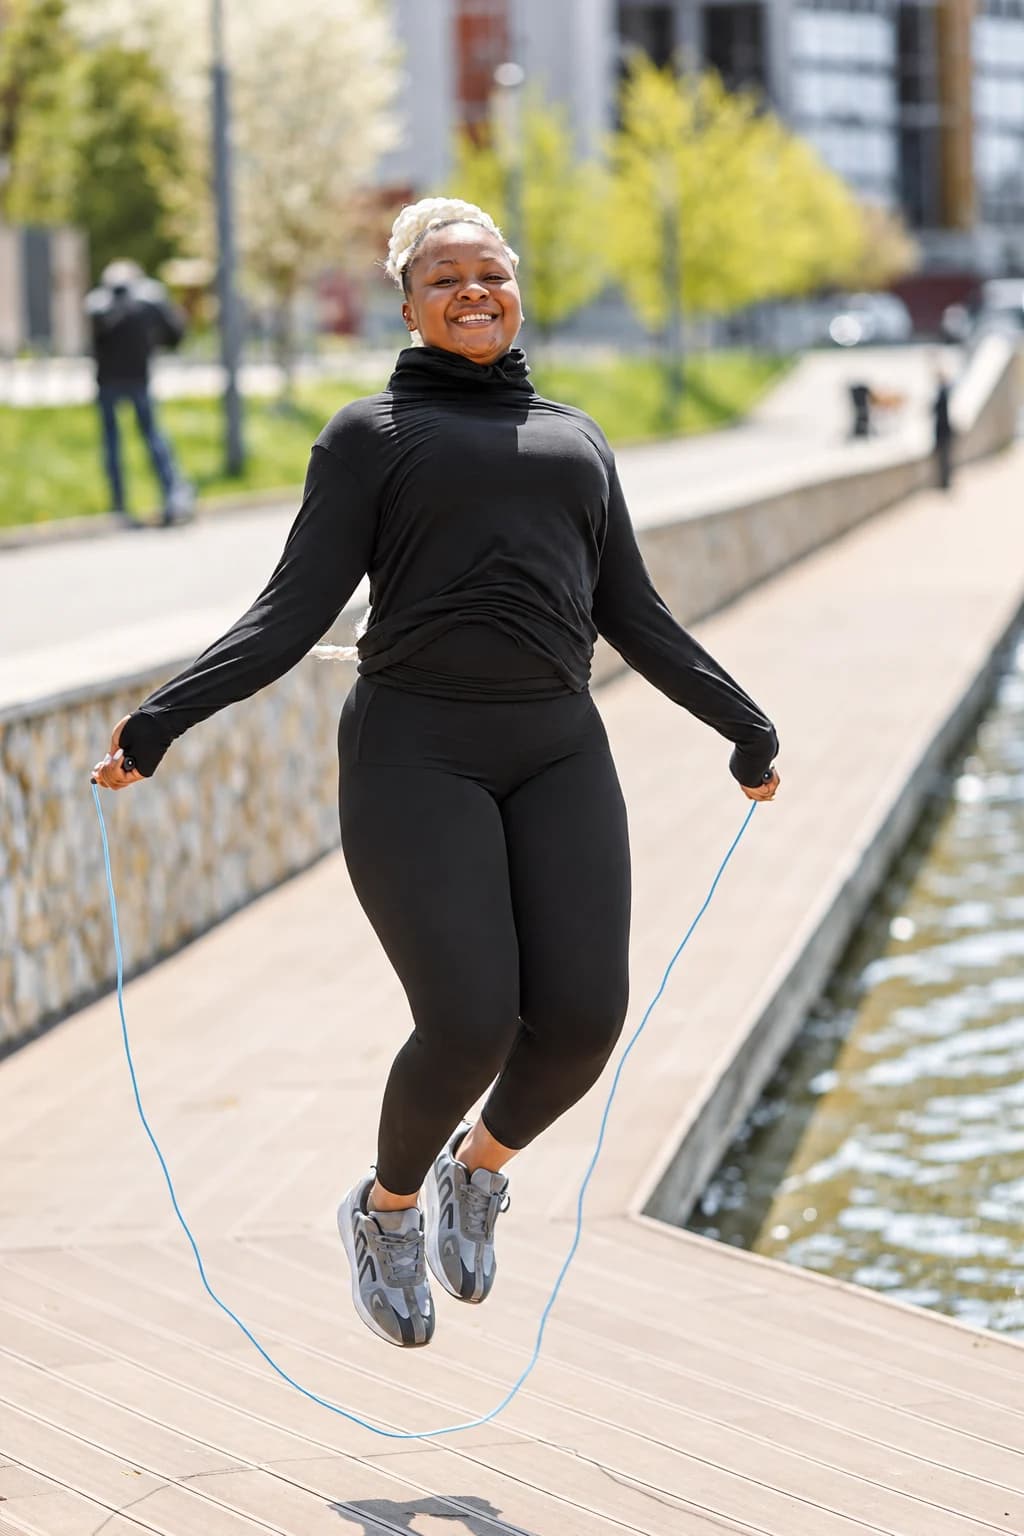
Moisture may come from dew, irrigation or a bottle, even without rain. A wet jump rope mat needs inspection on both sides. Removing leaves or a puddle does not prove the remaining ground has grip. Relocate when dryness and stability cannot be established.
When using a jump rope in wind, respond to the actual conditions: gusts that deflect the cord, lift a mat edge or blow grit across it are reasons to stop. No universal wind limit is established here. Check weather and access again as conditions change.
Before leaving, inspect the cord's contact section and handle connections, remove grit as permitted, and dry equipment before packing. Follow each component's care instructions; an outdoor cable label is not a waterproof rating for its handles. Keep damp clothing separate. For cleaning and storage after outdoor use, see the material-specific equipment care guide.