Jump Rope Length and Adjustment: Fit, Measure and Test Your Rope
Measure the right jump-rope length, test a secure fit before cutting and distinguish beaded from cable adjustment. Includes a practical measurement and retention checklist.
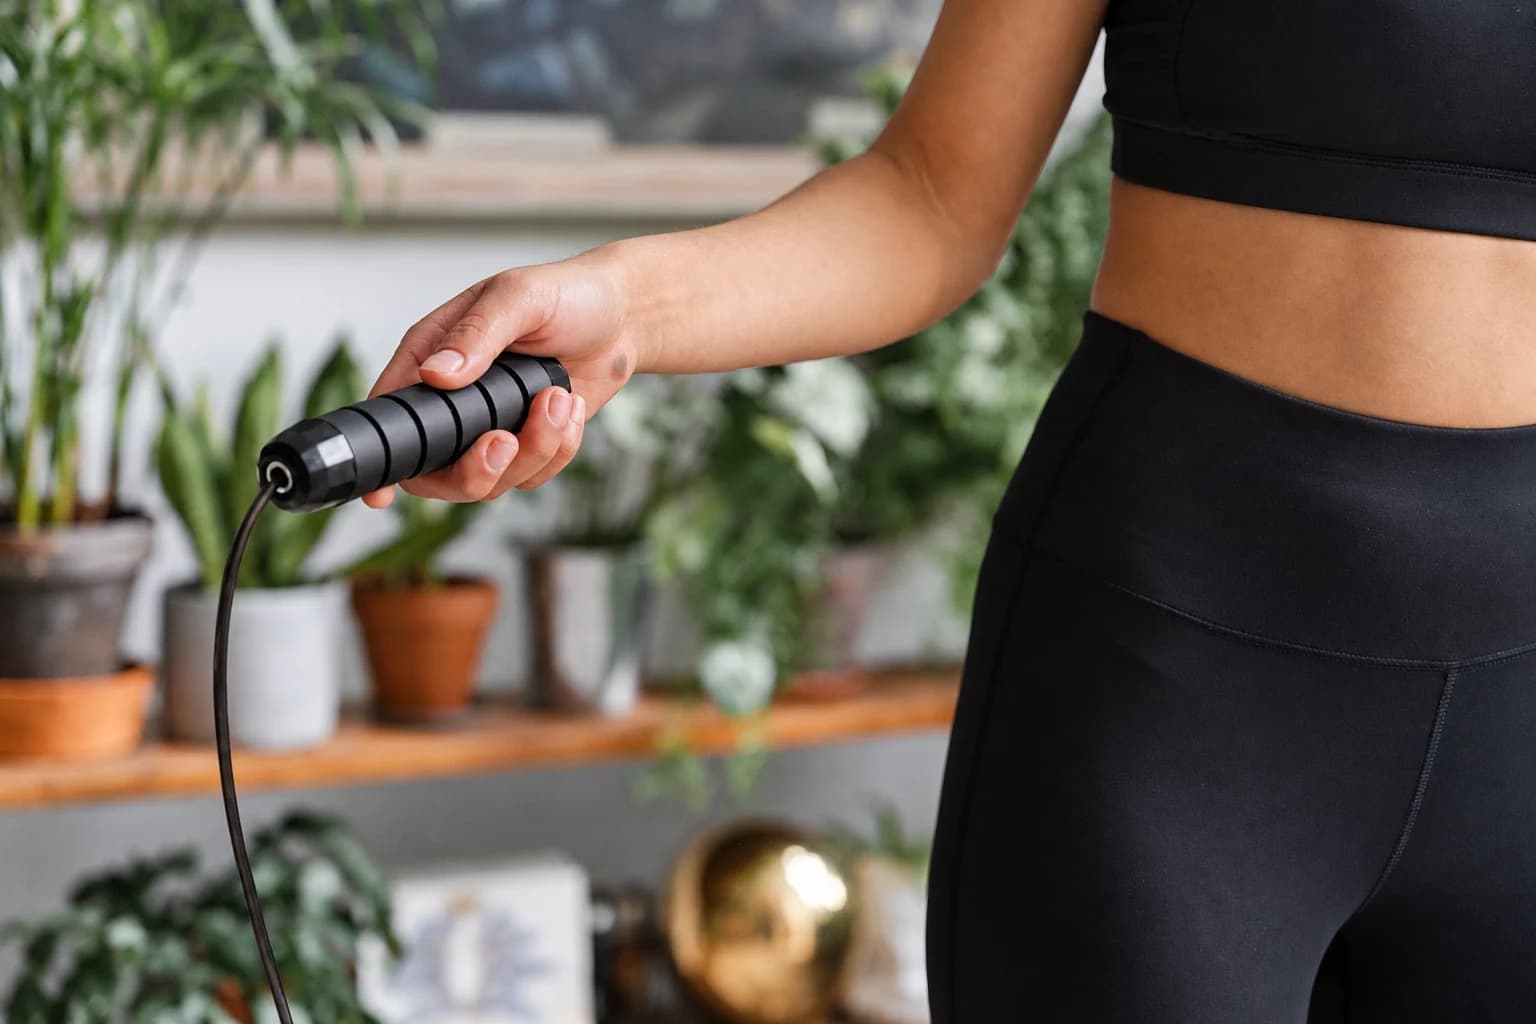
A useful jump rope length lets the rope clear you during comfortable turns without forcing your hands unusually high or wide. Start with the fitting instructions for your exact system, record what its length measurement includes and check a secure setting in motion before cutting. Height alone cannot determine the final fit.
The workflow is simple: identify, measure, make a permitted reversible adjustment, check the assembly, then assess the fit. Beaded retention knots, cable screw stops and fixed connectors need different procedures. Keep the mechanism intact while finding the length that works.
Label both ends of the measurement
| Reference sketch in words | Record the actual endpoints | Keep outside that number unless the maker says otherwise |
|---|---|---|
| Cord body: A — flexible material — B | A and B are the model’s named cord endpoints | Handle length and any undefined connector |
| Working span: exit A — usable span — exit B | The relevant attachment / exit references used by that model | Hidden spare ends; record them separately |
| Overall assembly: outer end A — complete assembly — outer end B | State explicitly whether handles are included | Do not use this as a cord-only cutting target |
| Retention system to identify | Before opening | Restore before a fit check |
|---|---|---|
| Permitted knot-and-washer beaded system | Photograph the actual handle / washer / knot / bead order | Return every required component and manage spare cord by that model’s method |
| Permitted cable adjuster | Identify the actual tool, movable stop, insertion and factory end | Secure the named fitting, inspect both ends and complete stationary retention checks |
These are reference labels, not diagrams of every rope. If the mechanism is fixed or replacements are needed, choose a construction or replacement system before attempting to adapt another system’s parts.
How long should a jump rope be?
Use your model's size guidance to choose an initial setting or fixed length. Body proportions, handle length, hand position, rope construction and intended practice can change the fit, even for two people of the same height. The target is comfortable clearance and repeatable control, not the shortest possible cord.
Where your model's fitting method uses a foot-at-midpoint check, keep the rope stopped and compare the specified landmarks. Handle tips, handle bases and cord exits are different references. Keep the cord relaxed rather than pulling it hard to reach a body landmark, and treat the result as an initial setting for a secure moving fit check.
Jump rope length for height is therefore a starting reference, not a universal cutting chart. For a fixed-length system, clarify its measuring convention and between-size guidance before buying; a detachable connector does not automatically permit trimming. For construction choices, see the jump-rope buying guide.
How to measure jump rope length
| Measurement | What to establish | Useful note |
|---|---|---|
| Cord length | The flexible body, as the maker defines it | Record whether connectors or hidden end sections are included. |
| Working length | The usable span between the relevant attachment points | Keep the same reference points when comparing settings. |
| Overall length | The full assembly if that is the listing convention | A handle-inclusive number is not a cord-only cutting target. |
Lay out the stopped rope without deliberate stretch or forced sharp bends. Record the current length, adjustment positions and any spare material at the ends. A note such as 2.75 m of cord excluding handles is more useful than 2.75 m alone. One inch is 2.54 cm and one foot is 30.48 cm, so 9 ft is about 2.74 m.
Photograph the original component order before opening a permitted adjuster. Use a clear tray for small parts and keep cutting tools aside while you assess the fit. If you cannot identify which parts retain the cord, find the model instructions before proceeding.

Check a secure setting before making it permanent
- Choose a clear area with a suitable surface, overhead clearance and space behind you. Wear the footwear you intend to use.
- Complete the maker's stationary retention checks before any turns. Inspect both ends, including the end you did not adjust.
- Try a few uncomplicated turns at a controllable pace. Observe clearance and ground contact rather than testing a new skill or maximum speed.
- If adjustment is reversible, change one permitted setting and repeat under similar conditions. Keep a note so you can undo a change that makes the fit cramped.
Long scraping contact or an oversized loose loop may suggest excess length, but a missed turn alone does not diagnose the problem. Timing, hand position, an uneven setting, unfamiliar handles and the surface can also change the result. Avoid repeated permanent cuts during one frustrating attempt.
A reversible trial still needs a secure assembly and an approved way to manage spare cord. Do not spin a loose fitting to find a measurement or leave a wire tail in the moving path. If temporary retention is not supported, ask the maker how to assess its size before cutting.
How to shorten a beaded jump rope
First identify the exact retention system. The knot-and-washer outline below applies only when your rope's own adjustment instructions specify those parts. A hybrid snap-lock or fixed connector needs its own procedure; do not open or alter it as if it were a retaining knot.
- Expose the permitted retaining end and note the handle, washer, knot and bead order.
- Undo the retaining knot as directed without damaging the cord; keep every required small part.
- Remove beads for the proposed adjustment and save them as spares. Measure the resulting usable length rather than assume a universal length per bead.
- Restore the required retaining parts and knot arrangement exactly as instructed.
- Check the stationary connection, secure the permitted spare cord and recheck the fit before any approved trimming.
Removing a bead creates a discrete change, unlike a continuously movable stop. Do not omit a washer, invent a larger knot or leave an unexplained gap to force a number. Some systems can store spare cord inside a handle, while others require a different approach. Use the actual model's allowed arrangement.
How to adjust a cable jump rope
For a cable with screw-stop adjustment, identify the permitted movable end, fitting and tool from that model's instructions. Self-locking heads and fixed quick clips use different mechanisms. Keep the stated insertion, orientation and tightening requirements with your measurement notes; no single screw size or tightening force applies to every cable rope.
- Record the original usable length and spare cable, then identify the proposed setting using the model's method.
- Loosen only the named adjustment parts with the correct tool. Preserve factory stops and connectors unless their removal is expressly part of the procedure.
- Move the approved adjuster to the setting and secure it as instructed, preserving required insertion and orientation.
- Check for sliding with the rope stationary, inspect both ends and only then make a controlled fit check.
Do not knot steel cable, fold it back with tape or compensate for a slipping fitting by inventing a torque value. If a screw, collar or head is damaged, address that fault before resizing. A cable passing through a handle does not establish that it is compatible or intended for owner trimming.
Cut and finish only after the fit is confirmed
Follow the maker's permitted cutting end, spare length, tool and end protection. Cable, PVC and inner beaded cord can need different treatment. A household cutter, flame, glue or a convenient replacement screw is not a generic finishing method. Keep cut pieces out of the practice area.
After any approved cut, inspect and finish the end, repeat the required retention check and confirm normal movement. Record the rope model, measurement convention, final working length and adjustment method. Revisit that record after changing handles or replacing the cord.
Fraying, cracked handles, exposed strands, damaged coating or repeated slipping are replacement questions even if the rope also feels long. Shortening cannot restore a damaged component. The buying and replacement guide covers the compatibility checks before ordering a different part.
Keep the procedure specific to your own rope
For the PBGGAME steel-handle wire-rope option, use its own fitting and adjustment instructions. Apply only steps that match its actual retention mechanism. The beaded and screw-stop outlines above describe separate arrangements; they do not make their knots, stops or cutting procedures interchangeable with this selected configuration.
Use the jump-rope collection to compare documented lengths and mechanisms. For separate users sharing one rope, preserve a supported reversible setting and record each fit; once cord is cut away, it cannot be restored by adding a knot.