How to Clean and Store Home Workout Equipment by Material
Care for bands, ropes, wraps, grips, sliders and small balls with material-specific checks for cleaning, drying, storage and wear.
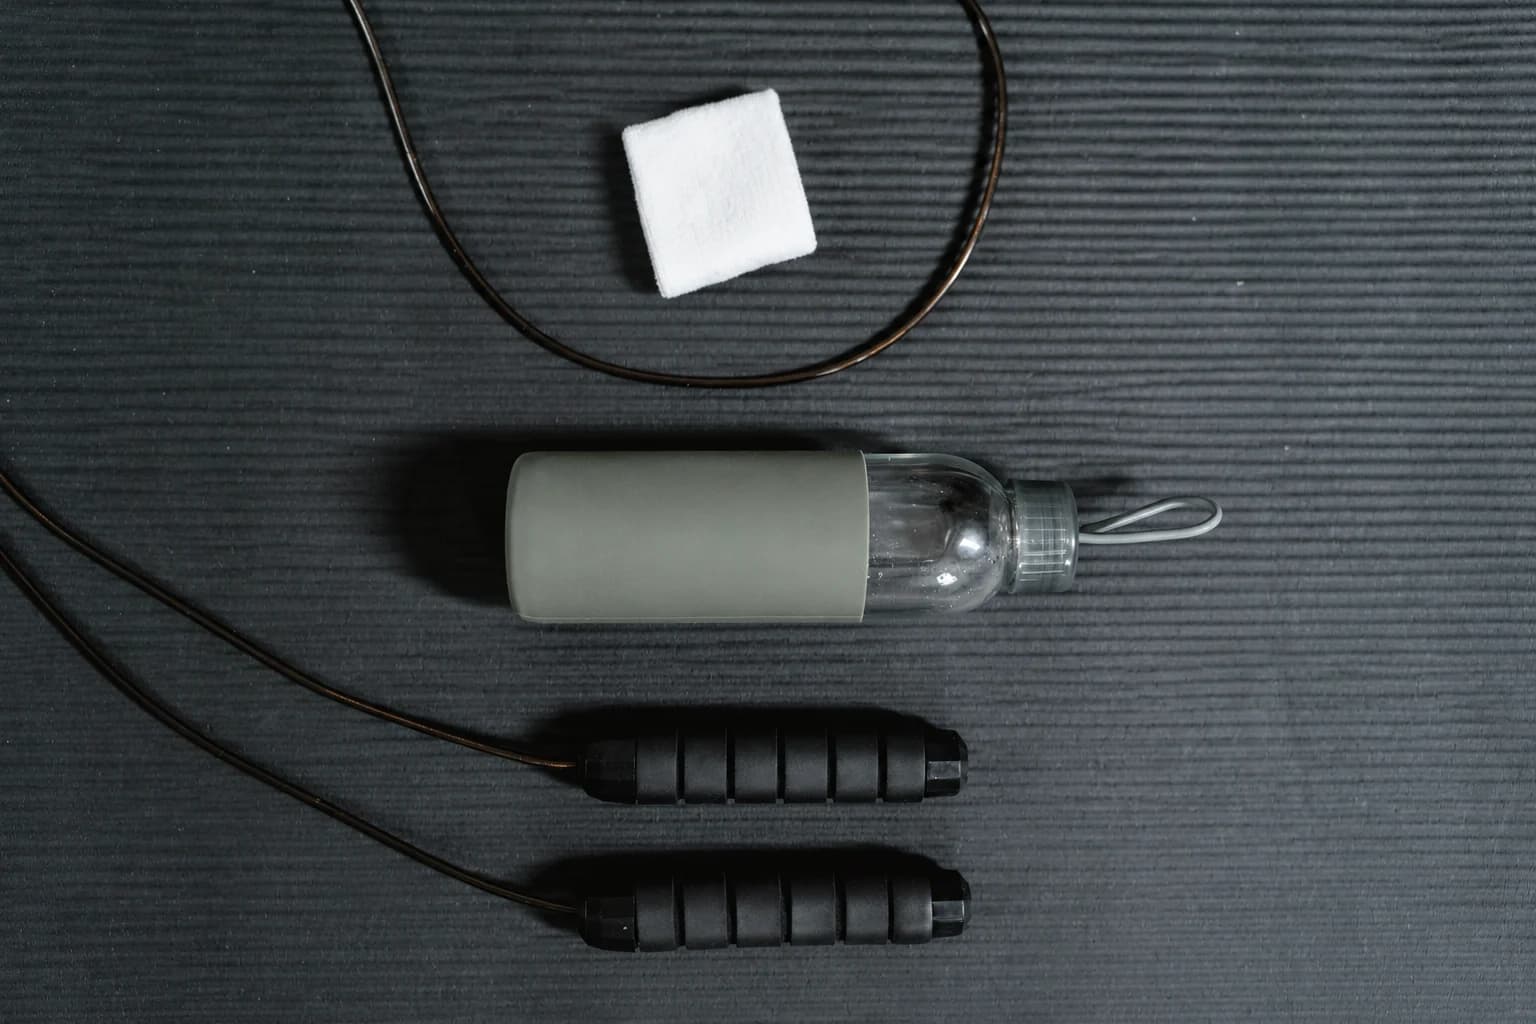
To work out how to clean home gym equipment, identify the materials before choosing a cleaner. Use each item’s approved method, remove residue as directed and let the whole item dry before closing it inside a bag. Inspect while you clean: removing sweat cannot repair torn elastic, a frayed cable or a failing seam.
Keep the routine manageable. Empty the kit, separate items that need different treatment, and put damaged pieces aside before washing anything. Bands, ropes, wrist wraps, lifting grips, sliders and small balls may share one bag, but they do not automatically share one care method.
A material check saves time at the sink
| Equipment or surface | Check before cleaning | Inspect before the next use |
|---|---|---|
| Rubber band or covered elastic | Exact elastic, textile cover, foam and attached fittings | Edges, elastic surface, ends and attachment points |
| Rope and handles | PVC, coated cable, leather or textile cord; handle and bearing design | Floor-contact section, handle exits and retaining parts |
| Wrist wraps or woven straps | Elastic content, webbing, stitching and closure care label | Load-bearing seams, cuts and fastening function |
| Leather or mixed-material palm grip | Palm surface, padding, adhesives, wrist strap and rings | Tears, separating layers, attachment seams and closures |
| Exercise sliders | Both contact faces and the approved cleaning method | Cracks, sharp edges, debris and separating layers |
| Inflatable mini ball | Surface material, opening, plug and matching tools | Cuts, damaged opening and plug condition |
| Massage ball or stretching strap | Solid, foam, cork, coated or electronic construction; elastic versus nonelastic webbing | Grooves, seams, buckles, cracks or unexplained material changes |
Find the model on the label, packaging or order record. A familiar material name is useful, but a rubber palm attached to neoprene and webbing is a different assembly from a plain rubber band. Keep any permitted disassembly limited to the maker’s instructions.
CDC distinguishes cleaning from disinfecting. Cleaning removes dirt and many germs; disinfecting targets germs left on surfaces. This guide covers equipment care, so use only methods compatible with the exact item. For a shared facility, follow its hygiene requirements alongside the equipment's care label.
How to clean resistance bands
Separate bare elastic, fabric-covered elastic, padded grips and hardware when reading the care instructions. A method allowed for the elastic alone may not suit a stitched cover or metal fitting. Do not add powder, oil, fragrance or a conditioner simply because another brand mentions one.
Check the band's full length before cleaning, including edges, folded sections and fixed ends. Follow the care label for wiping or washing, keeping any fabric cover, foam grip and hardware within their own permitted method. Open out allowed folds for drying instead of sealing damp layers inside a pouch.
If washing is allowed for your model, use the stated cleaner and water conditions, work gently and remove residue as directed. Check the pouch, webbing and padding as well as the elastic before putting the kit away. An item that looks clean can still be damp inside a folded strap or foam grip.
Resistance band storage between sessions
Store bands relaxed in a protected place, without pulling them tightly around a bottle or trapping them beneath hardware. Keep sharp clips, grit, damp towels and leaking toiletries away from the elastic. A small dedicated pouch can make those separations easy to repeat, provided the pouch itself is dry.
Follow the product's stated storage conditions for temperature, moisture and light. Keep the model and its care instructions identifiable when several sets share a drawer, and separate the bands from hardware or other contents that could scratch or trap them.
When to replace resistance bands
Inspect the complete path that carries tension: elastic surfaces and edges, fixed ends, webbing, seams and connectors. Follow the maker’s stop-use criteria. Isolate a cut, cracked, frayed or uncertain component rather than packing it as a backup. Do not use a hard pull as proof that a questionable part is sound.
Check the whole set before repacking so a damaged band cannot be mistaken for a ready-to-use spare. Follow the replacement criteria for the exact model; age or the number of workouts alone cannot show the condition of elastic, seams or connectors.
How to clean a jump rope
Identify the cord and handle materials first. To clean PVC jump rope surfaces, coated cable, leather or textile cord, obtain the method for that actual construction. A cleaner allowed on a plastic-coated cable does not establish compatibility with leather, foam grips or an electronic handle.
Use the amount of moisture and the cleaner specified for the selected rope, keeping surface care separate from mechanism maintenance. Do not immerse the complete rope or lubricate a bearing unless its own instructions permit that procedure. Check the handle exits as well as the cord before repacking.
When you clean jump rope handles, treat the grip surface, rope exit, bearing or pivot, and any electronic housing as separate areas. Jump rope bearing care starts with identifying whether the mechanism is serviceable and obtaining its instructions. Do not pour oil into an unknown bearing, soak a handle or remove a sealed part to chase a squeak.
How to untangle a jump rope without forcing a kink
With a jump rope tangled in loose crossings, lay it on a clear surface and widen the loops before feeding slack back through the crossing. Let the handle or free loop pass only when it moves without force. Keep fittings attached unless the instructions allow removal, and inspect the full cord after the crossings are gone.
Jump rope coil memory usually describes a broad stored curve; it is not the same observation as a kinked jump rope cable with a sharp angle or flattened bend. A curve changing shape does not establish the condition of the cable inside. Set an abrupt or uncertain defect aside instead of trying faster turns as a test.
Avoid boiling water, a hair dryer, flame, hanging weights or clamping the cord in a doorway as an improvised straightening method. A loose tangle can be organized. Reshaping a damaged cable does not demonstrate that its strands or coating are intact. If handles add repeated twist, check their model-specific assembly and movement rather than assuming every tangle is a bearing failure.
Jump rope storage and packing
Coil a jump rope in the broad, relaxed shape its instructions permit, keeping the handles from passing through the coil. Avoid sharp bends at the exits or winding the cord tightly around the grips. When you pack a jump rope, protect it from luggage corners, damp contents and heavy objects pressing across the cord.
Check the packed rope before closing its pouch: the cord should not be trapped by a zipper or pressed beneath the handles. Preserve the model's intended coil and fastening method when transferring it between a drawer, bag and suitcase.
When to replace a jump rope
Inspect the middle section that meets the floor, then the handle exits and retaining parts. Look for cuts, exposed strands, split coating, damaged beads, narrowed cord or fittings that no longer retain the rope. Use good light rather than running bare fingers over possible broken wire.
For a coated model, distinguish ordinary surface dirt from a torn covering or exposed core. These are condition checks rather than cleaning tasks. Follow the exact model's stop-use and replacement criteria instead of stripping the coating or folding a damaged cable back into the coil.
Follow the maker's criteria for replacing the cable, handle or complete assembly. Choose a compatible replacement where one is permitted; a similar diameter alone does not establish fit. Assess a worn section or loose fitting before the next session rather than relying on a count of workouts remaining.
How to wash wrist wraps
Read the label for the exact wrap, including elastic, padding, thumb loop and hook-and-loop closure. Remove loose lint and chalk gently, without cutting hooks or pulling load-bearing threads. Secure exposed fastenings during washing only as the instructions permit.
Where hand washing is approved, use the stated water conditions and cleaner, rinse as directed and dry the complete thickness before rolling the wrap again. Avoid an unapproved dryer, radiator or hair dryer to speed the process. A dry outer layer does not establish that a tightly folded inner layer is ready for a closed bag.
Before rolling a clean wrap, check the thumb loop, closure and inner folds for trapped moisture or residue. Keep paired wraps together with their care information so a method intended for a different grip or strap is not used by mistake.
How to clean lifting straps and palm grips
Sort plain webbing, leather-labelled surfaces and attached rubber or composite grips into separate care decisions. Check whether the complete assembly permits washing, including its stitching, coatings and any metal fittings. Use only the listed method and drying conditions; an instruction for plain webbing does not authorize soaking a padded grip.
For a leather or leather-labelled surface, check the finish and care instructions before using water or conditioner. Keep any permitted wiping to the intended surface and follow the specified drying method. A cord and a padded palm grip can have different coatings, seams and attachments even when their material labels sound similar.
For rubber or composite palm grips, padding, bonded layers and stitching also affect the care method. Do not peel apart layers or remove padding unless the instructions allow disassembly. After cleaning, inspect the edges, strap attachments and closures before returning the pair to the usable kit.
When to replace lifting straps, wraps or grips
Inspect load-bearing webbing, stitched loops, pad attachments, metal rings and fastening function, rather than judging only the palm’s appearance. An opening seam, separating layer, damaged ring or closure that repeatedly fails needs a condition decision before the next loaded set.
Cleaning removes soil; it does not repair a load-bearing seam or establish an accessory's load capacity. Keep torn webbing, separating pads, damaged rings and failing closures out of the ready-to-use kit. Follow the exact model's replacement guidance before using that accessory for another loaded set.
How to clean exercise sliders
Exercise slider care includes both contact faces. Remove loose debris gently, follow the approved surface-cleaning method and dry the discs before stacking them. Avoid choosing a solvent because the hard face resembles another household plastic; padding, coatings or bonded layers may need different treatment.
For storage, keep both faces clear of grit and protect their edges from sharp hardware. Stack only after the permitted drying process is complete, so moisture or debris is not trapped between the discs.
Check for cracks, sharp edges or separating layers before exercise. Inspect the floor-contact area for grit and use the slider only on a surface its instructions permit. Keep damaged discs out of the usable set, even if they still move smoothly.
How to clean a Pilates ball, deflate it and store its parts
Read the care label for the exact inflatable ball, including instructions for its plug or valve. Keep cleaning separate from inflation: a permitted surface wipe does not authorize soaking the opening or opening an unfamiliar valve. Choose the cleaner and water conditions from that model's guidance.
Keep cleaner out of the inflation opening and remove residue as the actual instructions require. Turn the ball as needed while drying so a damp contact patch is not trapped beneath it. Protect the surface from sharp objects and high heat, and stop using a visibly worn or damaged ball.
To deflate a mini Pilates ball for travel, first check its actual valve or removable-plug method. Use the specified removal tool and procedure; a knife or screwdriver is not a substitute. Let air escape as instructed without standing or kneeling on the ball or crushing the opening beneath luggage. This care guide does not replace the initial-inflation instructions.
Store Pilates ball plugs, straws and removal tools together in a labeled pouch, with the clean, dry ball protected from hard corners and zippers. Similar-looking fittings do not establish compatibility. Keep loose plugs away from children and pets, and request the matching replacement if a part is missing.
How to clean a stretching strap
Check whether the strap is nonelastic webbing, elastic or another construction. Identify stitched loops, any buckle, grip lining and attached padding before treating it like a band or a plain fabric belt. Use its own care label; a washing method for a lifting strap does not automatically apply.
Look into the folds and around the buckle for dirt or moisture, and inspect the stitched loops and edges. Dry hidden folds as well as the exposed surface before storage. Avoid cutting loose threads whose role you cannot identify or soaking hardware without approval. Keep the strap identifiable so it does not become an improvised lifting or suspension accessory.
How to clean massage balls
A solid rubber ball, hollow inflatable, foam roller, cork tool, felt-covered ball and electronic massager have different surfaces and openings. Identify the exact construction and use its permitted cleaning method. Check any valve, seam or electronic housing separately rather than transferring an inflatable ball's wash method to another tool.
Attend to textured grooves and the underside that rested on the floor. Let the whole surface dry before sealing the tool in a pouch. Inspect cracks, torn coverings, sticky material changes or an opening that no longer closes correctly. If the surface has changed unexpectedly or contamination cannot be removed by an approved method, set the item aside for advice rather than adding a stronger chemical.
Two different constructions from the PBGGAME catalog
Care checks for the selected PBGGAME options
| Selected item | Parts to assess separately | Before storage |
|---|---|---|
| Leather-labelled rope — PBG-236236 | Cord surface, handles and bearing openings | Check that cord and handles are clean and dry before coiling; keep bearing maintenance separate from surface cleaning. |
| Steel-wire rope — PBG-128147 | Wire surface, end fittings and handle exits | Inspect floor-contact and exit sections for wear; protect the wire from sharp bends and hard objects while packed. |
| Black / SM contoured grip pair — PBG-745346 | Palm surface, padding, stitched webbing and closures | Check seams, edges and closures; dry the full assembly before folding without assuming plain-fabric washing is allowed. |
Keep the selected SKU beside the product's care instructions so the correct routine stays with the item. For help identifying the correct option, use the contact page. A material or colour change can involve a different construction, so keep each option's directions separate.
The weighted jump rope with metal handles link selects the leather-labelled PBG-236236 option. The steel-wire option is a separate configuration. Keep their cord-care instructions separate, and check handle and bearing directions independently before cleaning or servicing either assembly.
Care for the contoured rubber lifting-grip pair as a complete assembly of palm, padding, stitched straps and closures. Check the care label for all those parts before using a plain-fabric washing method. The link selects the Black / SM configuration, PBG-745346.
Use these examples to compare material choices and plan a care routine for your PBGGAME equipment. Follow the care label for each item, clean it after use as directed and give every layer time to dry before storage.
Dry the whole kit before packing it away
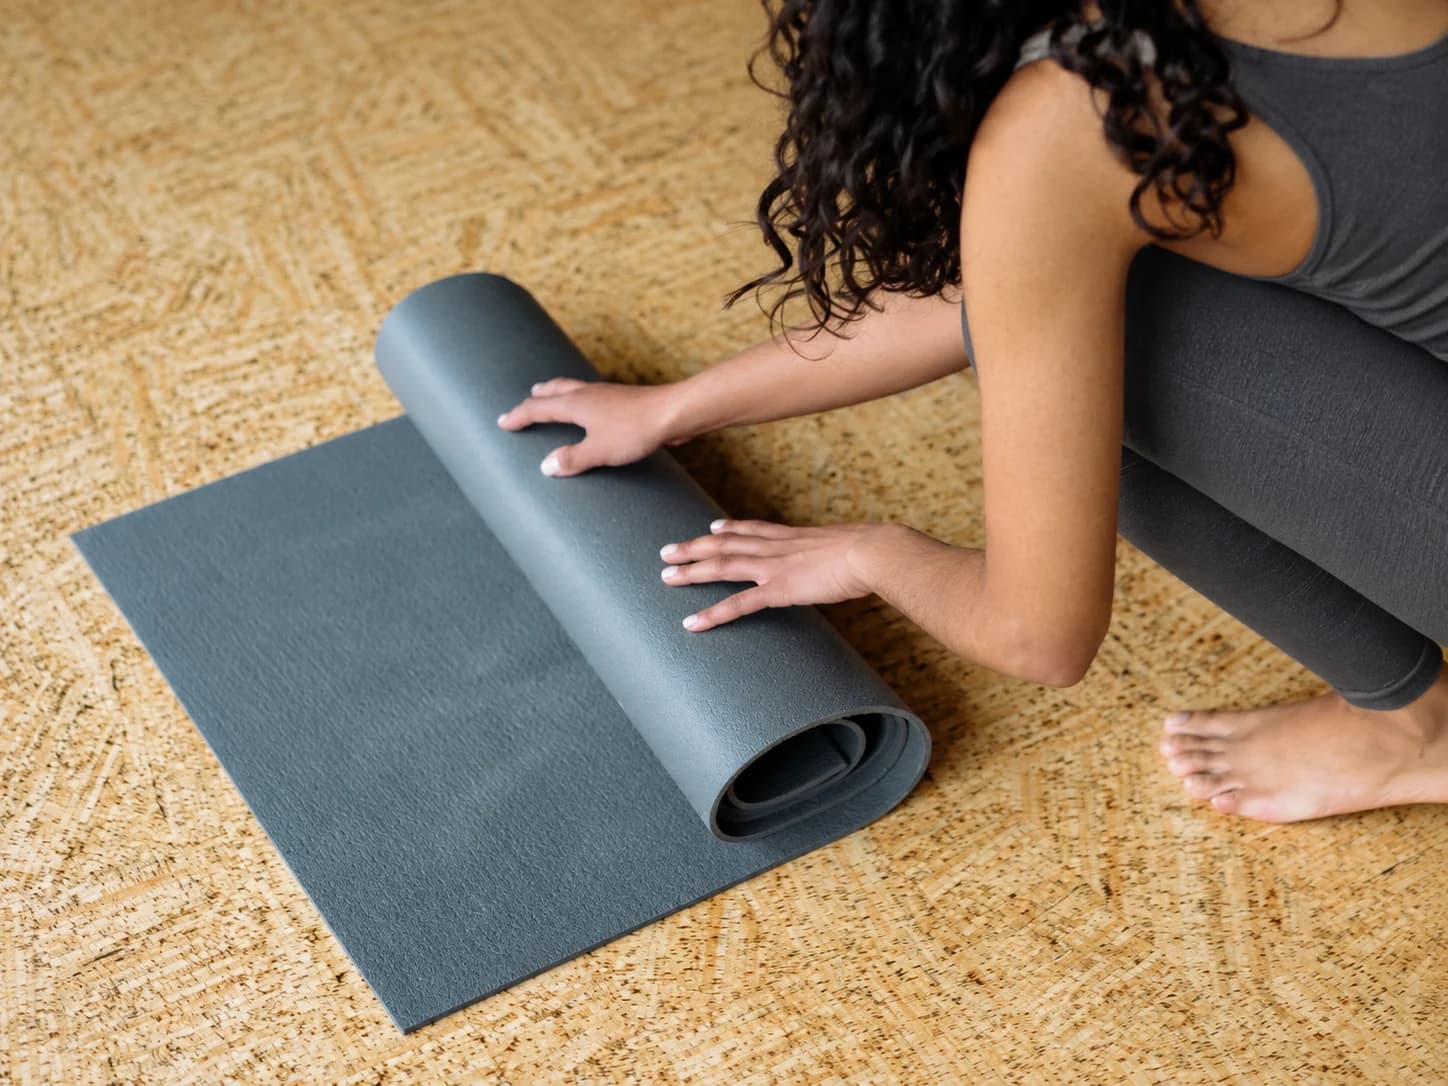
Give the equipment enough space for the drying method its maker specifies. A mat’s underside, a towel beneath a grip, folded webbing and the inside of a carrying bag can retain moisture after the obvious surface looks ready. Keep items open or arranged as instructed until the full assembly is dry.
Then organize the kit by contact risk. Elastic should not rest against a sharp clip; a loosely coiled rope should not sit under a heavy shoe; small ball plugs should not press into a deflated ball. Keep damp personal items and contained toiletries separate. These are packing decisions, not a substitute for the materials’ storage instructions.
Choose a location where you can protect the kit from the conditions its makers exclude and find it for the next inspection. A car, sunny windowsill or wet bathroom is not automatically suitable because there is room for a basket. A closed bag also needs attention: clean the bag by its own label and check that its compartments are dry before putting the equipment back.
Keep ready-to-use equipment separate from pieces that are damaged or need replacement. Check the kit before the next session so a retired item is not packed by mistake. Keep model names and care instructions accessible when similar bands, ropes or balls share a storage space. Our compact kit and packing guide helps you decide what needs to travel.