Isometric Exercises: Use Static Holds for a Clear Training Purpose
Understand static holds, choose a supported position and practise deliberate entries and exits with a wall hold or forearms-and-knees plank.
Useful isometric exercises for beginners have a clear position, a manageable effort and a reliable way to come out. The aim is to keep working muscles active while the chosen joint position stays roughly still, rather than make a timer run as long as possible.
Start with one familiar supported hold. Rehearse the entry and return, breathe normally, and shorten the pause whenever the position becomes difficult to maintain. You can learn the idea without extra weights or a long list of exercises.
Check the support points in the two practice examples
| Example below | Support to identify | Entry → pause → exit | What is optional |
|---|---|---|---|
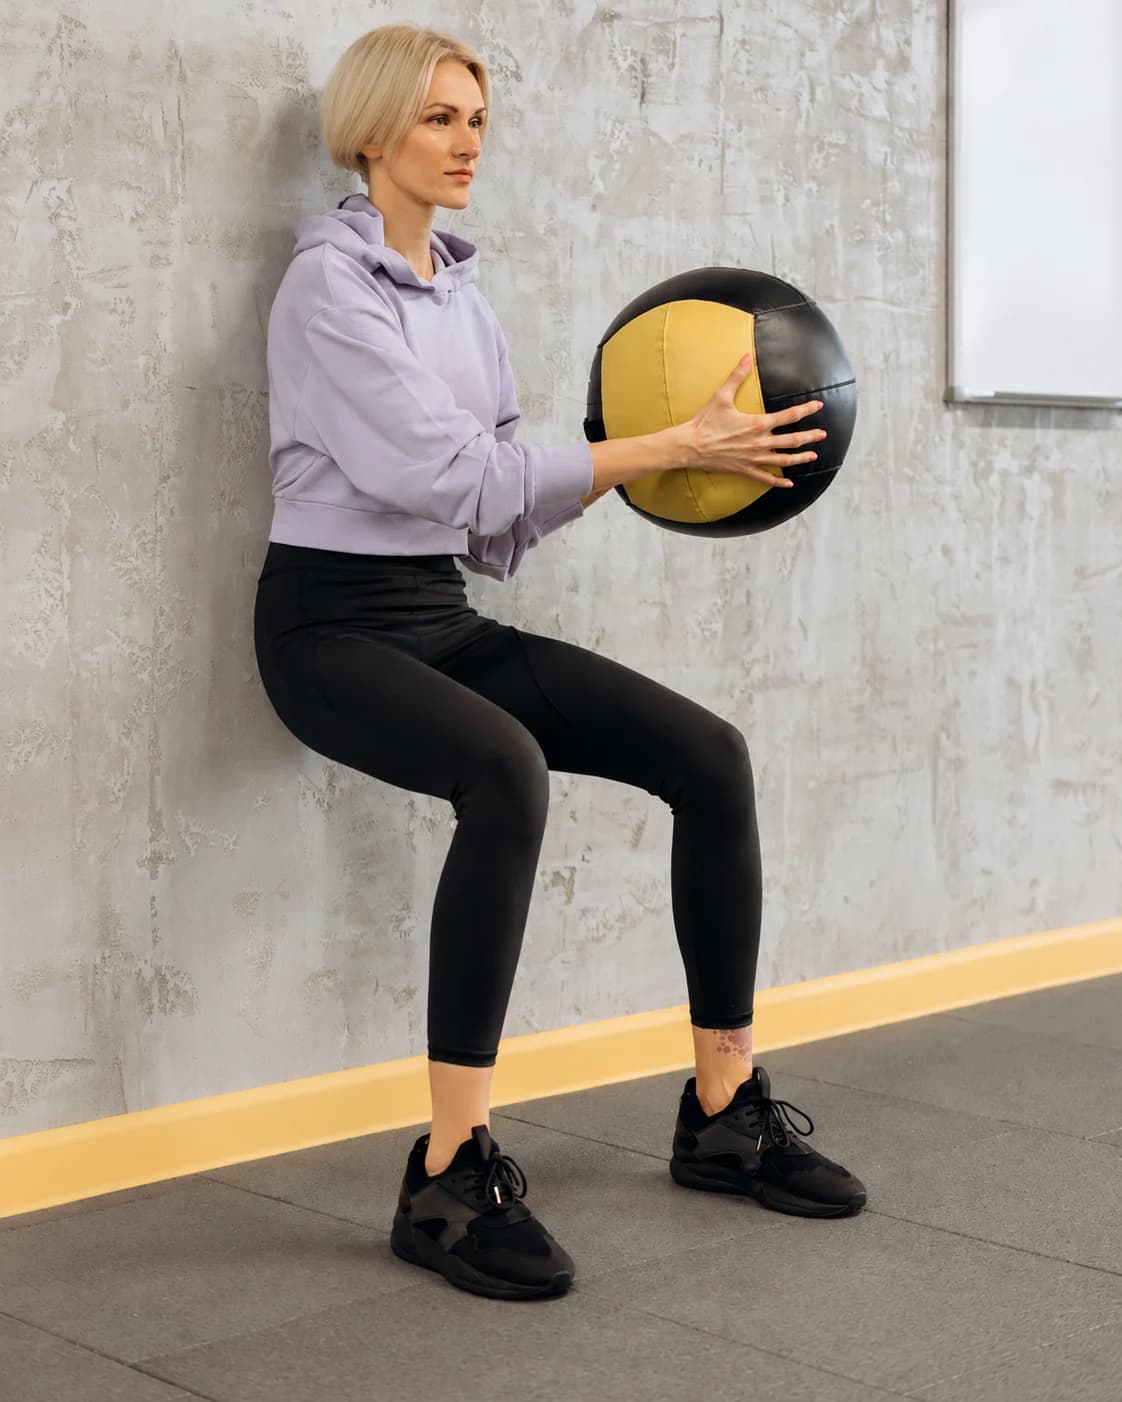
| Modest wall-supported hold | Back against a solid wall; feet on reliable footing | Slide down a comfortable small amount → breathe while steady → rise deliberately | No medicine ball or pictured depth is required |
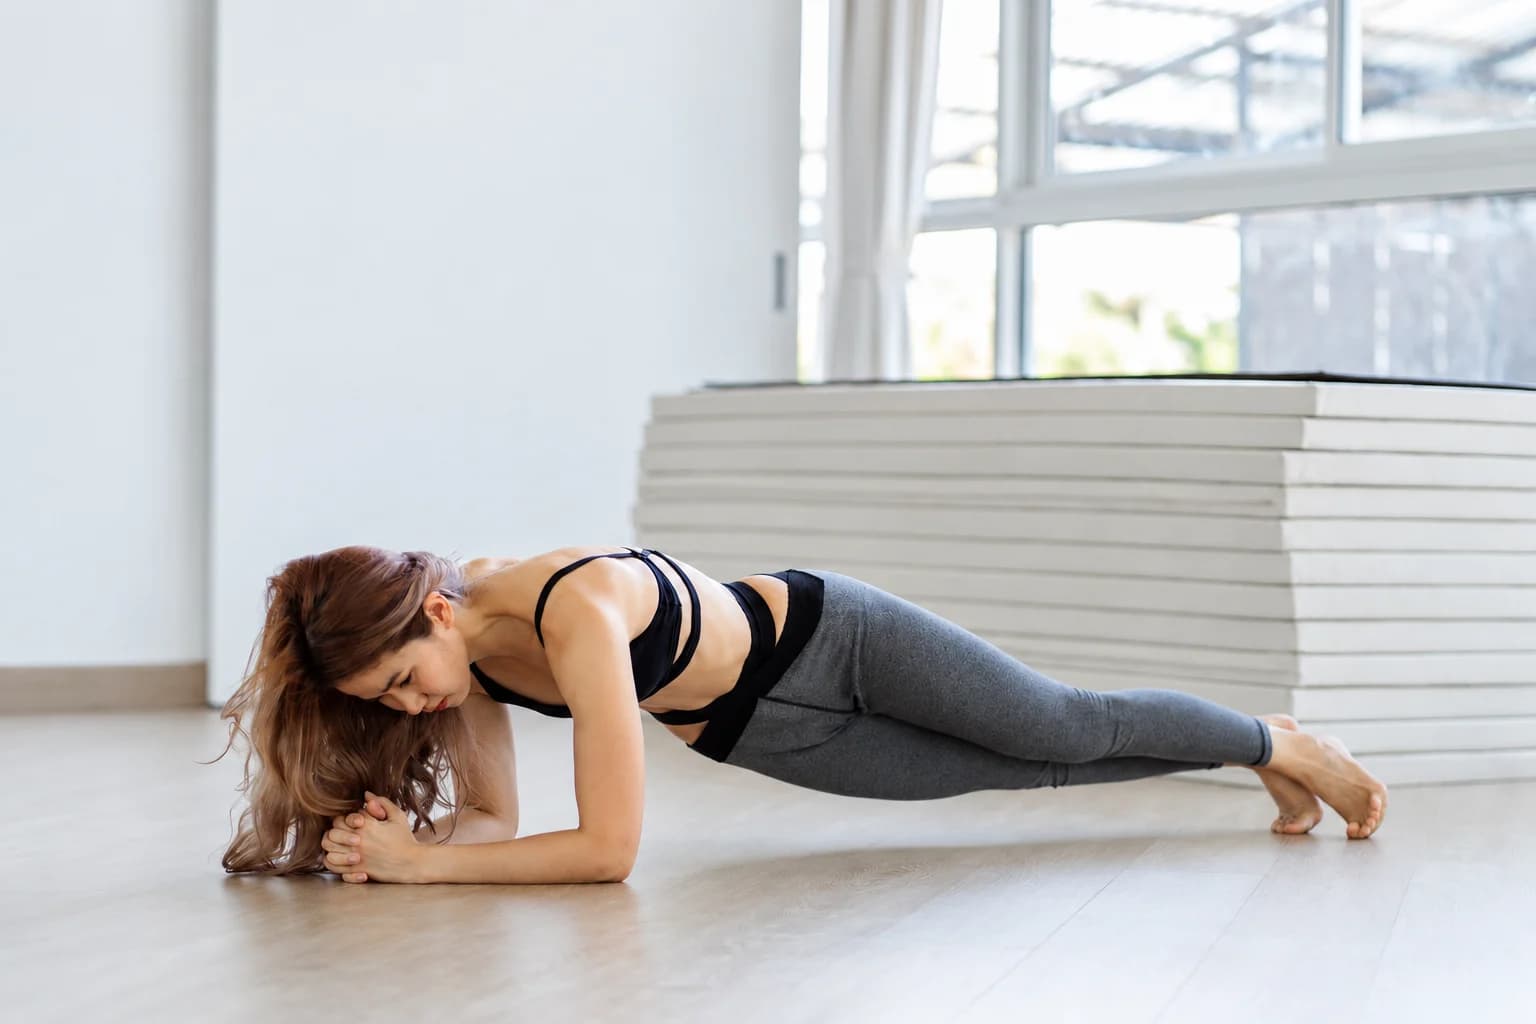
| Forearms-and-knees plank | Forearms and knees stay supported; shoulders arranged above elbows | Raise the trunk → keep a comfortable controlled line → lower to the supported start | No lifted limb or toes-only version is required |
Use the actual instructions below rather than copying the more demanding context photographs. This contact-point map is text, not a professionally reviewed movement demonstration; choose a different task if its entry or return is not manageable.
Isometric vs dynamic exercise: separate the phases
In an isometric hold, the working muscles create tension without noticeable movement at the affected joint. Dynamic exercise moves through a range. Mayo Clinic's explanation of isometric exercise describes that distinction and notes that the training effect depends on the position used.
| Question | Static hold | Moving exercise |
|---|---|---|
| What happens during the effort? | You maintain a selected working position. | You move through a chosen range. |
| What could you record? | Position, support and controlled hold time. | Range, load and controlled repetitions. |
| What is the practical role? | Practise maintaining effort in that position. | Practise producing and controlling movement. |
Getting into a wall sit is movement. The settled working pause is the isometric part; rising again is movement. A hold can accompany controlled moving exercise through other suitable positions. It does not establish equal strength everywhere, and there is no universal exchange between seconds held and repetitions completed.
Choose static holds you can enter and leave
Check the support before concentrating on effort. Use a solid wall with footing that stays still, or a clear floor area where you can comfortably lower yourself and get back up. Remove objects from the return path. A pose that looks simple in a photograph may still be unsuitable for your available movement.
Next, practise coming out before extending the pause. In a wall hold, you need enough control to rise again. In a floor hold, you need a deliberate return to the supported starting position. If either return is uncertain, choose another suitable task or leave that example out.
Stillness alone does not tell you how demanding the exercise is. Changing depth, body position, leverage or external resistance can increase the effort. Begin with a modest position and an easy trial; adding a weight or sinking lower is not necessary to make the hold count.
Keep breathing freely rather than bracing with a held breath. Release before the planned position changes or the support slips. Stop for pain, dizziness, unusual breathlessness, tingling or numbness. Shaking and a strong burning sensation are not targets you need to reach.
For the first trial, choose one position you can repeat comfortably. Keep its support and depth similar on the next attempt so you can judge control. That gives you a useful comparison without turning practice into a maximum-duration contest.
Practice example: a modest wall-supported hold
An NHS wall-sit movement reference describes sliding down against a wall, pausing and pushing back up. Use a comfortable first depth rather than trying to make the thighs parallel or the knees match a fixed angle.
- Lean your back against a solid wall and position the feet forward on reliable footing.
- Slide down slowly a modest comfortable amount, keeping contact with the wall.
- Pause while breathing normally. End before the feet shift or the return becomes uncertain.
- Use the legs to push back up to standing deliberately, then rest.
A shallower position and a shorter pause are practice choices, not a requirement to endure discomfort at the bottom. If the feet slide, come out and address the surface. Do not add a ball, raised heels or another task while learning the basic entry and return.
Practice example: a forearms-and-knees plank
The Mayo Clinic modified-plank instructions provide a floor example with forearms and knees supported. It differs from the forearms-and-toes variation in the cover photograph.
- Begin lying on the stomach. Arrange the forearms so the shoulders will be above the elbows, with the knees supported.
- Gently raise the trunk onto the forearms and knees, keeping head and neck aligned with the back.
- Hold a comfortable controlled line without collapsing or lifting the hips to prolong the effort. Keep both forearms and knees down and breathe normally.
- Lower deliberately back to the supported starting position before control changes.
If the floor entry, contacts or return are not manageable, omit this example. Lifting an arm or leg changes the task; a longer lever is not the next required step. The first useful skill is repeating a position you can maintain and leave comfortably.
A short session is a choice, not a test
After some comfortable easy movement, choose one suitable example. Try a brief hold, such as five seconds or less, return fully and rest. Repeat once only if you can reproduce a deliberate entry, steady breathing and controlled return. These are adjustable practice examples; completing both exercises or meeting a daily quota is unnecessary.
Write down the setup, depth or support, comfortable hold time and quality of the return. Repeat a manageable version before changing one feature. For example, keep the same wall position while extending the pause a little, rather than also sliding lower and adding more attempts.
Fit holds around your other training rather than collecting extra fatigue. Moving exercises still have a place. For a separate approach to bending and turning the wrist, see the forearm exercises guide. Compare progress within the same task instead of assuming a longer hold proves improvement in every movement.
Optional floor padding
The PBGGAME Blue folding exercise mat is an optional floor-contact surface for the forearms-and-knees example. Unfold it flat and check that it stays still on your actual floor. Padding does not make an unsuitable hold appropriate, and a mat is not a way to correct slippery wall-sit footing. An existing suitable surface may already be enough.