Hydration Pack vs Water Bottle: Match the Carry System to the Session
Compare water access, pack fit, refill openings and cleaning parts. Check which container comes with the carrier before choosing a setup for your session.
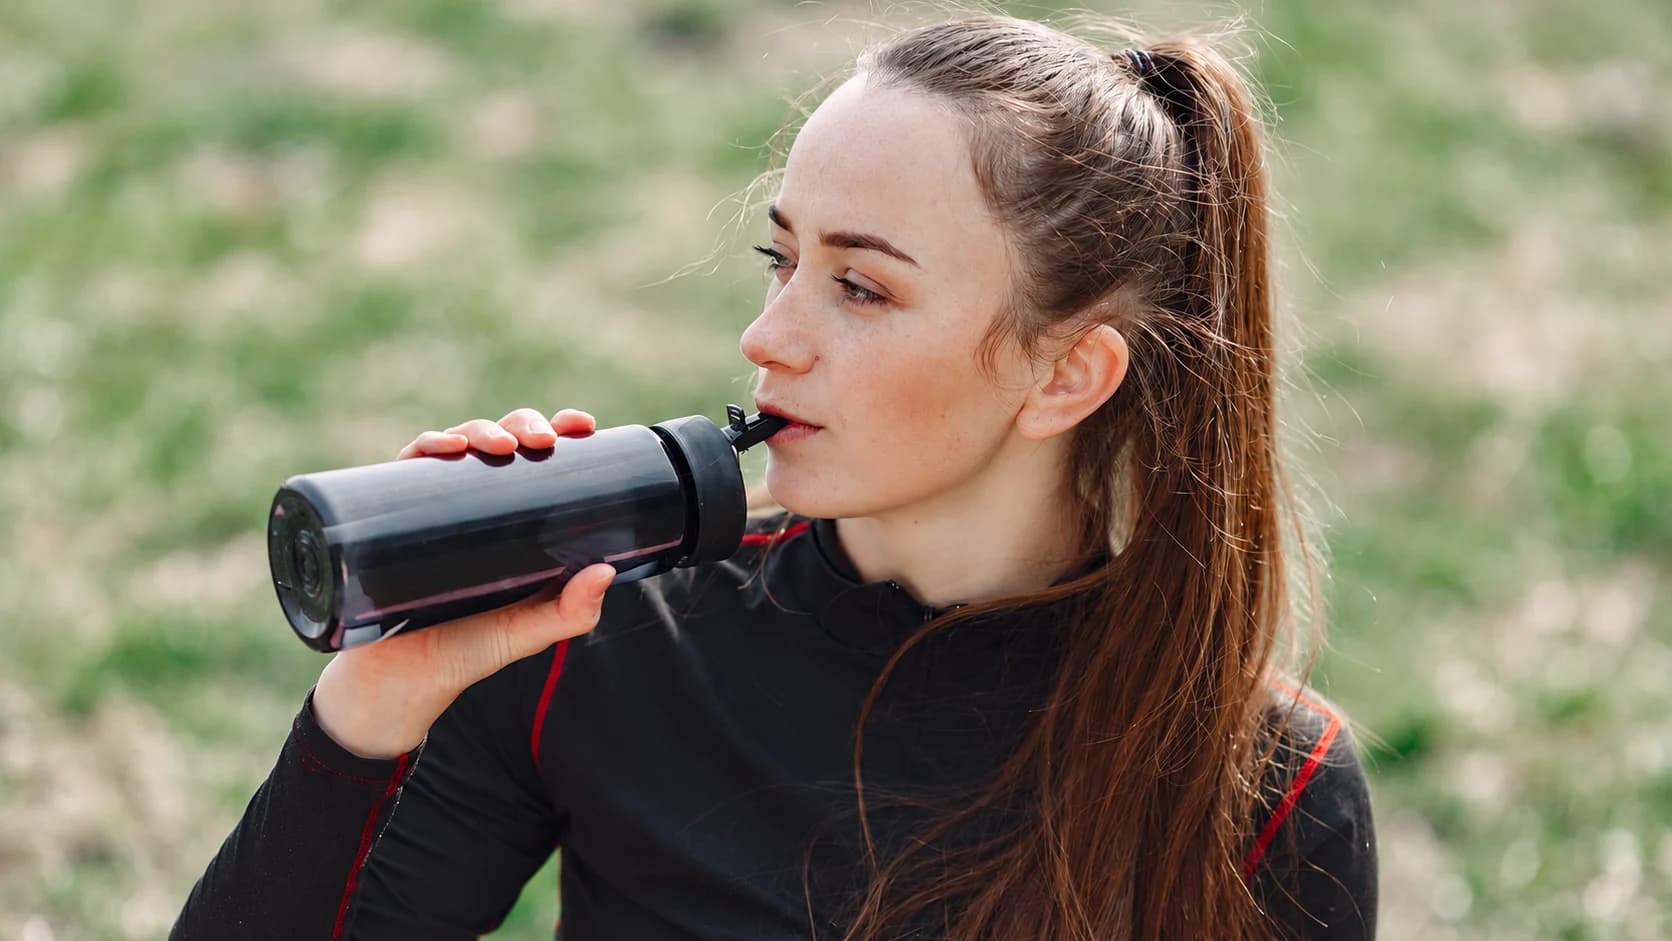
Choose between a hydration pack and a water bottle by where the water will sit and how you will reach it. A bottle can stay beside you during a stationary workout; a carried reservoir offers a drinking tube as part of the pack setup. Fit, refill access and the rest of your kit also matter.
Two setup decisions, with the unknowns left in
| Editorial scenario | Placement and access | Refill and care check | Conditional choice |
|---|---|---|---|
| Fixed indoor training station | An existing suitable bottle can stand outside the movement lane and be reached during a pause | Confirm the facility’s container rules and accessible refill; clean its own lid and drinking parts | Keep the existing bottle if these conditions work; a pack is not needed for this reason alone |
| A route with continuing movement | You want carried access; compare an actual bottle pocket with a compatible reservoir and tube route | Refill location, loaded carrier fit and component-drying space are still to confirm | Choose only after those details are checked; the scenario does not establish a required capacity |
Record the remaining question rather than awarding either format a health score. The pack’s 10L gear-space label and the included reservoir’s nominal 2L volume are separate. For the maintenance task, see clean and dry a reservoir system.
Hydration pack vs water bottle: compare the whole setup
A hydration pack is the carrier; a reservoir, also called a bladder, is one possible water container inside it. Some packs carry bottles instead. Check the actual contents before comparing prices: a pack pictured with a reservoir does not establish that the reservoir is included.
REI's hydration-pack selection guide distinguishes activity, gear space, torso fit and water capacity. This is a retailer's equipment guide, useful for comparing designs rather than prescribing an amount to drink.
| Setup | Access to consider | Carry check |
|---|---|---|
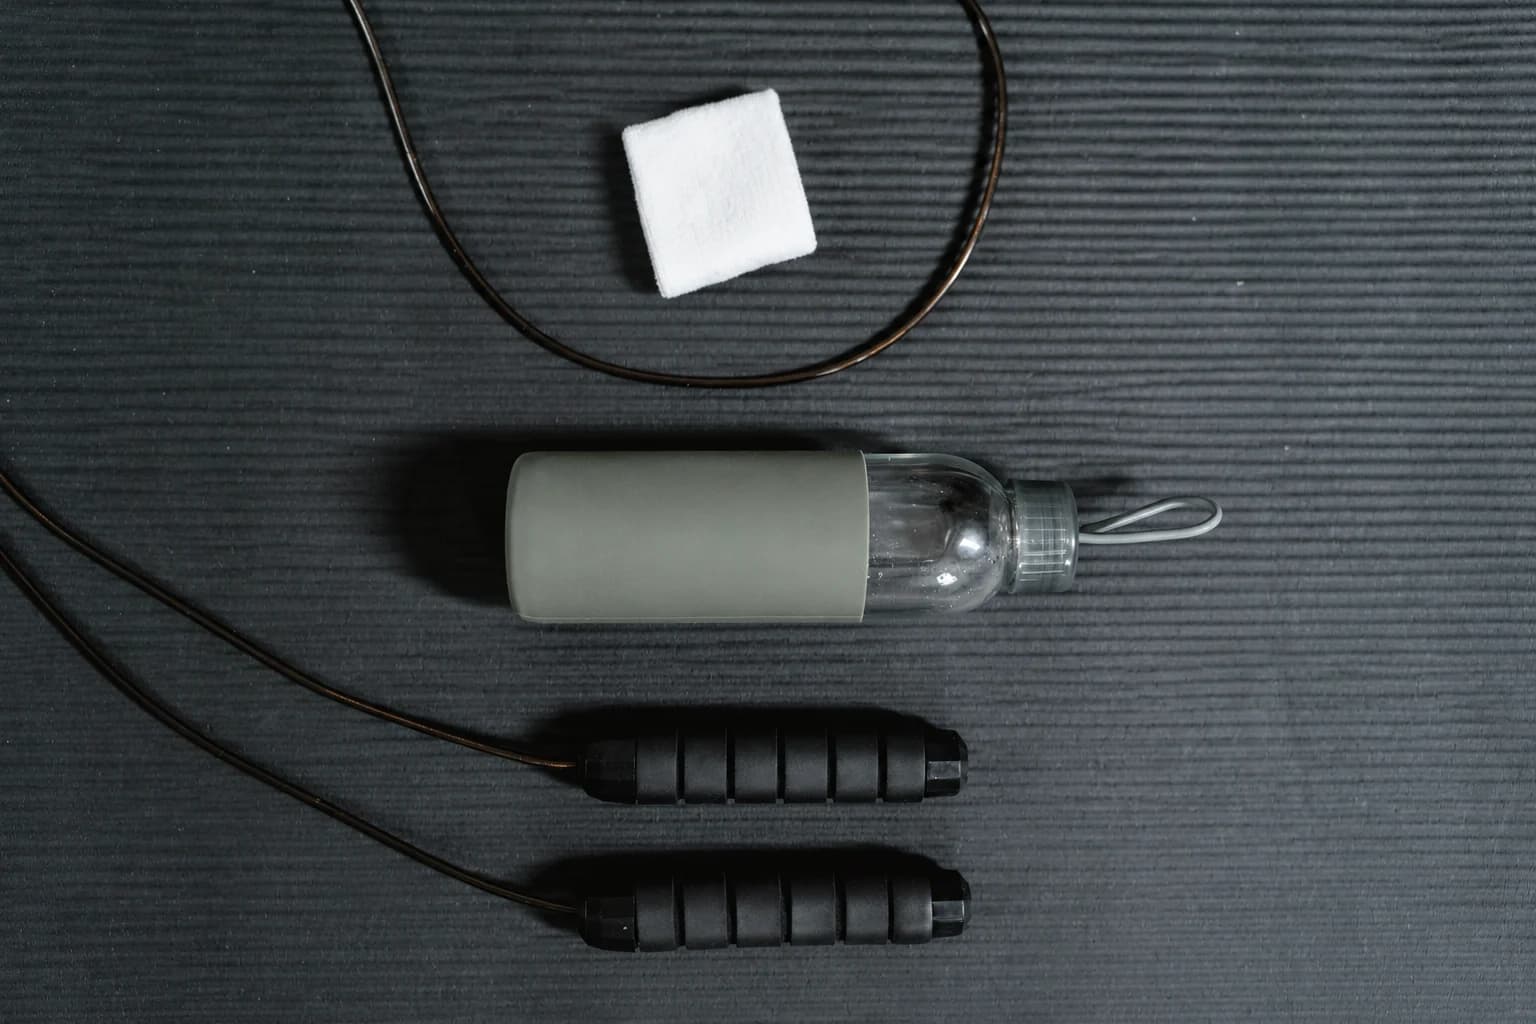
| Bottle beside a training station | Can you reach it when you pause? | Where can it stand without obstructing the area? |
| Bottle carried in a pack | Can you reach the pocket or will you remove the pack? | Does the pocket hold your actual bottle? |
| Reservoir in a compatible pack | Can you reach and manage the drinking tube? | Does the pack accommodate the reservoir and route the tube? |
Compare the listed contents before buying
The PBGGAME hydration-backpack set includes a blue backpack, nominal 2L reservoir and drinking tube with a bite valve. The selected Blue / 10L configuration was listed at $23.99. The pack's 10L label is separate from the reservoir's water volume.
For a container you carry by its handle, the PBGGAME locking-flip-cover water jug is one wide-body jug with a folding handle, cap and drinking straw. The selected Power configuration was listed at $20.99.
Think about a hydration bladder vs bottle beyond the first sip
A bottle's opening is directly on the container. A reservoir adds a tube and drinking valve to the parts you handle. Check how the actual opening is reached when the rest of your kit is packed, and which parts need to be disconnected for refilling.

CamelBak's reservoir-care guidance includes the reservoir, drinking tube and valve, with thorough drying before storage. Its instructions concern its own products. Follow the exact model's directions for detachable parts, permitted washing and reassembly.
Before buying, look at the cleaning access as well as the way you drink. Consider where the opened container and its permitted removable components will dry at home. A drinking tube adds surfaces to care for; a simple-looking bottle still has a lid and drinking opening to clean.
Carry water for exercise around your actual session
For a hydration-pack-versus-water-bottle choice for workouts, walk through the session rather than starting with the biggest capacity on the listing.
- Identify where you will move and where you can place or carry the container.
- Check the actual route or facility for refill access.
- Compare the container opening with the refill access you expect to use.
- Try the carrier with the container and other kit you intend to bring, checking the fit adjustments.
Compare the model's torso-fit and adjustment information with your own measurements. Confirm refill availability for the actual day and route, then try the carrier with the full load you expect to take.