How to Use Wrist Wraps: Fit, Grip and Bench Press Checks
Fit wrist wraps over the intended area, keep a normal closed grip and check the bench setup before lift-off. Learn when to reset or loosen them between sets.
To use conventional elastic wrist wraps, place the fabric over the wrist joint as the maker directs, overlap it smoothly with manageable tension and secure the closure. Check the fit with an open and closed hand, then with your normal unloaded grip. Return the equipment fully before loosening or adjusting the wraps.
This sequence covers strength-training wraps with a thumb loop and hook-and-loop fastening. Other constructions can use different methods. A wrist wrap stays around the wrist; it does not attach your hand to the bar like a lifting strap or palm grip, as the manufacturer comparison illustrates. For choosing a design, length or feel, use the lifting accessories buying guide.
Four fitting checkpoints before the press
| Stage for this thumb-loop / hook-and-loop construction | Look for | Reset while unloaded if… |
|---|---|---|
| Starting section | The model’s intended wrist-joint coverage | The fabric sits entirely low on the forearm or crowds the palm |
| Flat overlap | Smooth layers without a hidden fold | One side has a ridge or feels unlike the other |
| Closure and thumb loop | Intended fastening area; thumb-loop treatment from that model’s instructions | Only a corner meets or the loop pulls the thumb away |
| Normal unloaded grip | Open / close the hand, then take the usual supported handle | The grip width or thumb-around contact must change to accommodate fabric |
These are inspection stages, not a model-specific fitting photograph or an injury-prevention test. Compare wrap length and stiffness separately; return the equipment fully before loosening or changing the wrap.
Prepare both wraps while your hands are free
Fit them before taking a load or lying beneath a bar. Remove watches or jewellery that could be trapped under the fabric. Inspect the material, thumb loop, seams and closure, and identify any left/right markings. Open the wrap fully so you can see and flatten a hidden fold.
Know where the closure should finish. A fastening that reaches only at one corner needs an orientation, fit or condition check. It should not be rescued with an improvised tie. If you cannot identify the model or its instructions, resolve that before using it for a working set.
How to put on wrist wraps
The Gymreapers fitting guide shows thumb-loop alignment, joint coverage and an overlapping fabric path for its wraps. Use it as a construction example and follow your pair's own method.
- Orient the wrap. Align its thumb loop naturally and check that the closure can meet the receiving surface. Use the thumb loop to position it if that is the maker's method.
- Place the starting section across the intended wrist area near the base of the hand. Keep the hand comfortable. Avoid wearing the whole wrap low on the forearm like a bracelet or pushing its edge into the palm.
- Take the fabric smoothly around the wrist, maintaining the instructed overlap. Keep each pass flat and use manageable tension instead of stretching the elastic to its limit.
- Fasten the hook-and-loop surfaces over their intended area. There is no universal turn count: material, length, stretch and wrist circumference change the result.
- Clear the thumb loop as the product instructions require. If it is a positioning aid only, remove it from the thumb after fastening. It must not pull the thumb away from a normal grip.
Compare both sides before tightening one more aggressively. Different starting height, orientation or a folded layer can explain a different feel. Reset the fabric instead of twisting the entire wrapped stack around the wrist.
Check coverage, closure and the closed hand
First check coverage from the side. The wrap should cross the area specified by the maker while leaving the grip usable. More height is not automatically better: an upper edge crowding the base of the thumb can interfere when the fingers close.
Next open and close the hand, then take the normal grip on an unloaded bar or supported handle. Check for a ridge beneath the palm, a tab hanging into the gripping area or a closure that lifts. You should not need to change grip width or abandon a closed grip to accommodate fabric.
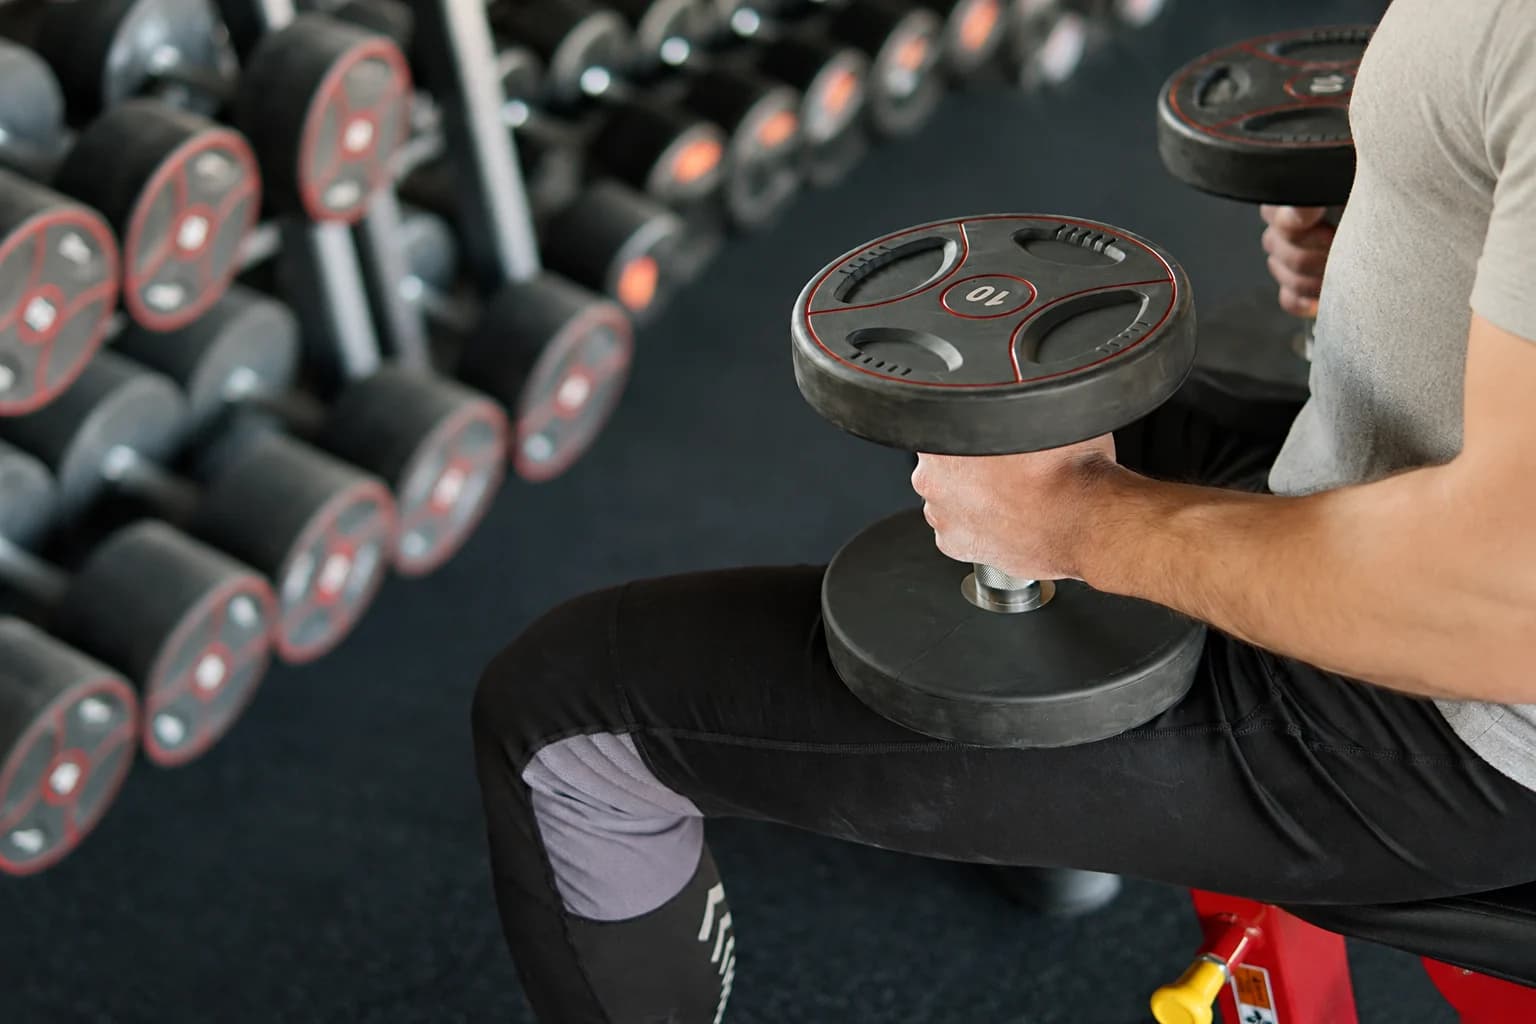
For the exercise-specific example of a dumbbell chest press, the ACE chest-press instructions call for thumbs enclosing the handles and neutral wrists. That cue belongs to the exercise, rather than proving that any wrap creates the right position. Establish the hand-to-handle contact before an easy familiar set.
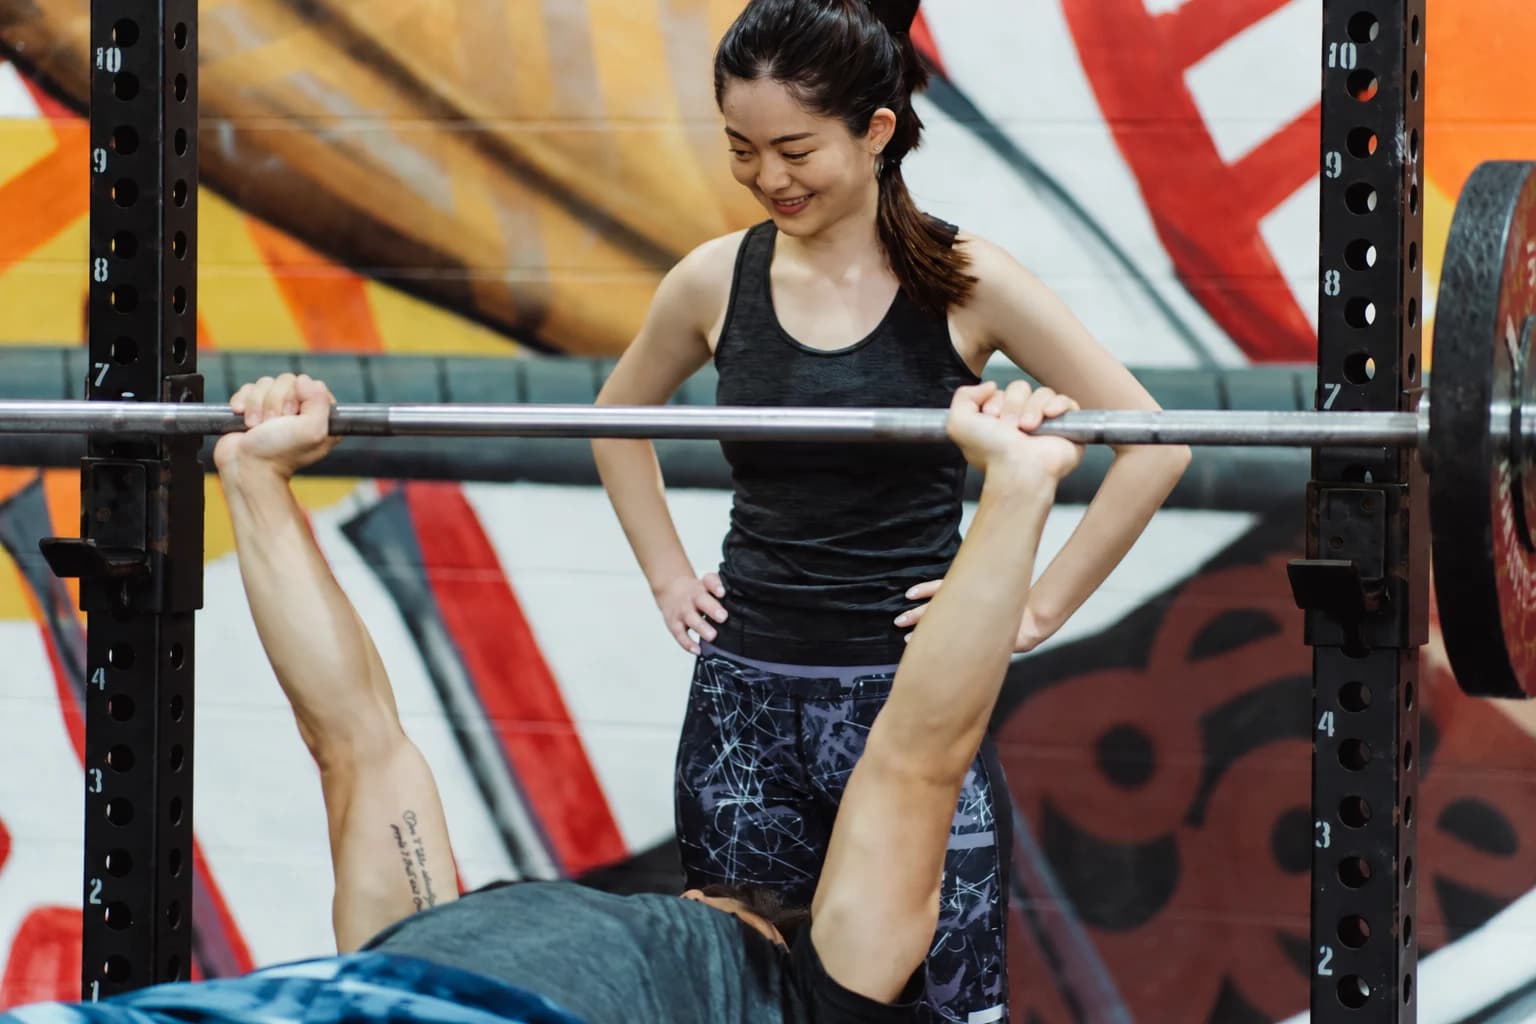
Wrist wraps for bench press: check before unracking
Set the bench station before fitting yourself beneath the bar. Position the bench securely and set both hooks according to the rack and your established lift-off. Check that the bar can clear and return to both hooks without an excessive reach. Set and check any safeties using the equipment instructions.
Agree handoff and assistance cues with a capable spotter when one is used. The ACE bench-press assessment protocol specifies a closed grip and assistance during racking and unracking. Its maximum-strength assessment is not the workout here; the relevant point is to establish those responsibilities before the set.
Take the grip with thumbs around the bar. Check that fabric has not pushed contact toward the fingertips or obstructed the base of the palm. Do not force an exaggerated wrist bend to imitate a photograph. If contact is unstable, keep the bar supported and work on the setup before adding load.
- Bench, hooks and any safeties are positioned and checked.
- The planned load is appropriate for the familiar set.
- Both wraps cover the intended area and the closures are secure.
- Both hands close normally without fabric or thumb-loop interference.
- Body position, handoff cues and the return to both hooks are clear.
Rehearse lift-off and return with a setup you already control; an empty bar is not automatically an easy load. If an edge or fastening catches, rerack and reset. Do not rush because the wraps are already tight or change the hand position just to clear the rack.
Return the load before adjusting the wraps
Use your familiar controlled pressing technique and keep the planned return available. If a closure starts to open or the fabric shifts, return the bar with the planned assistance. Do not take a hand off a loaded bar to repair a tab. At the finish, verify that both hooks support the bar before releasing the grip.
Then loosen or remove the wraps. Refit deliberately for the next set rather than leaving tight wraps on while resting or changing stations.
Remove a wrap promptly for numbness, tingling or an unusual hand-colour change. Stop painful movement rather than increasing compression to continue. Restriction, discomfort or completing a repetition does not establish injury prevention or readiness for more weight.
Fix a fitting problem with the equipment supported
| What you notice | What to check |
|---|---|
| Tight forearm but little joint coverage. | Unwrap and reset the starting section over the intended area. |
| Fabric crowds the palm or thumb base. | Adjust the upper edge while retaining the maker's joint coverage. |
| One side feels folded or unusually restrictive. | Compare orientation and flatten the fabric before refitting. |
| Closure barely meets or repeatedly lifts. | Check orientation, model fit, debris and fastening wear. |
| Fit changes when the hand closes. | Recheck coverage and contact on an unloaded handle. |
If a fastening will not hold or material is damaged, stop using it and follow the maker's replacement guidance. Neither a fixed number of fingers beneath the fabric nor waiting for loss of feeling is a useful universal fit test. After training, air the wraps and follow their own cleaning instructions.
An optional handle for separate easy pressing practice
If a familiar light dumbbell press is already part of your routine, the PBGGAME light-green 1 kg dumbbell pair is one equipment example to assess for that task. One kilogram per hand is its listed training load, not a universal starting recommendation. The pair is separate from wrist wraps and does not supply wrist support. Use equipment and a load you already control for the intended exercise.
Review the first sessions by whether placement stays consistent, the normal grip remains available and the return is straightforward. Keep other variables stable when investigating fit. Choose length and stiffness through the accessories guide if the model itself is the remaining issue.