How to Use Lifting Straps: Lasso, Figure 8 and Palm Grips
Practise lasso straps, figure 8 straps and palm grips with supported setup and removal. Check deadlift position, row handles, pulldown reach and slipping.
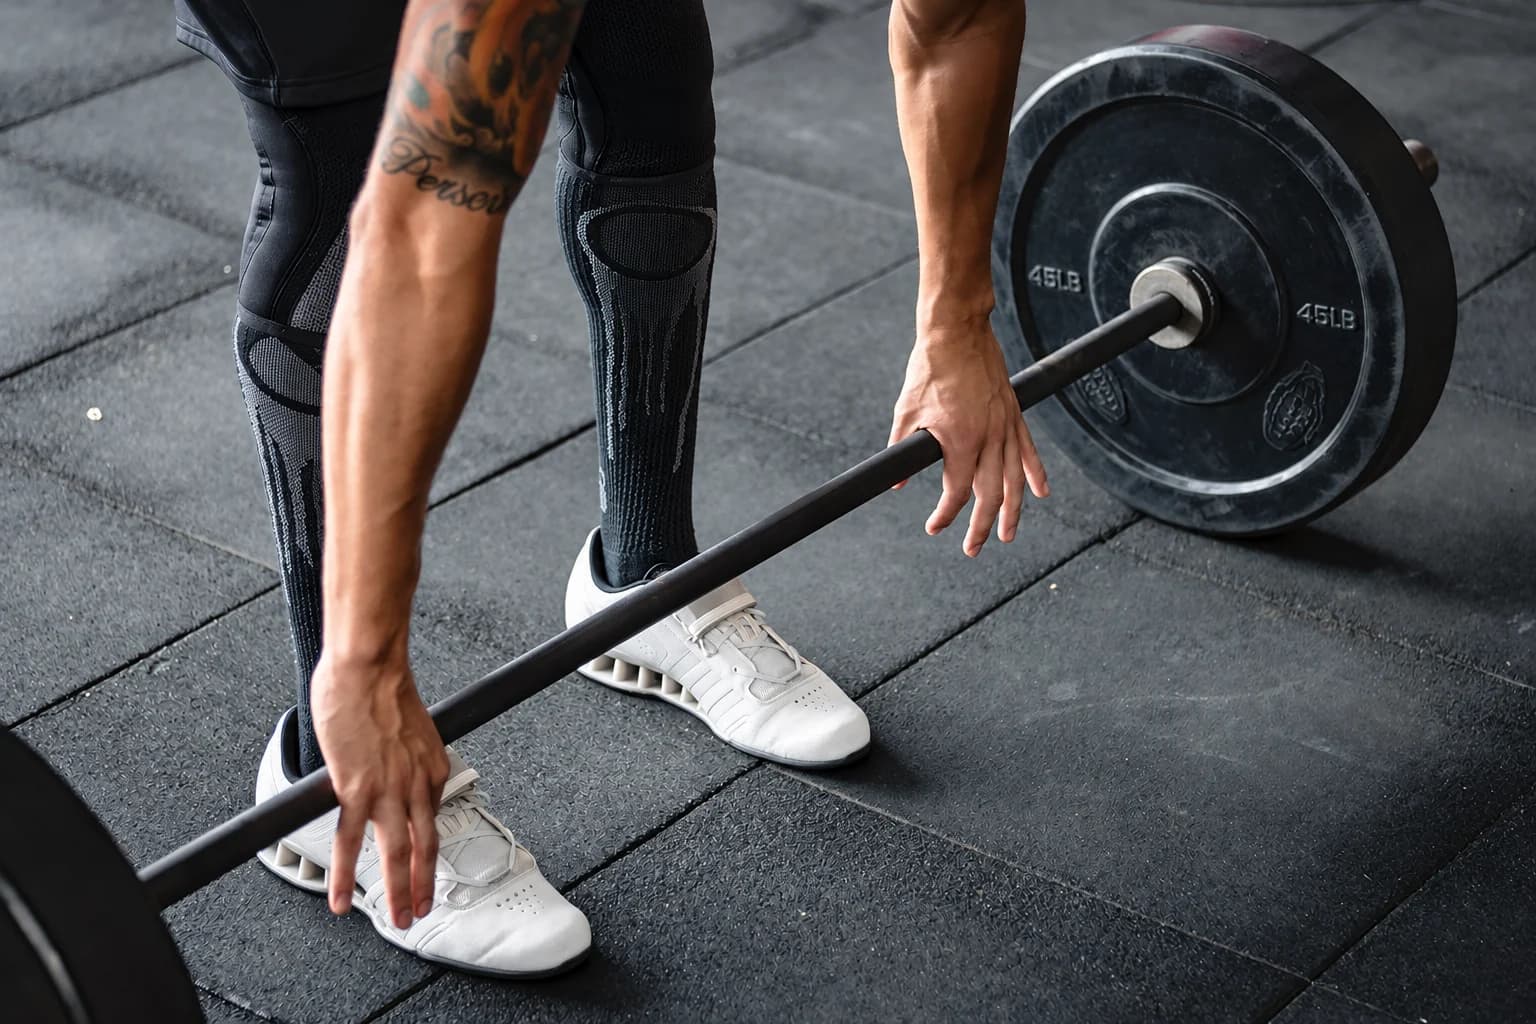
To use lasso lifting straps, form the wrist loops, arrange the flat tails around the intended grip area, close your hands normally and gently take out slack while the implement is supported. Rebuild the exercise position before lifting. Finish by putting the weight fully down before relaxing the connection and unwinding the tails.
Figure 8 straps and palm-flap lifting grips follow different material paths, covered below. This guide assumes a pulling exercise you already perform with control. It explains fitting and handling, rather than teaching a new deadlift or turning wrist-only wraps into grip aids. For the choice between designs, use the lifting accessories buying guide.
Read the material path before adding load
| Design | Supported connection to identify | Finish before removal |
|---|---|---|
| Conventional lasso, first hand | Sewn opening → wrist loop → flat tail toward that hand’s thumb side → model’s route around the handgrip → palm | Return the implement fully to support, relax the tail, then unwind |
| Conventional lasso, other hand | Mirror the hand’s own path; check palm contact rather than copying a global clockwise arrow | Keep both grip positions unchanged while the second hand is arranged |
| Figure 8 | First sewn loop → beneath the supported bar → second loop around the same hand, as the exact diagram shows | Support the bar, release tension and reverse the actual loop path; opening fingers is not disconnection |
| Palm-flap grip | Model-specific cuff → extended pad → permitted fold around the handle → normal closed grip | Support the handle and use that model’s pad-clearing method |
Use the guide to choose and size a pulling accessory for fit and measurement. The PBGGAME cuff and pad still need their own orientation and release directions; another maker’s drawing cannot establish that fit.
Prepare the implement and the finish first
Choose a stable, supported unloaded or very light implement for the first rehearsal. Inspect the fabric, joins, pad and closure as applicable. Clear the return area and keep loose material away from plates, cables and moving mechanisms. The model's own illustrated instructions decide its orientation and intended uses.
Rehearse removal as well as fastening. You need a place where the floor, rack or machine takes the load before either hand is disconnected. Opening the fingers alone does not demonstrate that every strap releases. Do not attach yourself to a loaded implement and then discover that you cannot reach its resting position.
How to use lifting straps: the lasso sequence
A lasso strap has a sewn opening at one end and a long free tail. The Gymreapers lasso instructions show a conventional loop, tail and bar-wrapping arrangement. Follow the actual pair if its construction differs. The two hands mirror one another, so a universal clockwise instruction is an unreliable substitute for following the material.
- Form each wrist loop. Pass the tail through its sewn opening, put the hand through and position the loop where the maker shows. Keep the webbing flat. In the conventional setup described above, each tail crosses the palm toward that hand's thumb side.
- Choose the normal grip position. Keep the implement supported and place the first hand where it belongs for the exercise. Setting the non-dominant hand first can leave the other hand free to help, but use the order you can manage consistently.
- Route the tail around the grip area. For the described overhand setup, bring it below and around the bar so the wrapped material is held beneath the palm. Keep it flat and away from adjacent fittings. Use the amount of wrapping the model and handle require.
- Set the second hand. Preserve the intended grip width instead of shifting toward a convenient wrapping spot. Reset a twisted tail or awkward loop while the bar remains supported. Both hands need a normal closed grip, not a bulky ridge between the fingers.
- Take out slack gently. Close the fingers and thumb as intended for the exercise and make a small controlled adjustment. Check that the material takes tension into the hold rather than peeling away. If one side travels substantially before taking tension, reset it.
- Rebuild the exercise position, then use a manageable load. At the finish, return the implement fully to support, relax tension and unwind the tails. A snug tail should be freed with the bar supported, using the other hand to help when available.
The REP setup guide suggests the non-dominant-hand-first approach and distinguishes lasso from short closed-loop straps. The order is a handling option, not a reason to change grip width. If the second hand repeatedly defeats the setup, practise it separately before combining it with a working set.
Do not use the whole tail automatically in stacked layers, wrench the wrists to tighten it or roll the bar away from the intended start. More layers can change handle thickness and crowd the fingers. A strap caught around a cable attachment point is also a different route from one wrapped around the actual handgrip.
How to use lifting straps for deadlifts: rebuild the start
A floor pull adds a crucial pause after fastening. Check the return space, choose your usual stance and hand positions, and fit both straps while the bar rests securely. Once both hands are ready, establish the deadlift starting position again. Wrapping the bar is preparation, not the first part of the pull.
Confirm that both connections take gentle tension without uneven travel and that the normal grip remains closed. If setting the second hand leaves you reaching, twisting or otherwise away from your established position, reset before lifting. Remove the straps with the bar supported if you need to stand up or make a substantial change.
Return the bar under control. During a dead-stop repetition reset, check the next start rather than hurry through it because the hands remain connected. If a loop or tail needs adjustment, let the floor take the load first. Mark the set as assisted in your record; straps do not supply a reason to increase weight or replace deliberate unassisted grip practice.
How to use figure 8 lifting straps
Figure 8 straps have two connected sewn loops and no long tail to unwind. Confirm the exact model, size and intended bar before fitting them. A larger-diameter axle changes the material path. The model-specific sizing checks explain why a letter size or centimetre label is not universal.
- With the unloaded bar supported, put one hand through the first loop and settle the material as the maker shows. Leave the other loop free and the fabric untwisted.
- Pass the free loop beneath the bar and back toward the same hand. Pass that hand through the second loop, locating the joining section exactly as the model's diagram shows.
- Take the instructed closed grip and apply gentle tension while the bar remains supported. Check routing, normal finger closure and unexpected travel before repeating the setup on the other hand.
- Re-establish the position for your familiar pulling exercise. After the set, support the bar fully, relax the connection and reverse the instructed loop path one hand at a time.
The Gymreapers straps-and-wraps explanation describes the two-loop connection and its different release behavior. The hand can remain connected when the fingers open. Do not use this design for a movement requiring rapid separation from the bar, or test removal by dropping a loaded implement.
If the hand must be forced through, the fabric pinches, the route only works when twisted or you cannot reverse it during ordinary practice, stop and check the instructions. Do not knot, cut or restitch the loops. More load will not resolve uncertain routing or fit.
How to use lifting grips: cuff, fold and closed hand
Palm-flap grips use a wrist cuff and a working pad, rather than a lasso tail or two sewn figure 8 loops. The Gymreapers grip description illustrates that cuff-and-pad construction. Finger-hole gymnastics grips are another category. Identify left and right markings, the fastening route and the pad orientation from your own model. A logo alone does not establish which surface should contact the handle.
The Versa Gripps official use guide illustrates its own pulling sequence. The outline below describes that broad cuff-and-flap arrangement; it is not a substitute for another product's fitting or release instructions.
- Fasten the cuff in the maker's stated position, keeping webbing flat and closing the fastening within its intended range. Avoid tightening it as though it were a stiff wrist-support wrap.
- Bring the handle between the hand and the extended palm piece. Keep enough room for the usual grip, with the other hand free to help the first fold.
- Guide the flap around the handle and back toward the palm as directed. Keep the material flat enough for normal finger closure instead of rolling it into a thick lump or adding improvised turns.
- Close the fingers and thumb, check both sides and take up only gentle tension with the handle supported. Return the load fully before clearing the pads by the model's release method.
If the pad does not reach its intended fold, the cuff moves or the closure lifts, reset before a working set. Do not compensate for every mismatch with tighter fastening. A manufacturer's quick-release description does not prove immediate release from every handle, and hanging from a new pair is not an appropriate way to investigate it.
The PBGGAME contoured rubber grips in Black / SM are an example of this equipment category. Check their own cuff and pad instructions for the handle you intend to use; Versa's orientation and wrist-fit details are not a PBGGAME manual. For measurement and pad-reach decisions, return to the accessories buying guide.
Lifting straps for rows: fit the handle before attaching
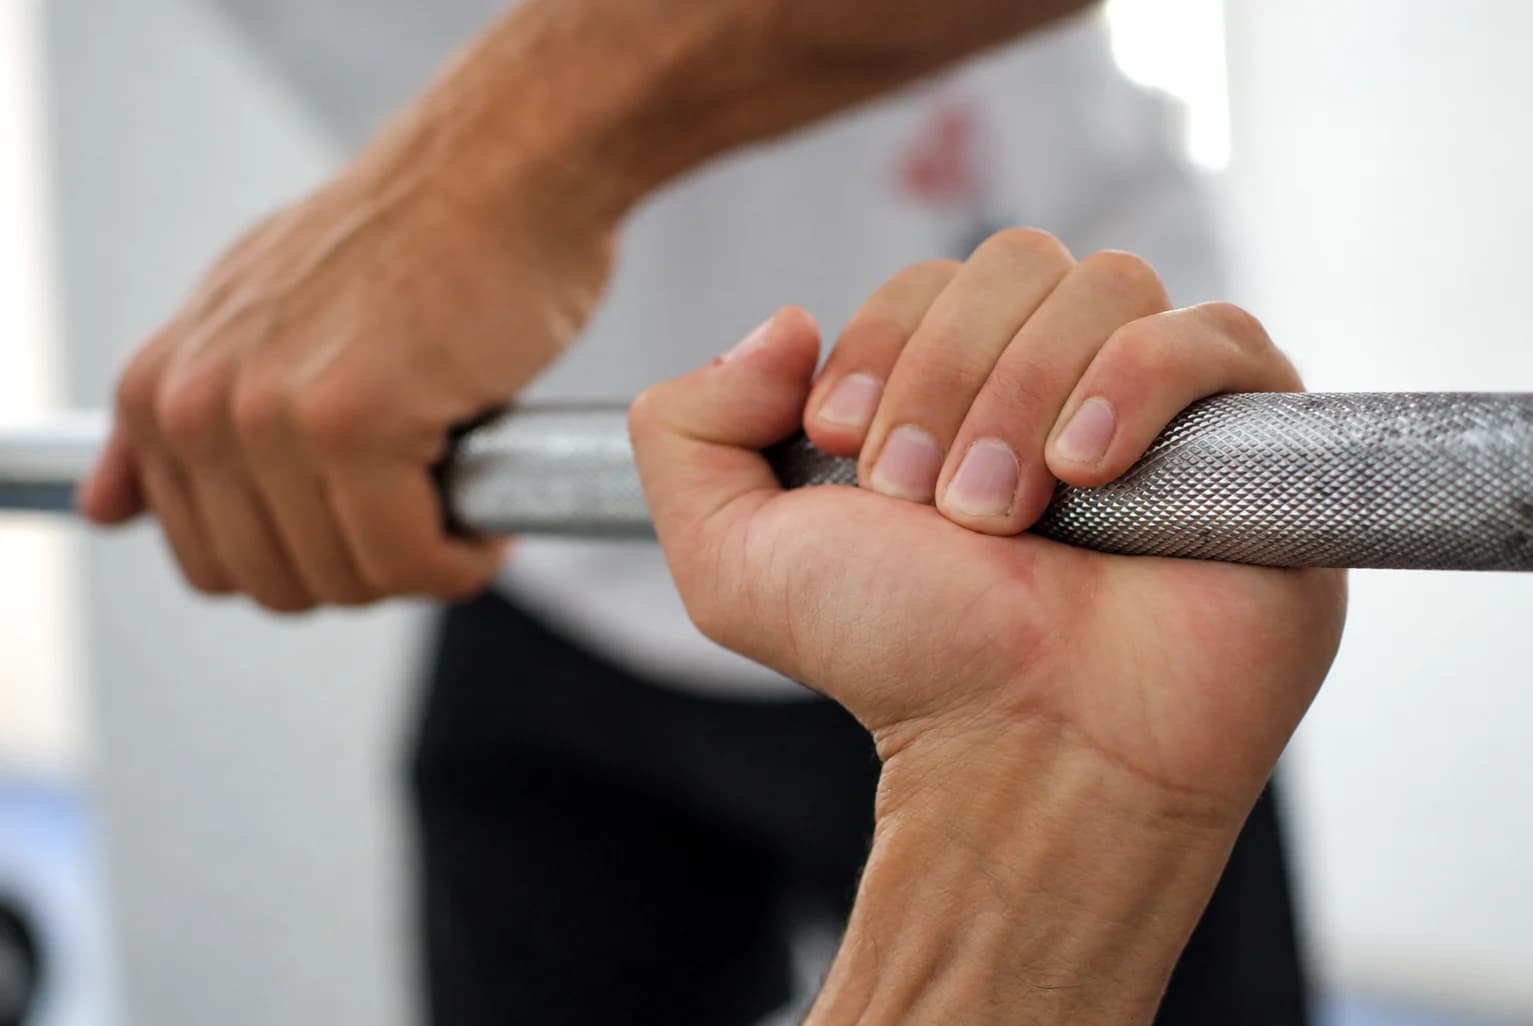
On a seated row, set the seat and attachment before fastening either hand. You must be able to reach the handle, take the intended position and return it to rest normally. Do not attach straps while standing and then use the connection to drag yourself into a seat beyond a comfortable reach. Use the machine's approved adjustment or a compatible alternative.
Inspect the whole grip area. A compact handle can leave little space beside the hand, causing a lasso tail or folded pad to bunch against the central join. Wrap only the intended handgrip. If the material cannot lie flat while your fingers close, choose another suitable handle or omit the accessory.
A barbell row also needs a position check after the second hand is fastened. Keep the bar supported during setup, then re-establish the start for the row you already know. An awkward wrapping position should not become the first repetition. Stop the set before you lose the ability to return the implement deliberately.
Plan pulldown reach and the overhead return
A pulldown requires more than holding the bar during the downward pull. Check that you can reach it, take the seat and body support as intended, and guide it back to its resting position. Practise that whole path with a light load before a working set. The cable must not pull your connected hands beyond your control at the finish.
If the attachment is inaccessible through the normal setup, ask facility staff about approved adjustments. Avoid standing on a moving seat or improvising an unstable platform to fasten straps overhead. Longer grip endurance does not help when the return remains unmanageable.
Return the handle smoothly and let the machine support the load before creating slack and disconnecting. Do not reach across moving equipment to straighten a tail or pad. If the machine cannot accommodate the complete sequence, use another suitable arrangement.
Check the shorter handle on a dumbbell row
A dumbbell can provide less room than a barbell. Keep the material on the actual grip area instead of bunched against a head, with space for fingers and thumb. Fit the aid while the dumbbell rests stably, rather than suspending it in the opposite hand while wrestling with the connection.
After fastening, establish the support and stance for your familiar row. Return the dumbbell to a stable resting surface before removal. Do not use the wrist loop to drag it into place or let the accessory replace normal control of the return.
Lifting straps slipping? Identify what moved
End the set and support the implement before troubleshooting. Observe one side on an unloaded or very light setup, using gentle tension. A tail peeling from the bar, a loop moving on the wrist and the whole hand sliding on a handle are different problems. Change one feature at a time.
| Observation | Check while supported | Next step |
|---|---|---|
| Tail peels away from the hand. | Routing direction and contact under the palm. | Remove and compare the path with the model's diagram. |
| Large movement before tension develops. | Slack and wrist-loop adjustment. | Reset the loop and take up slack gently. |
| A ridge presses into the skin. | Folded or twisted webbing and padding. | Flatten and refit instead of tightening the ridge. |
| Only one handle feels crowded. | Available space, pad or fabric thickness and surface condition. | Use a compatible handle or leave the aid out. |
| The pad rolls or will not reach. | Its orientation, fold, model fit and handle diameter. | Reset or obtain model-specific advice; do not force it. |
| Seams open, material is cut or closure fails. | Condition along the working connection. | Stop using the accessory and follow replacement guidance. |
Check the loop's intended adjustment range if it repeatedly travels or pinches. Padding can affect that range. Do not cut padding away or change load-bearing stitching to make a pair smaller. Clean or dry the handle according to its instructions and the facility's rules; a dirty surface and damaged material need different responses.
After fixing a clear setup issue, repeat the supported rehearsal, including removal. If the problem persists, stop and seek the maker's guidance. Adding weight to make a loose connection tighten, adding wraps indefinitely or pulling harder against an uncertain path is not troubleshooting. Stop for pain, numbness or other unusual sensations rather than trying to overpower them.
Keep the complete sequence repeatable
Record the exercise and handle, accessory design, load and completed work, plus any setup or removal difficulty. Mark assisted and unassisted sets separately when comparing training. The useful result is a setup you can fit, use, return and remove consistently. A fast wrap or a longer hold alone does not establish that the whole task worked.