Grip Training for Climbers: Build Capacity Without Guessing Your Limit
Match climbing practice and off-wall tools to the task. Compare wall technique, gripper closing and fingertip blocks without guessing hanging readiness.
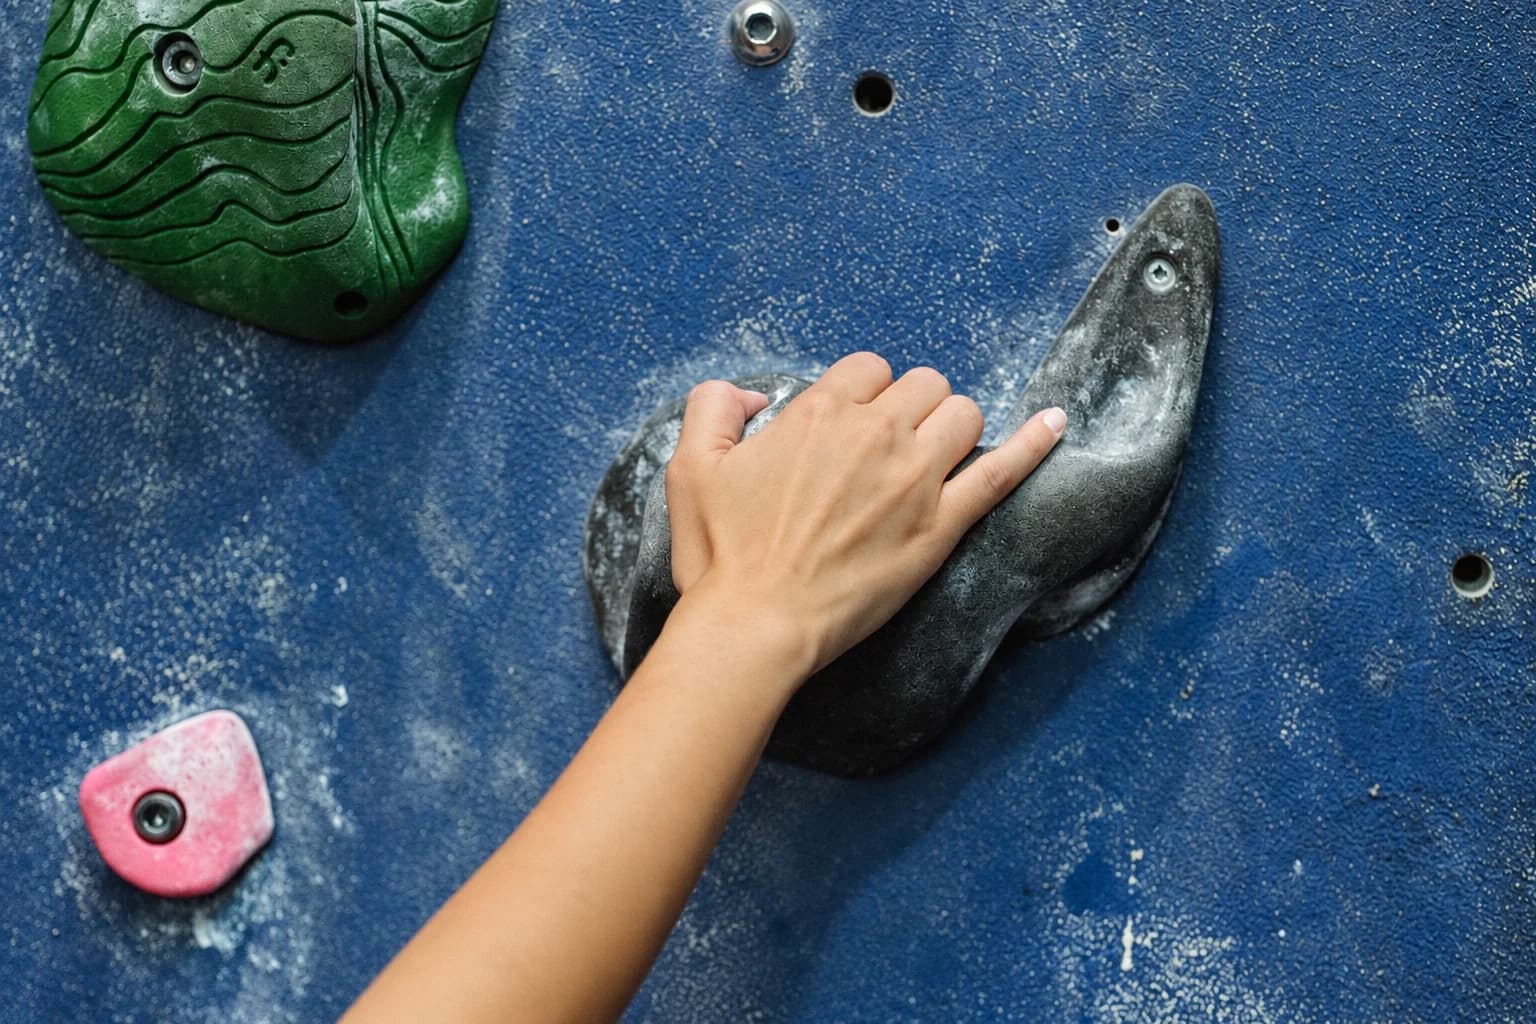
Climbing grip training starts with the task you want to improve: holding a particular shape, moving between holds or maintaining useful contact through a manageable climb. Closing a hand gripper is a different task. Its printed level cannot tell you which edge you can hang from or which climbing grade you should attempt.
For a new climber, useful progress includes better foot placement, calmer movement and knowing when to finish an attempt. Extra hand work should fit around that learning. Choose an off-wall tool only after identifying what it actually asks the hand to do.
Start with how you use the wall
Metolius's training overview describes contact or finger strength in relation to holding climbing holds, with different demands from edges, pockets and slopers. It also distinguishes open-hand and crimp positions. Those differences explain why a comfortable grip on one shape does not establish readiness for every smaller or differently angled hold.
The BMC and Lattice introduction to bouldering training prioritises movement fundamentals on varied problems for beginners. Ask an instructor to observe a manageable climb: where the feet go, how the body approaches a hold and whether you rush through the move. Improving that task is more informative than adding hand exercises without knowing what is limiting the climb.
Climbing forearm endurance depends on the whole task
A longer attempt changes more than how long the fingers work. Hold shape, wall angle, foot position, movement pace and opportunities to rest all affect the experience. Compare attempts on a familiar manageable climb before treating a longer time on a different route as proof of stronger forearms.
| What you notice | A useful question | What to avoid concluding |
|---|---|---|
| The hands tire while the feet keep searching. | Would clearer foot placement make the same climb less rushed? | That the answer must be a harder gripper. |
| One hold shape feels much harder than another. | Is its size, direction or required body position different? | That all grips share one strength score. |
| Movement becomes less deliberate late in an attempt. | Can you finish sooner and recover before another useful attempt? | That staying on until contact fails is necessary. |
Choose easier movement when the goal is learning to climb with less wasted effort. A maximum struggle and a relaxed technique attempt answer different questions; they need not become one beginner test.
Grip training for climbing beginners: organise the practice
- Choose one focus, such as watching foot placement on a familiar easy climb. Follow the venue's induction and the approach or finish already taught there.
- Begin with appropriate warm-up and easier climbing. Let an instructor help select holds and difficulty instead of guessing a limit from a product label.
- Make a manageable attempt with that focus. Notice the feet and body as well as the hands.
- Finish through the taught method while you retain control. Rest before repeating; end the practice when useful movement gives way to struggling.
BMC/Lattice recommends rest between attempts to preserve climbing quality; Metolius emphasises recovery before another training session. Extra hand work is optional after tiring climbing. Avoid adding it simply to make the hands feel more exhausted.
Off wall grip training: compare contact and setup
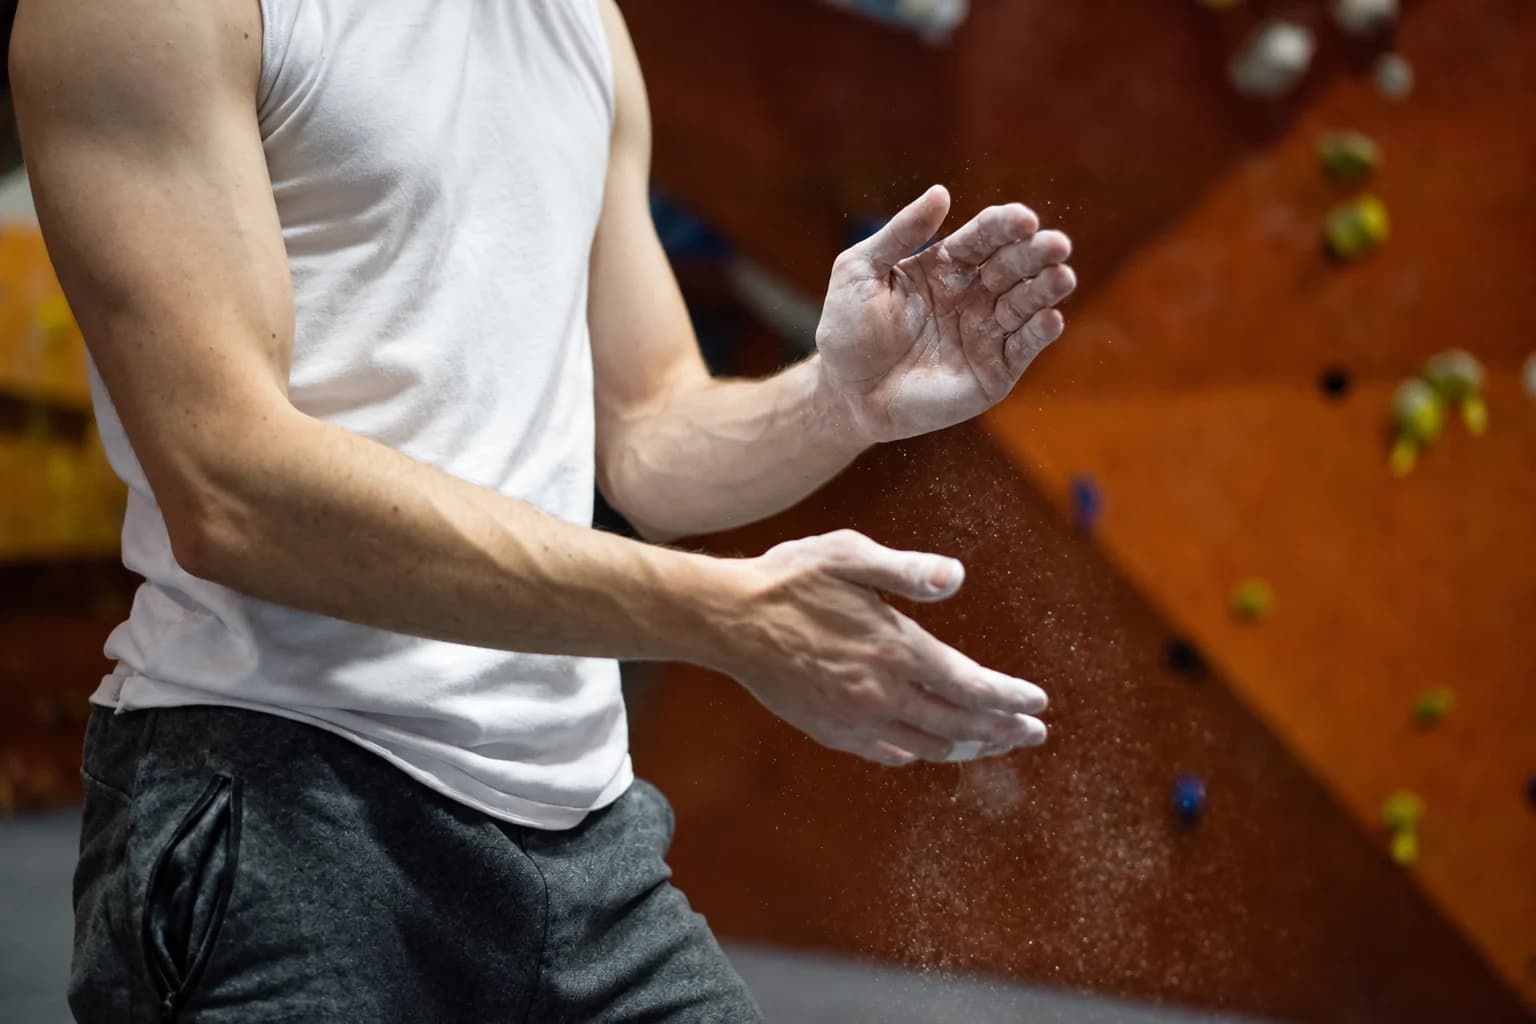
A spring gripper closes through the palm and fingers around two handles. A fingertip block presents an edge or pocket-like contact instead. These are different equipment formats, and neither recreates the full combination of footholds, body position and movement on a climbing wall.
Use a gripper for a closing task you can control, following its own hand-position and release instructions. The lightest label is not automatically a beginner level. Keep the result attached to that tool; it is not a bodyweight-hang readiness test. The separate grip training routine explains general crush, pinch and support tasks.
Suspended blocks also require an independently established suspension arrangement. Supplied ropes or connectors do not establish that a bar, anchor or installation is appropriate. A wall-mounted hangboard is another format again. Get exact equipment instructions and qualified guidance for the intended setup and loading, rather than improvising with a door or furniture.
| PBG-302022 suspension checklist | Status before any hanging task |
|---|---|
| Wood blocks and contact design | Confirm the exact model's intended uses and limits |
| Ropes and connectors | Match component identities with their instructions and rated uses |
| Permitted support / full installation | Match the support and full installation to the exact model's permitted uses and load ratings |
| Complete system loading and entry/exit | Confirm that the complete system permits the hanging task, then follow its loading and entry-and-exit instructions |
Request the exact model’s complete system documents through PBGGAME contact and discuss the intended task with qualified climbing instruction. Until the support, connectors and loading are established, the product is not a ready-to-hang setup. The hand-gripper labels cannot fill that gap or produce an edge-hanging load or climbing grade.
Two tools with different jobs
The PBGGAME four fixed-resistance hand grippers provide four separate spring tools. Their resistance markings are source labels, not calibrated measurements here. Choose one only if its handle fit, closing resistance and reopening are manageable; no colour or number converts to a climbing grade.
The PBGGAME suspended wooden fingerboard-block pair supplies two wooden blocks, two ropes and two carabiners. It is not a wall-mounted board or a complete established hanging setup. Consider it only with the necessary model-specific instructions and qualified guidance already arranged.
Grip training for climbers needs a useful record
Record the familiar climb or exact tool, the task you practised, whether movement stayed controlled and how recovered you felt before the next attempt. A note such as “same easy route, watched the feet, finished before rushing” is useful without being a strength test. Review that pattern before adding harder hand work.
For example, if a familiar climb becomes rushed whenever a particular foothold is missed, ask for feedback on that movement before buying another hand tool. If you are considering blocks because one hold shape feels difficult, show the coach the actual hold and explain what happens there. The next useful choice might be a more manageable climbing problem, a technique cue or a separately planned finger-training task. Keep those decisions distinct. A cleaner gripper close can remain progress on that gripper without becoming a claim about the troublesome climbing move.
Account for other pulling or hand-heavy work when planning recovery. Stop for sharp or persistent pain, tingling, numbness or unexpected loss of control, and seek suitable individual advice. New symptoms are not a signal to squeeze harder.