Sandbag Training: Work with a Shifting Load Without Rushing
Understand empty bags and working load, choose controlled deadlift or bear-hug squat practice, and plan the grip and return before lifting.
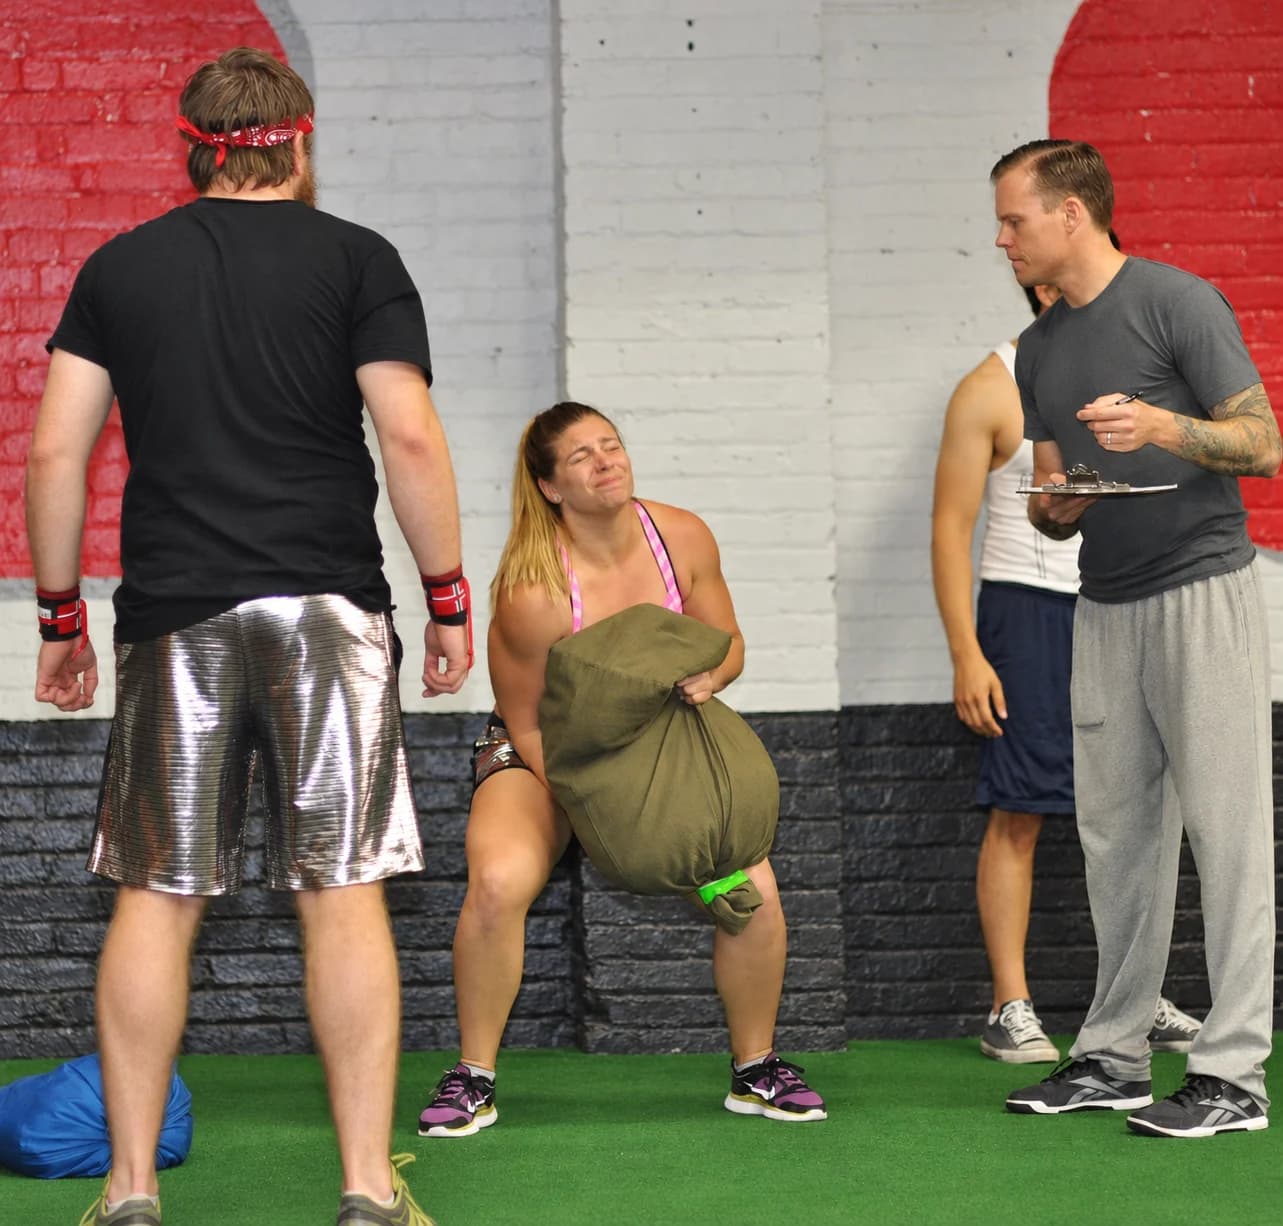
A sandbag workout for beginners starts with a manageable bag and a deliberate return to the floor. Check what the bag contains, how you are meant to hold it and whether you can reach and leave the chosen position under control. You do not need a heavy fill or a fast transfer to make the practice useful.
Choose the branch before lifting the bag
| Before you start | If it is already taught and permitted | If it is not yet clear |
|---|---|---|
| Grip and contact | Use the exact model’s established contact and filler arrangement | Keep the bag unloaded and request instruction |
| Starting position | Use the starting placement you have learned | Rehearse the movement without a load |
| Return to the floor | Keep the taught lowering and release path available | Do not add a carry or transfer to reach the start |
This guide separates two movement examples: a close-to-body deadlift and a bear-hug squat. They are independent choices, rather than a sequence in which you clean the bag into a new position between repetitions.
An empty bag is not its working load
A product's packed shipping mass describes what arrives, rather than the resistance you will train with. An empty shell, separate filler bags and a prefilled training bag are different offers. Read the actual contents before deciding how you will use the equipment.
| Check | What it tells you | What it does not establish |
|---|---|---|
| Included contents | Whether the offer supplies a shell, inserts or fill. | That every pictured accessory or filler is included. |
| Packed shipping mass | The recorded mass of the shipped offer. | Your filled training load. |
| A printed load marking | A label used for that product. | A measured capacity or suitable starting weight. |
| Handles or body shape | Where the maker may intend contact. | Permission to lift by any flap, seam or closure. |
Use only the fill and closure method permitted for your exact model. A cylindrical strongman bag and a crescent-shaped bag can have different contact areas and filling arrangements. Do not copy a handled-bag exercise onto a handleless shell by treating its closure as a lifting handle.
Sandbag exercise technique begins before the repetition
Prepare a clear, level area with reliable footing and enough space for a deliberate set-down. Inspect seams, closures and intended grip areas. Fill movement depends on the bag, packing and material inside it; inspect the actual setup instead of assuming every sandbag shifts in the same way.
- Follow the maker's filling instructions and secure every required closure before handling.
- Rehearse the movement without a load, then choose a genuinely manageable setup.
- Know the intended load-bearing contact and the method for bringing the bag into the starting position.
- Plan the return before lifting. Keep feet and other people clear of the set-down area.
Only use a loaded example when you can already establish and release its starting position under control. If the grip, pickup or return is unclear, keep the rehearsal unloaded and obtain exact-model instruction. Do not improvise a clean, shoulder transfer, raised-table lift or closure-flap grip to reach the exercise.
Example one: a close-to-body deadlift
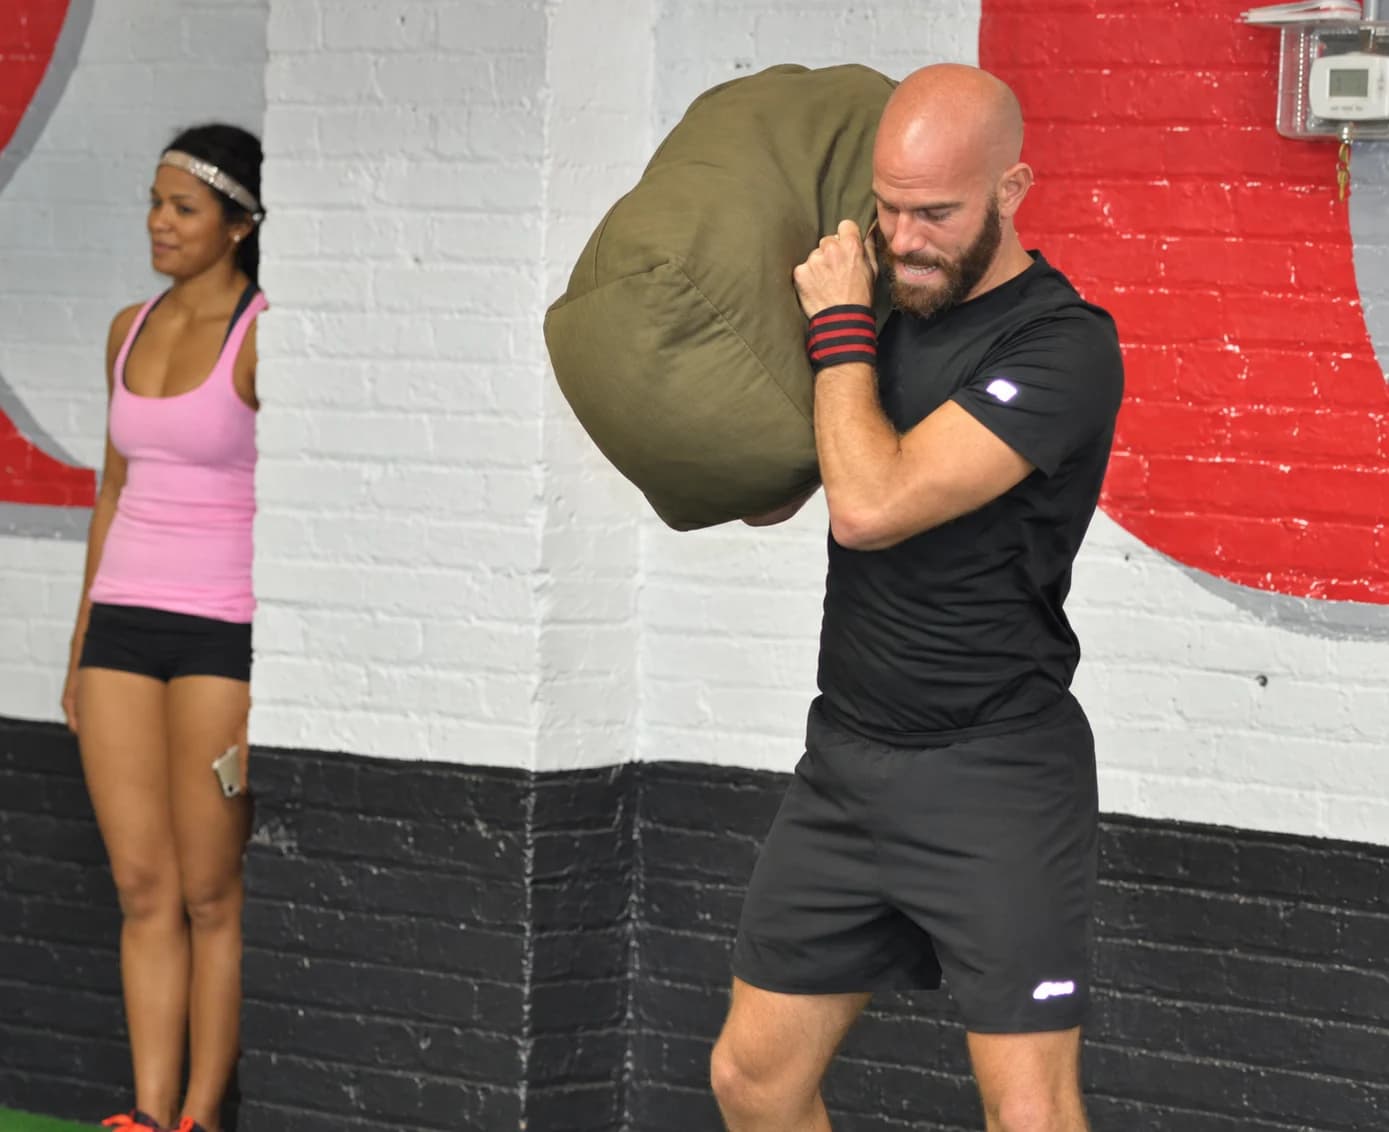
The Sandbag Fitness deadlift guide describes lifting with handles or suitable bag material, keeping the bag near the legs. It explains the lift rather than a complete return procedure. Use an already established contact and return method appropriate to your own bag.
- Stand close to the suitable bag, with the feet near or beneath its footprint as the setup permits.
- Bend through the hips with the knees slightly bent. Keep the back in a controlled neutral position and arrange the shoulders over the bag.
- Take the intended secure contact with the arms long. Stand through the hips without jerking, keeping the bag close to the legs.
- Finish upright under control. Use the already-planned handling method to return the bag deliberately to its support, then reset.
Give yourself time to reset between repetitions. Let the bag settle and check your contact before another lift. If its shape has changed, pause with it supported instead of trying to fix the grip while upright.
Example two: a bear-hug squat
The USMC bear-hug squat demonstration uses a vertical bag held around its middle. Begin only when you can bring a suitable bag into that position and release it under control; this example does not teach a pickup-to-hug transfer.
- Hold the bag close against the front of the body with the arms around its middle, keeping the shoulders down and back and elbows near the ribs.
- With the chest up and feet flat, lower the hips through a comfortable controlled range while maintaining bag contact.
- Press through the floor to rise, keeping the bag close rather than allowing it to pull away.
- Pause, then use your known controlled method to release the bag before another attempt if needed.
Choose a range you can repeat. The bag is not a reason to descend farther, hold your breath or copy the load and effort of a competition photograph. If contact changes or you cannot make a deliberate return, stop and simplify.
Choose a short, repeatable practice
After some comfortable easy movement, try three unweighted squats and three unweighted hinges, or fewer, then rest. Add a few body-held squat repetitions only when the bag setup and return are already manageable. Keep any loaded hinge conditional on an established secure contact and deliberate return. A second short round is optional. These are practice examples, not a required load, quota or work-to-rest ratio.
Record the exact bag, actual fill setup, movement and controlled repetitions. Repeat a manageable version before changing one feature. More fill, more repetitions and a harder position should not all arrive together. If you cannot describe the actual working load, do not treat a number printed on the shell as your training result.
Stop for pain, dizziness, unusual breathlessness, numbness, leaking fill, a damaged grip area or loss of control. Rest and inspect the setup instead of catching a slipping bag, chasing it or continuing with a changed hold.
Sandbag training benefits: choose a specific purpose
A flexible bag offers a different shape and contact from a rigid weight. Depending on its fill and packing, its contents may move during handling. That can make keeping the load close and repeating a stable hold a distinct practice task. More shifting is not automatically more useful, and a packed bag may move less than you expect.
The Ultimate Sandbag Getting Started guide explains that its bags arrive unfilled and that different handles have specific jobs. Check the filling and contact instructions for your own model. Changing the holding position can change the task; it does not establish that more shifting produces better results.
Two empty formats to compare
The PBGGAME empty cylindrical training bag supplies one bag without filler. Do not use the shell's printed marking as a verified working load or capacity; confirm the filling, closure and intended handling instructions before use.
The PBGGAME empty crescent-shaped Bulgarian training bag is another one-bag offer without filler. Its geometry differs from a vertical cylinder, so the examples above are not its operating manual. Choose the shape around the intended exercise and your available contact rather than assuming the two bags are interchangeable.
After use, inspect for leaks or wear and follow the exact cleaning and storage directions. Store the bag where it cannot fall or become an unnoticed obstacle, with closures protected from damage.