Push-Up Handles vs Floor Push-Ups: Compare Grip and Range
Compare flat palms and fixed push-up handles by grip, hand height, chosen range and base contact. Extra clearance does not require a deeper repetition.
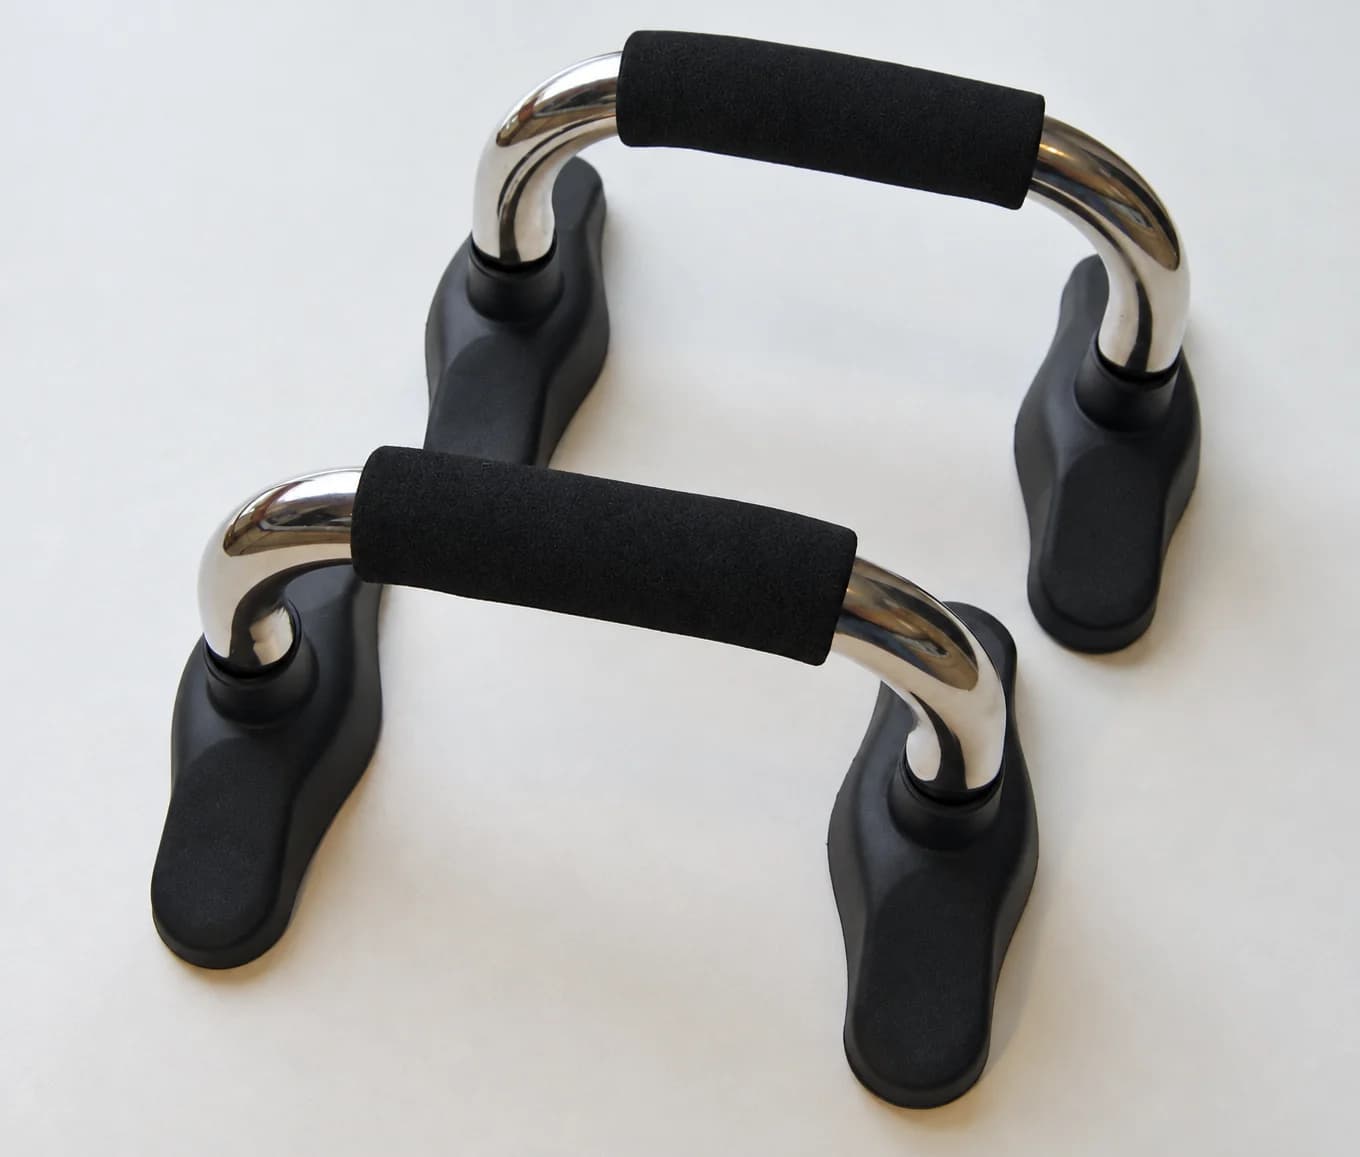
Choosing between floor push-ups and handles starts with the support you can use comfortably and control. The floor keeps each palm flat; a fixed handle lets you wrap the hand around a grip. Handles also raise the hands and create clearance below them, but that does not make deeper lowering compulsory.
For push-up bars versus the floor, compare grip, hand height, range and the actual support surface separately. A change that suits one person may not suit another. Neither a padded grip nor a particular material makes a handle an automatic wrist treatment, a better workout or permission to keep exercising through pain.
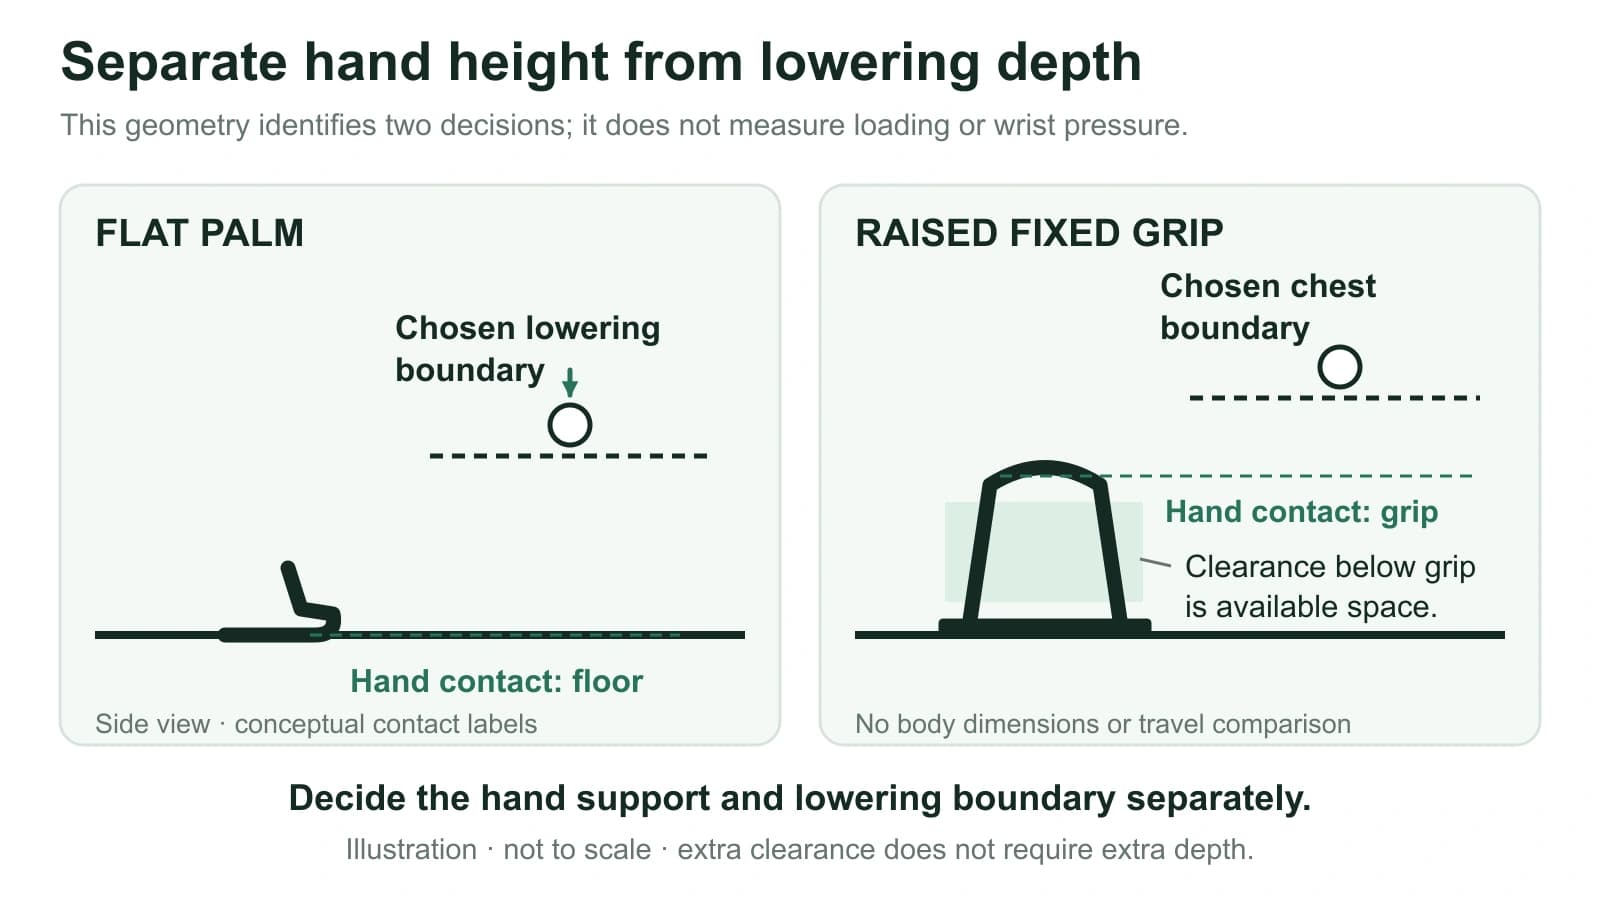
Separate two height decisions
| Conceptual side-view label | Decision you actually make |
|---|---|
| Hand contact height: floor or raised grip | Where the hands are supported |
| Chosen chest-lowering boundary | Where you deliberately reverse this repetition |
| Space below a raised grip | Available clearance, not a compulsory destination |
Raising hand contact does not require moving the chosen chest boundary farther down. This is a geometry explanation only: it supplies no product load result, wrist-pressure measurement or safety comparison.
Compare the actual hand support
| Question | Flat palms on the floor | Fixed push-up handles |
|---|---|---|
| What contacts the hand? | The palm and fingers meet the support surface. | The fingers and thumb enclose a grip above a base. |
| What supports the body? | Hands press directly into the floor. | Force passes through the handles and their separate bases. |
| What changes the range? | The floor limits how low the chest can travel. | Extra clearance can allow travel below hand height, if deliberately chosen. |
| What needs checking? | The surface, contact and chosen push-up version. | Those checks plus handle fit, assembly, placement and the entire base contact. |
A handle changes how the hand is supported rather than removing the need to bear weight through it. Wrist position also depends on grip angle and placement. Notice whether you can hold the intended position and press smoothly; do not assume every curved or upright grip produces the same hand position.
Useful reasons to choose handles
The practical benefits of push-up bars can include a grip you prefer over a flat palm, raised hand support and a repeatable setup. Those reasons depend on your needs; they do not establish greater muscle growth or joint protection.
The GORNATION Push Up Bars manual uses a shoulder-width fixed-bar setup and controlled lowering and pressing with a straight body and engaged core. That is a named maker's example, not a universal placement or depth instruction for every pair. Follow the operating guidance for the handles actually in front of you.
The floor remains a useful choice when the flat-palm position and your chosen version are manageable. It needs no pair to carry or assemble. Handles earn a place when the grip and setup serve your practice, rather than because equipment is required for a valid push-up.
Extra clearance is optional
The range on push-up handles involves two choices: hand height and lowering depth. Raising the hands changes the starting geometry; lowering farther then adds a separate range change. If both change at once, a different repetition count does not isolate what caused the difference.
The ACE bent-knee push-up guide makes a useful distinction for raised grips: the chest and chin do not have to reach the floor. Its raised-grip note allows the bottom position near handle height. More space under the hands is available space, not a required destination.
Begin with a range you can reverse without letting the hips sag, lifting them ahead of the torso or rushing the press. If you later choose more depth, keep it manageable and change that one detail deliberately. A photograph of a deep repetition does not establish the right bottom position for you.
Use a familiar version for the comparison
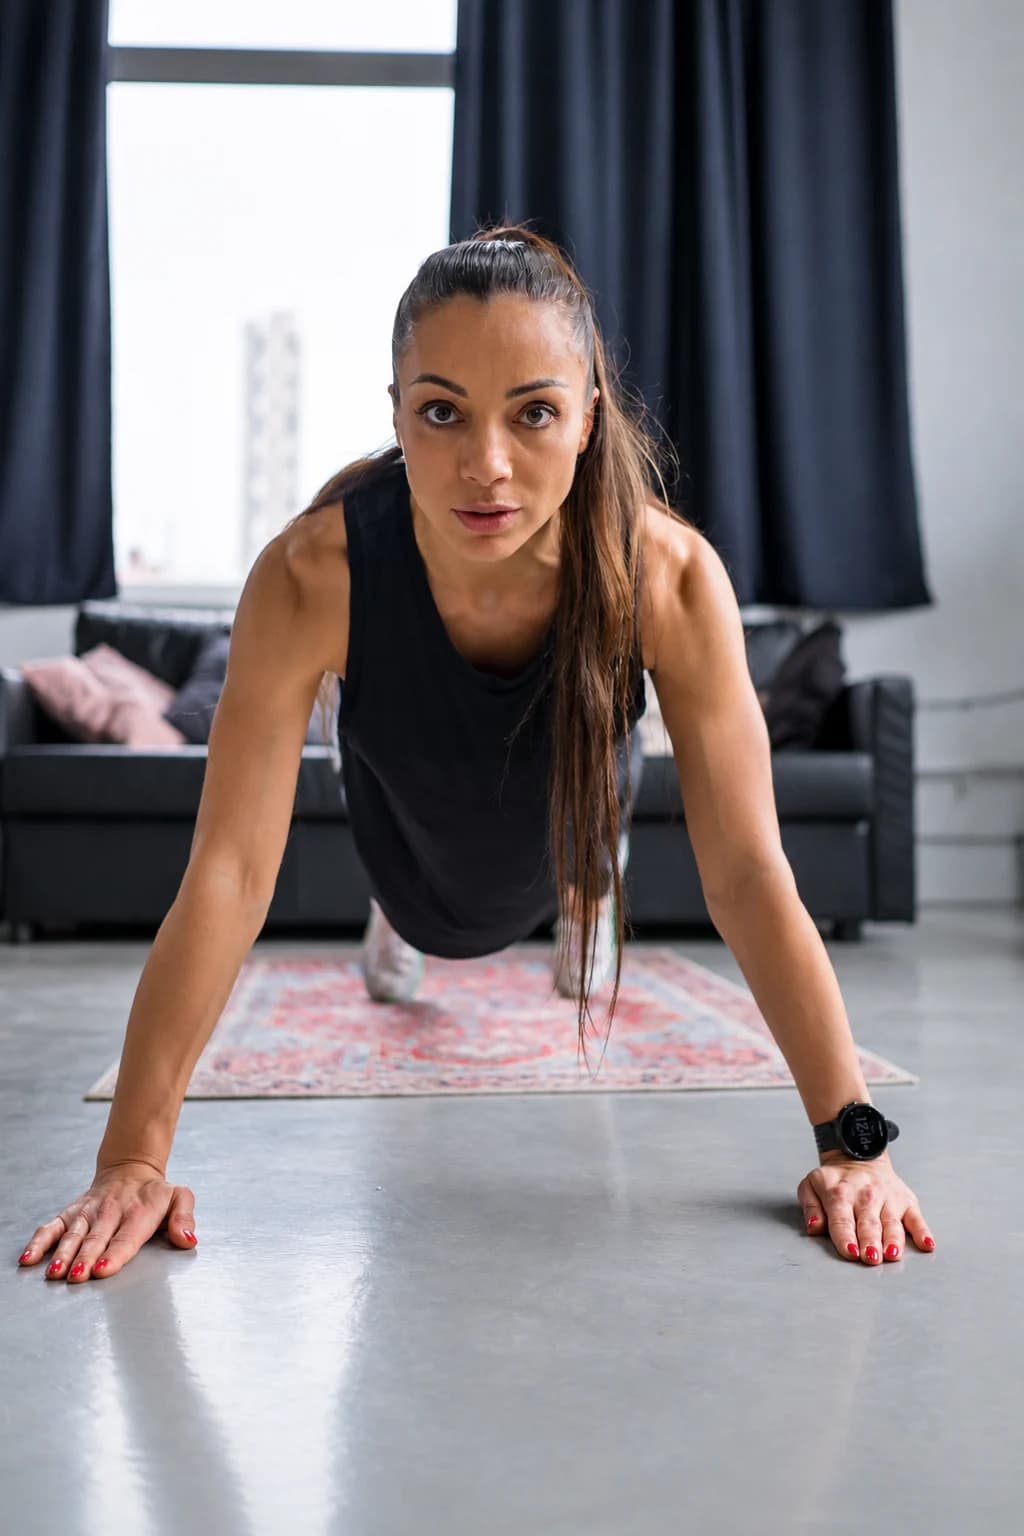
ACE's bent-knee version gives a concrete floor starting point. Kneel with palms shoulder-width apart, fingers forward and shoulders above the hands. Organise the head and torso in line and engage the trunk. Lower slowly by bending the elbows, then press back to extended arms while maintaining that alignment, without hiking or sagging the hips. Choose only the depth you can control.
- Choose a familiar manageable version and a short practice attempt. Notice the hand contact, body position and how smoothly you reverse the movement.
- If considering handles, first establish their permitted surface, assembly and placement. Use their own instructions and suitable coaching to organise the same general task; do not assume a different pair has identical geometry.
- Keep the initial lowering range conservative. Compare the grip and control before adding depth, more repetitions or another push-up variation.
- Record the version, support and chosen range. Rest as needed and stop the comparison when movement quality changes, rather than forcing equal counts.
You can keep using the floor, keep using handles or use each for a defined task. This comparison is not a maximum-repetition test or a prescribed training dose. Pain, numbness or unexpected loss of control calls for stopping and appropriate individual advice, not buying a different grip to push through it.
Check what happens under the bases
GORNATION's manual calls for clean support surfaces and inspection for wear, damage and correct installation. A fixed handle still needs reliable contact across its intended base. Resolve rocking, movement, loose parts or an uncertain floor arrangement before loading it.
A soft mat is not automatically an improvement: it can change how a base sits. Confirm the maker's permitted arrangement rather than assume a rubber-looking foot works on every tile, carpet or exercise mat. Keep the two handles where their instructions place them, and keep loose objects outside the practice area.
Two fixed-handle designs to compare
The PBGGAME integral-arched push-up handle pair has arched grips and broad integral bases. The PBGGAME steel push-up handle pair is a separate fixed-handle design with textured grip covers. Each offer supplies a pair; neither is a rotating-disc or suspended support.
Compare the actual grip shape and base arrangement, then confirm dimensions, permitted use and surface compatibility before choosing. Material names and textured surfaces do not rank their strength, grip or personal fit. You do not need a separate glove or mat purchase simply because you choose handles.