Hand-Eye Coordination Drills: Balls, Bounces and Partner Cues
Choose a ball and a manageable catching task. Follow solo drops, wall returns, partner cues and one-hand progressions, with clear setup and progress rules.
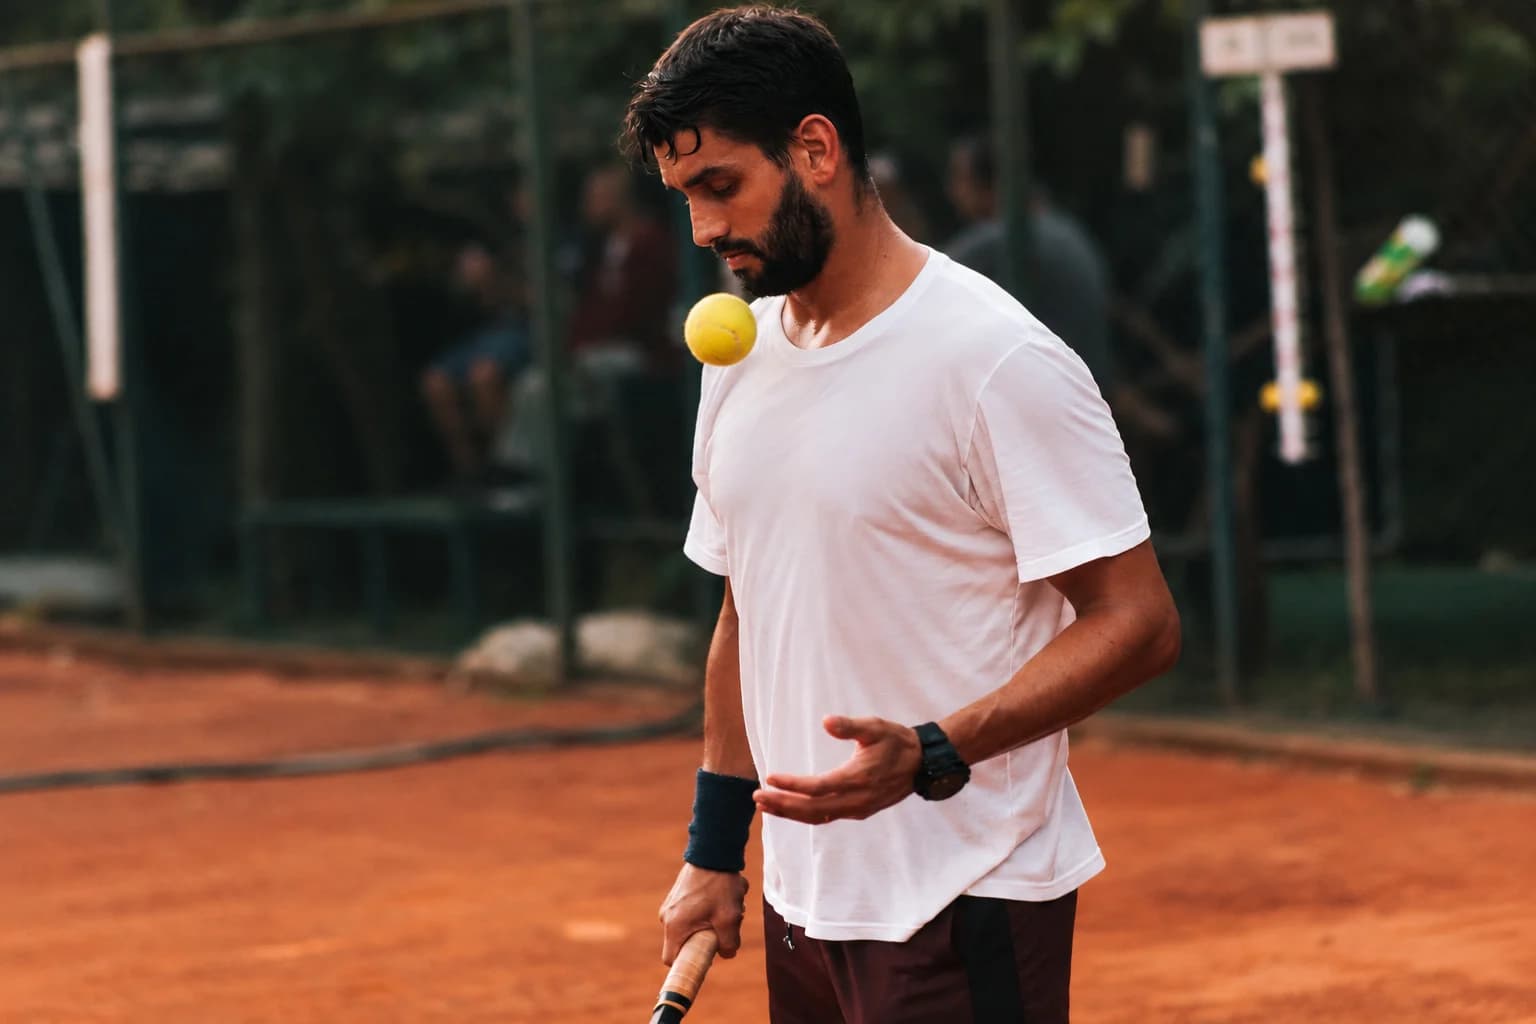
Start hand-eye coordination drills with a ball you can comfortably hold, a gentle visible release and one clear catching rule. Let it bounce once, receive it with both hands if it stays within reach, then reset. A manageable task gives you something useful to repeat; a ball that sends you chasing needs a different setup.
This guide covers solo drops, tennis-ball variations, wall returns, partner cues and one-hand catches. Choose one version at a time. Each has a clear feed, receiving rule and reset so you can adjust difficulty without changing everything at once.
Choose one loose-ball task before adding another
| Task | Path / cue | Use it for |
|---|---|---|
| First drop and receive | Visible gentle release → one floor bounce → two-hand receive OR let settle | Learning a clear catching rule |
| Permitted wall return | Gentle wall contact → one floor bounce → receive within the agreed zone | Following the whole return path |
| Partner catch / leave | Ready → clear catch/leave cue before visible release → one bounce → receive or leave | Following an agreed information-and-action rule |
| Nominated hand | Same known feed → one bounce → named hand → reset | Changing one receiving demand |
| Smallest drop-and-catch card | My entry |
|---|---|
| Ball / permitted surface / release patch | ____ |
| Rule | One bounce; both hands; leave outside comfortable balanced reach |
| Playable feeds / clean catches | ____ / ____ |
| Feed errors, dropped or deliberately left returns | ____ |
| Reset | Let it settle; locate it; walk to retrieve |
Start with the controlled floor drop described below. Use the wall or partner sections only when that separate setup is established. The baseball and soccer sections retain a different sporting task; an accessory-catching count is not a fielding, first-touch or goalkeeper result.
Boxing reflex ball vs reaction ball: choose the task
Look at the equipment, rather than relying on its name. A headband reflex ball has an elastic tether and is used for light hand contacts. A free irregular reaction ball is dropped or fed onto a surface and caught after a changing rebound. A round tennis ball offers a simpler way to learn the same catching rule.
| Equipment | Task to choose it for | What controls the return |
|---|---|---|
| Headband reflex ball | A sequence of gentle hand contacts. | The ball, elastic, attachment setting and previous contact. |
| Round tennis ball | Learning a bounce-and-catch rule or a new cue. | The release, round ball, condition and surface. |
| Irregular reaction ball | Reading a less predictable floor rebound. | The lobed shape, release and contact surface. |
The SKLZ Reaction Ball description identifies a six-sided design and floor, wall and partner uses for that model. It does not make every rebound or location suitable. A floor-mounted boxing target is another equipment type, with a separate setup.
Choose the headband system if you want the tapping task, then follow the boxing reflex ball guide for fit, cord adjustment and first contacts. Do not convert it into a partner catch game by asking another person to strike or pull the attached ball. The remaining drills here use a loose ball.
How to choose a reaction ball that fits the task
Choose a ball for reaction practice by checking handling, visibility, intended surfaces and the actual instructions. Read the stated dimensions and mass. With an irregular shape, ask whether a quoted width measures across the outer lobes; a photograph cannot resolve an unclear measurement.
For a model-specific example, the PTP Reaction Ball page lists its dimensions and silicone construction. Those details describe that item, rather than a standard for every reaction ball. Material alone does not rank catching difficulty, establish non-marking behaviour or tell you how another model should be cleaned.
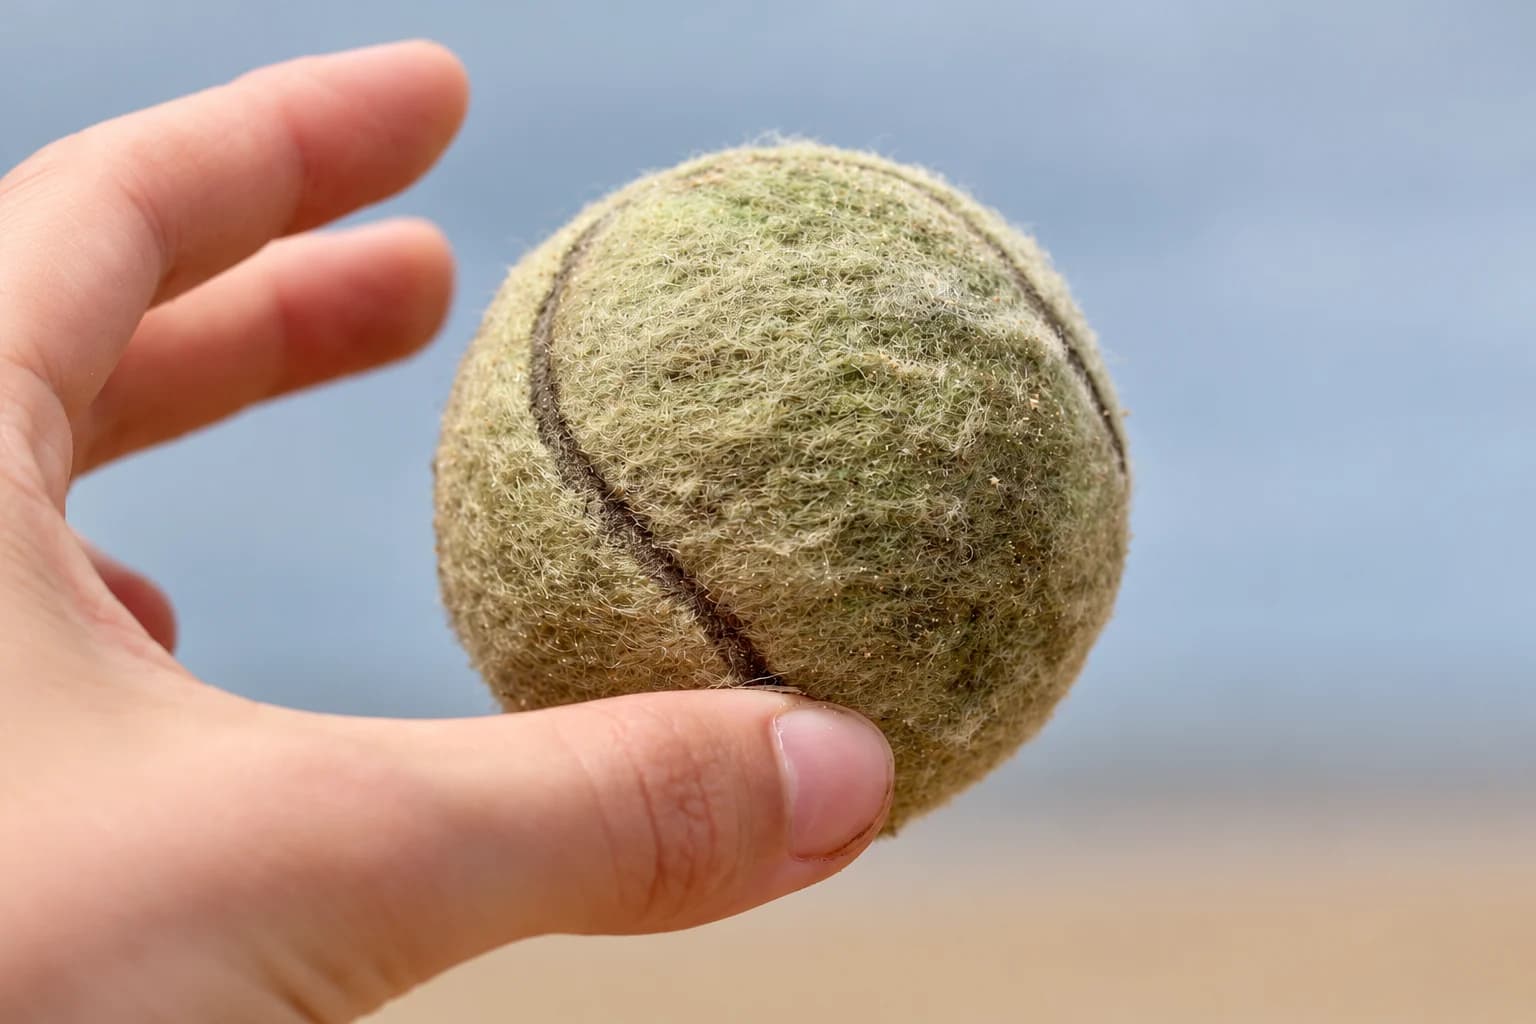
If you can inspect the ball, check whether you can comfortably receive and hold it. A ball that needs two hands may suit a two-hand task but frustrate a nominated-hand catch. Check each person when sharing equipment. Choose a colour visible against your own floor and lighting; red, yellow and blue are not universal difficulty levels.
Before buying another tool, consider whether a tennis ball already lets you practise the rule you want. Look for intended-user guidance, inspection, cleaning and storage instructions. When the item arrives, inspect it and make a gentle test drop before adding a wall or a partner.
Choose the reaction ball surface and catch zone
Check ball behaviour and footing separately. You need permission to use the area, stable footing, a manageable rebound and somewhere a missed ball can settle. SKLZ describes hard-surface use for its model; that is not permission to use every hard floor or evidence that the liveliest bounce is best.
Inspect the area in the footwear you will use. Without a ball, shift your weight and take a small controlled step. Then make a low test drop and observe the return. Do not throw harder to compensate for an unsuitable surface.
- Hard indoor floor: check dust, moisture, finish-care instructions and permission for ball contact.
- Carpet or a mat: check whether it absorbs the return or moves underfoot. Reassess the task if you add a covering.
- Outdoor court: check rules, grit, cracks and other users. Rough paving can add uneven contact and abrasion.
- Grass: hidden uneven ground and a weak or inconsistent rebound may make this particular task impractical.
Set a landing patch in front of your stance, away from your shoes. Your catch zone is the area you can reach while staying balanced, with a small comfortable adjustment. Let returns behind you, underfoot or beyond that boundary go. Keep the likely escape route clear of stairs, roads, pools, glass and busy walkways. Stop, locate a missed ball and walk to retrieve it after it settles.
PTP's safety and care guidance calls for inspection and an area clear of debris and sharp objects. Check your own ball before use and after it picks up grit or shows damage. Follow its cleaning and storage directions; there is no universal replacement interval for all materials.
Reaction ball drills: begin with controlled drops
Keep the same ball, floor, release point and two-hand rule while learning the first task. The irregular rebound already adds uncertainty; the release can remain calm.
- Stand comfortably with knees relaxed. Hold the ball low in front of you, above the agreed landing patch and clear of your receiving hands.
- Open the releasing hand and let the ball fall. Avoid a downward push, added spin or a sideways flick.
- Watch the floor contact, then bring both hands toward the actual rebound.
- Receive and hold the ball after one bounce if it stays in your catch zone. A touch followed by a dropped ball is a miss under this rule.
- Return to the starting position and check the area before releasing again.
These reaction ball drops have no universal release height. If the return is too low to receive comfortably, make a small height adjustment and retest. If it escapes too quickly, lower the release or use a more predictable ball. A return near your shoes calls for a better landing point, rather than a faster grab beneath your stance.
Try a few separate attempts, pause and decide what needs changing. Five attempts is a convenient optional observation window. Stop earlier if attention, grip or balance becomes unreliable, or catching causes pain.
Tennis-ball reaction drills: simplify a new rule
Use reaction drills with a tennis ball when remembering the rule is harder than making the catch. Keep the same gentle release, one floor bounce, catch zone and reset. You can rehearse waiting for the bounce, following a cue or receiving with a nominated hand before adding an irregular ball.
The USTA-credited Mini Tennis Z-Ball activity, MT-16, hosted by the Danish Tennis Federation, uses an underhand toss and a catch after one bounce, with a tennis ball as an easier variation. The small-space activities here adapt that broad task; they do not reproduce its full court game.
For a reaction ball vs tennis ball comparison, change only the ball. Observe whether you can follow the rule and receive manageable returns. Round balls still respond to spin, floor and condition. More catches with one ball may simply describe an easier task; it does not identify the better training tool. Keep the simpler option available whenever you add another demand.
Reaction ball wall drills: map the whole return
Use a wall intended or explicitly permitted for ball use, with no glass, fittings, sharp edges or shared walkway in the return path. Check the ball instructions too. A flat household wall does not automatically qualify.
- Identify three places: a low wall contact, a floor landing patch in front of your stance and your comfortable receiving area.
- Send a gentle underhand feed to the wall. Follow the return through one floor bounce.
- Catch with both hands only within your zone. Let an awkward return settle.
- Collect the ball and return to the same starting position before feeding again.
No single wall distance suits every ball and surface. Adjust from what you see: a high return needs a calmer feed or lower contact point; a landing behind your stance needs the path reconsidered. If the ball dies before reaching you, make a small setup adjustment or change location instead of throwing hard. Keep the floor-drop option if a manageable wall path cannot be established.
Partner reaction ball drills: ready, catch or leave
Agree who feeds, who catches, the landing patch and the stop signal. The catcher sees the ball and confirms readiness before every release. The feeder creates a playable attempt and stays out of the receiving path; neither person reaches for the same rebound.
Begin with the feeder to the side of the landing patch, outside the catcher's comfortable reach and stepping path. After the ready signal, release without pushing or spinning. Allow one floor bounce and a two-hand receive. Adjust positions if the feed approaches a shoe or requires the feeder to lean across the catcher.
Once those drops are manageable, try a gentle underhand bounce feed from a comfortable separation. Preserve the landing patch and receiving rule. Avoid overhead or face-directed throws. The NSCA ball-drop coaching example also uses a no-dive rule; its athletic sprint setup and distances are a different activity from this small-space progression.
To add a decision, agree two words: catch and leave. Say the cue clearly before a visible release. On catch, attempt the normal receive; on leave, both people let the ball settle. An unclear cue cancels the attempt. Skip hidden releases, fake throws, late cue changes and extra balls while learning this rule. Either person can stop the next feed.
Separate feed quality from catching. Three clean catches from four playable feeds, plus one feed outside the patch, is more useful than an unexplained three out of five. Swap roles deliberately after your chosen small sample. Cooperative, repeatable feeds give both people a clearer task than trying to surprise each other.
One-hand reaction ball catches: change one demand
First confirm that the two-hand version is comfortable and the ball fits one-hand receiving. Name the receiving hand before release. Use the other hand to drop the ball gently into the same patch, then attempt one catch after one bounce with the nominated hand. Reset fully.
Keep the other hand relaxed and free; do not tie it, trap it behind your back or occupy it to prevent help. If it assists, record an assisted catch. Start with separate attempts for one side, pause, then switch sides. Planned right-left alternation can come later without adding a harder feed or a wall.
If your less familiar releasing hand changes the drop, simplify the release or use a consistent partner feed. A right-left difference includes that feed difference, chance and familiarity. It is not a diagnosis of a coordination deficit. Return to a tennis ball or two hands whenever the rule becomes rushed.
For baseball-specific glove work, see MLB’s Harold Reynolds fielding demonstration. For a different goalkeeper task, see The FA’s goalkeeping basics session. Choose sporting instruction with suitable space, equipment and coaching; an accessory-catching count is not an automatic transfer result.
Reaction ball practice for baseball: define the receiving task
For a baseball goal, name the actual action you want to practise: reading a ground return, moving into a fielding position, securing a ball in a glove or completing a throw. A small irregular-ball drop lets you observe a rebound and receive it with your hands under simple rules. It leaves out much of that larger sequence.
Use the controlled drop as a separate catching game if it suits you. Keep its score separate from fielding practice, and retain appropriate baseball equipment, space and coaching for glove work, footwork and throwing. Do not replace a manageable feed with a hard baseball in a small room, or interpret an accessory catch streak as proof that game fielding improved.
Reaction ball practice for soccer: hands and feet have different jobs
A goalkeeper's receiving goal is different from an outfield player's first touch or pass. These small-ball hand catches can provide a cooperative attention-and-receive game, but they do not recreate a soccer ball's size, flight, handling demands or a match decision. The ready, catch and leave exchange is the task you are actually practising.
For an outfield goal, identify the relevant ball contact, scanning decision or pass and practise it with suitable soccer equipment and coaching. Adding an irregular hand-held ball does not automatically train those foot contacts. For goalkeeper goals, likewise keep representative catching, positioning and distribution practice distinct from this optional game.
Make reaction ball training repeatable
Record the task before counting. Keep the ball, floor, release method, bounce rule and receiving hand visible in the entry. Count clean catches, assisted catches, drops, deliberately left returns and feed errors separately.
| Log field | Example |
|---|---|
| Setup | Same tennis ball, dry permitted court, gentle partner drop. |
| Rule | One bounce, two hands; leave outside comfortable reach. |
| Sample | Five feeds: four playable, three clean catches. |
| Other outcomes | One dropped catch and one feed outside the patch. |
| Next attempt | Keep the catching rule; improve the landing point. |
Change one feature next: the ball, receiving hand, cue or feed. A new surface starts a new comparison. Fewer rushed rescue movements can be useful progress even when the catch count stays the same. These counts include seeing, movement and handling; they are not reaction times in milliseconds or evidence of automatic sporting transfer.
Fix the setup before increasing difficulty
| What happens | What to change first |
|---|---|
| The ball lands underfoot. | Move the release patch in front and remove any pull back toward the body. |
| Most returns leave the catch zone. | Check the feed and space; lower the release or use the round ball. |
| You grab before the floor bounce. | Use single attempts and an easier ball while rehearsing the rule. |
| A partner cannot follow the cue. | Return to ready-signal catches, then add one clear cue before release. |
| The rule disappears while chasing a score. | Pause, restate the catch boundary and simplify the task. |
Optional markers for an agreed area
A fixed venue landmark may be enough to agree on your area. If visible markers help, the PBGGAME 24-piece flat spot markers are an optional marking tool. Position them outside the ball-landing, stepping and catching paths. They are not a bounce surface or a substitute for inspecting the floor, and you do not need a marked course for the first drop-and-catch task.